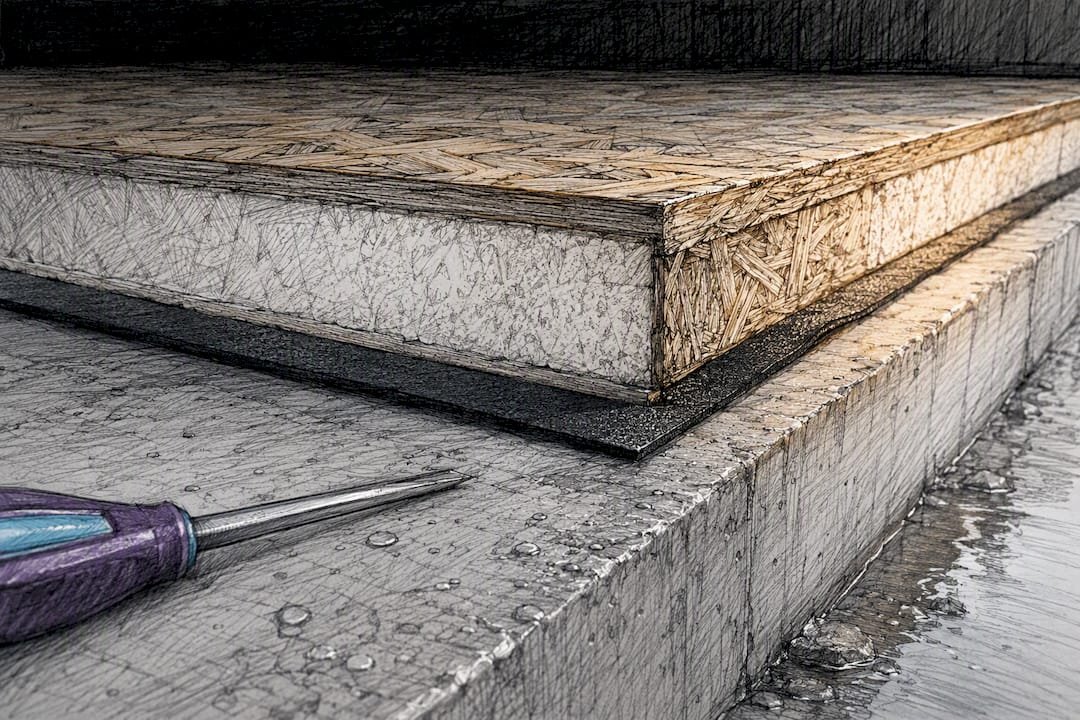
Yes, structural insulated panels work well for many floor applications when they’re sized to meet code loads and detailed against moisture. The three conditions that decide whether SIPs make sense for your floor: span length and concentrated loads, moisture protection at the OSB face, and whether your foundation or support layout matches what the panel can span without added steel. Good use cases include a heated floor over a garage, a sunroom or addition floor, and floors in modular or stilt-supported builds.
TL;DR:
- SIPS are most suitable for floors over garages, sunrooms, modular builds, or retrofit applications, where spans and moisture protection are carefully managed.
- Panel thickness ranges from 6.5 to 10.25 inches, offering R-values from about R-48 to R-70, and core materials include EPS, XPS, and PIR depending on moisture and insulation needs.
- Proper installation requires verifying foundation flatness, using continuous moisture barriers, and ensuring spline bonding and fastener spacing follow manufacturer specifications to prevent moisture and structural failures.
- Most project delays stem from design and engineering phases, which can take several weeks, while onsite installation often completes in a day or two once panels arrive.
- Budget considerations should include higher material costs for thicker or high-performance panels, but savings come from faster installation and better energy efficiency over traditional framing.
Table of Contents
- What Are SIP Floor Panels, and Where Do They Work Best?
- What Benefits and Tradeoffs Come With SIP Floors?
- How Do You Size Spans, Loads, and Splines for a Floor SIP?
- Which Panel Thickness and Core Material Fit Your Floor?
- How Do You Install a Floor SIP System Step by Step?
- Where Do Floor SIPs Connect to Foundations and Finish Layers?
- What Mistakes Ruin Floor SIP Installations, and How Do You Catch Them?
- What Does a Realistic Floor SIP Installation Checklist Look Like on Site?
- How Much Should You Budget for a Floor SIP Project?
- How Long Does a Floor SIP Project Take From Design to Install?
- Why SIP Floors Get Judged by the Wrong Standard
- Build Your Floor SIP Project With Prefabmodularhome
- Sources
What Are SIP Floor Panels, and Where Do They Work Best?
A structural insulated panel for flooring is built the same way as a wall or roof panel: a rigid foam core, usually EPS, XPS, or polyisocyanurate (PIR), laminated between two facers of OSB. That lamination happens in a factory under controlled pressure and adhesive cure, which is a very different process from stacking joists and stapling batt insulation between them on a windy job site.
That factory control matters more than it sounds like it should. A stick-framed floor depends on a crew getting insulation installed cleanly around wiring, plumbing, and blocking, months after the frame goes up, often by a different trade entirely. A structural insulated panel arrives with the insulation already locked in place, permanently, with no gaps for a rushed subcontractor to leave behind.
SIP floors for flooring show up most often in:
- Living space built over a garage, where the panel spans the garage bay without interior columns
- Sunrooms, additions, and elevated stilt or pier-supported homes
- Modular and prefab builds, including backyard offices built with sandwich panels
- Retrofit floor conversions over unheated crawlspaces or cellars
What Benefits and Tradeoffs Come With SIP Floors?
The energy case for SIP floors is straightforward: continuous foam under the finish floor eliminates the thermal bridging that happens every 16 or 24 inches through a joist bay, as discussed in detail in how new interior doors improve energy efficiency in older Portland homes. Industry data puts the thermal bridging factor for SIP assemblies at roughly 8.7%, compared with about 25% for stick-built construction. That gap shows up directly in heating and cooling bills, especially on floors over garages or open crawlspaces where cold air pushes hardest against the assembly.
Reported energy figures: The Structural Insulated Panel Association reports SIP buildings can run about 50% more energy-efficient than comparable timber-framed construction, and a cited time-motion study found SIPs can cut jobsite labor by around 55%.
Speed follows the same logic. Panels arrive pre-cut and pre-insulated, so a crew sets and splines a floor deck in a fraction of the time it takes to frame, insulate, and inspect a joist system separately.
Structurally, SIPs perform like a shallow I-beam, with the facers resisting bending and the foam core resisting shear. That gives real strength for typical residential loads, though concentrated point loads (a woodstove, a safe, heavy fixed equipment) need specific attention.
The honest tradeoffs: OSB facers are vulnerable to standing water, material cost can run higher upfront than dimensional lumber, and high-traffic or commercial floors usually need a protective overlay or added sheathing layer for long-term wear.
How Do You Size Spans, Loads, and Splines for a Floor SIP?
Building codes require residential floors to handle a uniform live load of 40 pounds per square foot, and that number is your starting benchmark for any SIP floor design, not a suggestion. Commercial applications push higher, often into concentrated point-load territory, and manufacturer testing shows SIP floor assemblies can meet concentrated loads around 2,000 pounds with an appropriate safety factor built in, when the panel is detailed correctly. Every manufacturer publishes load charts specific to their panel thickness and core; treat those charts as the final word, not a rough guide.
Span guidance varies by manufacturer, but roughly 16 feet without added steel is a common practical ceiling for standard floor panels. Beyond that, you’re typically adding a steel beam midspan or upgrading to a reinforced spline detail to keep deflection in check.
Spline choice changes what a panel can do structurally:
- Type I splines are the standard connection for most residential spans and loads
- Type L splines (often paired with a top or bottom chord) add capacity for longer spans or cantilever conditions
Pro Tip: Before you order panels, hand your engineer the tributary load, exact span, any concentrated point loads (fireplace, tub, safe), and finish floor weight. Guessing at these numbers is how floors end up bouncy or, worse, undersized.
Read more on choosing the right spline type before finalizing your floor layout.
Which Panel Thickness and Core Material Fit Your Floor?
Panel thickness drives both R-value and structural depth, and manufacturer tables make the tradeoff easy to see. Thermapan’s published specs list a 6.5 inch panel at roughly R-48, an 8.25 inch panel around R-55, and a 10.25 inch panel near R-70. Thicker panels cost more and add build height, but they also span farther and insulate better, which matters most on floors over unconditioned space.
Core material is the other half of the decision:
- EPS is the most cost-effective core and works fine for most residential floors
- XPS offers higher compressive strength and better moisture resistance, a real advantage in damp crawlspace or slab-adjacent conditions
- PIR delivers the highest R-value per inch, useful when you’re tight on build height but need maximum thermal performance
Facer choice matters too. Confirm the OSB exposure rating before you order, and plan for a factory-applied overlay or an added 7/16 inch sheathing layer on the top face. That extra layer protects the OSB from the water, adhesives, and foot traffic that finish trades inevitably bring to a job site.
How Do You Install a Floor SIP System Step by Step?
Getting a floor SIP installation right comes down to sequencing. Skip a step here and you’re chasing problems after the panels are already loaded.
- Verify the foundation. Check bearing points, confirm the deck is flat within tolerance, and install sill seal along the full perimeter before panels arrive.
- Set the capillary break. A physical barrier between the SIP and any concrete or masonry surface stops moisture from wicking into the foam core and OSB, a step industry installation guidance treats as non-negotiable.
- Lift and place panels. Use a crane or a coordinated crew lift depending on panel size, and brace panels temporarily until adjacent panels and splines are locked in.
- Pull panels tight with ratchet straps. This closes gaps at the spline joint before adhesive sets and fasteners go in.
- Install splines and fasteners. Follow the manufacturer’s fastener spacing exactly; this is not a place to eyeball it.
- Apply the moisture layer. Add the vapor barrier or performance overlay per your manufacturer’s spec, then install the extra top sheathing layer if your finish flooring calls for one.
- Route utilities before you close in. Plan electrical chases and plumbing runs now. If you need to notch or drill a panel, follow guidance on cutting SIP panels safely rather than improvising with a hand saw.
Pro Tip: Do a dry fit of your first two panels before running adhesive. It’s a ten-minute check that saves hours if your spline dimensions are off by even an eighth of an inch.
Where Do Floor SIPs Connect to Foundations and Finish Layers?
The foundation interface is where most floor SIP failures start, and it’s almost always a moisture problem rather than a structural one. Whatever foundation type you’re building on, poured concrete, block, or ICF, the capillary break between panel and masonry has to be continuous, with anchor bolts or straps detailed to the manufacturer’s spec, not generic lumber hardware.
Radiant heat is compatible with SIP floors, but height budget matters. Thermal diffusion plates set into a routed channel, or dedicated EPS-based radiant panels designed for the purpose, keep the tubing close to the finish surface without adding excessive build-up. Skipping the diffusion plate and just stapling tubing to the subfloor wastes a lot of the radiant system’s output.
For finish flooring, plan on:
- Confirming the top sheathing or overlay is rated for your adhesive or fastening method
- Priming or lightly sanding OSB if you’re setting tile or vinyl directly over it
- Protecting the finished panel surface with rosin paper or board covers during cabinet and fixture installation
What Mistakes Ruin Floor SIP Installations, and How Do You Catch Them?
Most floor SIP failures trace back to a short list of avoidable mistakes:
- Skipping the capillary break. This is the single most common and most expensive error, since water wicking into OSB from below is hard to diagnose after the fact.
- Poor spline bonding. Rushed adhesive application or missed fastener spacing weakens the connection exactly where load transfers between panels.
- Leaving OSB exposed too long. Rain or a burst pipe during construction can ruin a panel that had no overlay protection.
- Wrong fastener spacing. Load charts specify spacing for a reason; wider spacing than spec reduces the panel’s rated capacity.
| Inspection point | What to check | Red flag |
|---|---|---|
| Spline joints | Full adhesive coverage, tight fit | Visible gaps or dry spots |
| Fastener pattern | Matches manufacturer spacing | Missing or widely spaced screws |
| Panel bearing | Full contact on sill or beam | Point bearing or gaps under panel |
| Moisture barrier | Continuous across all seams | Torn or overlapped incorrectly |
| Load compliance | Matches published load chart | Span or load exceeds rated capacity |
If an inspection turns up a bonding gap or a missed capillary break, rework it before covering the floor. If you’re seeing deflection beyond what the load chart predicts, or you’re not sure a connection detail meets code, that’s the point to call in an engineer or an experienced SIP installer rather than guessing.
What Does a Realistic Floor SIP Installation Checklist Look Like on Site?
Beyond the sequencing steps, a few site-level habits separate a smooth floor SIP install from a frustrating one. Start with a panel layout drawing on site, taped up where every crew member can see it, showing panel numbers, spline locations, and any cut panels. Panels arrive labeled from the factory, but a busy site loses track fast without a visual reference.
Stage panels in delivery order, not by convenience. If panel 12 goes down before panel 4, you’ve created a bottleneck that costs more time than the staging would have. Keep panels covered and off the ground until they’re set, since even a few hours of exposure to standing water on a job site can pre-damage an OSB face before it’s even installed.
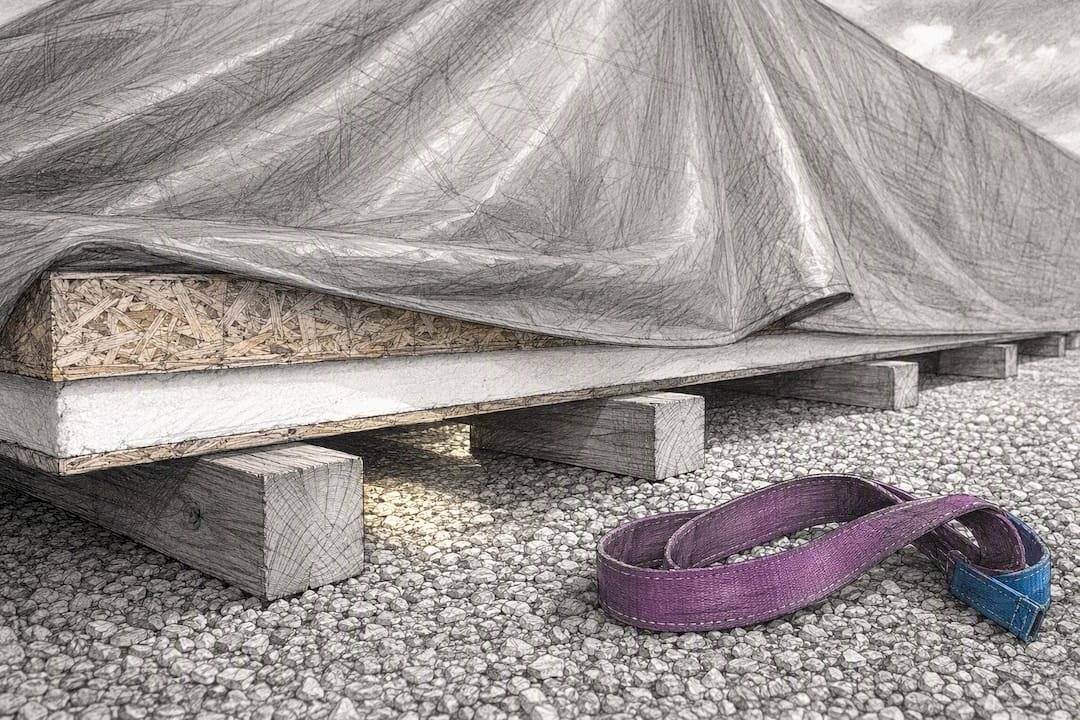
Check weather before committing to a lift day. Wind is the real risk with large floor panels, since a gust catching a panel mid-lift is both a safety hazard and a good way to damage the piece. Most manufacturers and crews treat sustained wind above roughly 20 miles per hour as a stop-work threshold for panel lifts.
Have your fastener schedule printed and on hand, not just remembered. Crews under time pressure drift toward “close enough” spacing, and that’s exactly the shortcut that shows up later as a bouncy floor or a warranty claim. Assign one person on the crew to verify fastener spacing behind the installer, especially on the first few panels, since early habits set the pace for the rest of the day.
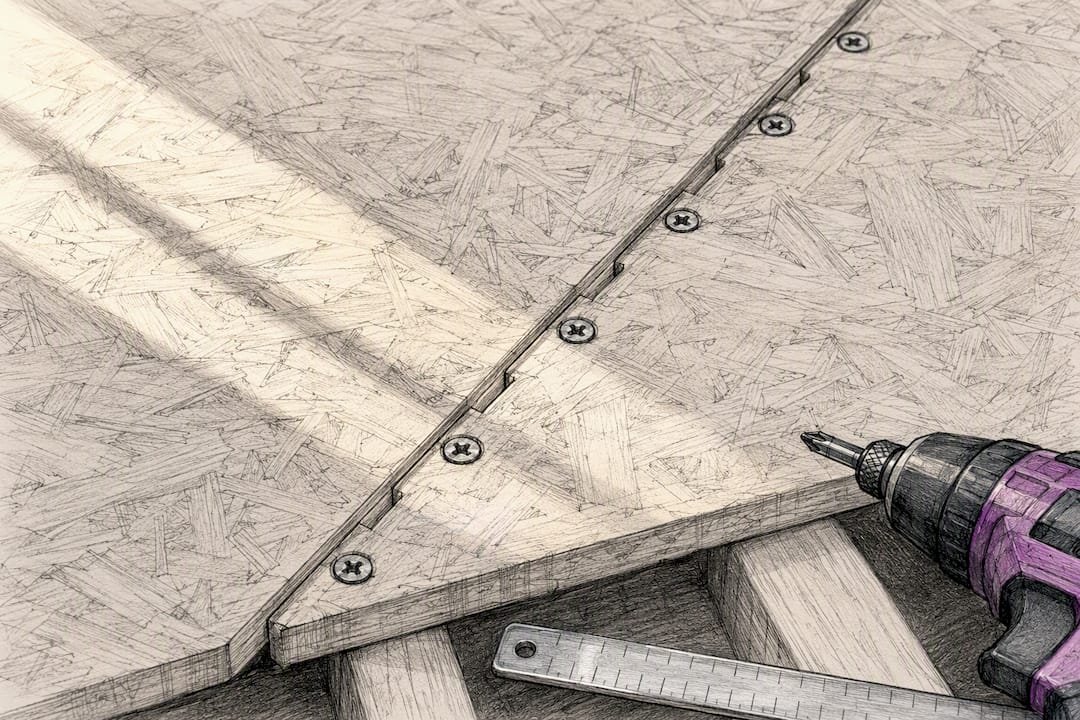
Finally, photograph every spline joint and capillary break detail before it’s covered by flooring or a ceiling below. That documentation matters if a moisture problem surfaces two years later and you need to prove the assembly was built to spec.
How Much Should You Budget for a Floor SIP Project?
Floor SIP costs break into three buckets: panel material, connection hardware and overlays, and labor. Panel pricing depends heavily on thickness and core material, with PIR-core panels running higher than EPS-core panels of the same thickness, and pricing scales with the R-value and span capacity you’re specifying. For a general sense of how SIP material costs compare to other structural systems, Prefabmodularhome’s cost breakdown is a useful starting reference.
Connection hardware, splines, structural screws, adhesive, and ratchet straps, adds a smaller but real line item, and it’s not a place to cut corners to save a few dollars per panel. The moisture overlay or added 7/16 inch top sheathing is a cost some builders try to skip, which is a mistake given how much cheaper it is to add during construction than to repair after a moisture failure.
Labor is where SIP floors usually save money compared with stick framing, since a crew sets and splines panels faster than they’d frame, insulate, and inspect a joist floor separately. That labor savings partially offsets the higher material cost per square foot, though the net difference depends on your local labor rates and the complexity of your floor layout, including how many cuts, chases, and transitions the design requires.
Get quotes for panels sized to your actual span and load requirements rather than budgeting off a generic per-square-foot number pulled from an unrelated project. Floor panels with radiant heat provisions, higher R-values, or reinforced splines for long spans cost more than a basic panel, and that difference can be substantial across a full floor plate.
How Long Does a Floor SIP Project Take From Design to Install?
A floor SIP timeline has three distinct phases: design and engineering, manufacturing, and on-site installation, and each one has its own bottleneck.
Design and engineering typically takes the longest stretch of calendar time, not because the work itself is slow, but because it requires back-and-forth between you and either a manufacturer’s engineering department or an outside structural engineer. Expect several weeks here if your floor has unusual spans, concentrated loads, or radiant heat integration that needs custom detailing.
Manufacturing lead time varies by supplier and order volume, but panels are cut and laminated to your exact specifications rather than pulled off a shelf, so build in real lead time once your design is finalized and approved. Rushing this phase by finalizing a design late and expecting fast turnaround is one of the more common scheduling mistakes on SIP projects.
Installation itself is the fast part, often just a day or two for a typical residential floor once panels are on site and the foundation is ready. That speed is the entire point of the system: a crew that would spend a week framing and insulating a joist floor can often set and seal a comparable SIP floor before lunch the next day.
The practical lesson: don’t wait until panels are ordered to think about your foundation schedule, utility rough-ins, or crane access. Floor SIP projects move fast once panels arrive, which means the planning phase deserves more attention than most builders give it, not less.
Why SIP Floors Get Judged by the Wrong Standard
Most of the skepticism around SIP floors comes from comparing them to stick framing on the wrong metric. People ask “is it stronger than joists,” when the better question is “does it meet the load path I actually need, with less labor and better airtightness.” On that question, the published load charts and field data hold up.
What gets underrated is how much of SIP floor success or failure comes down to boring details: the capillary break, the fastener spacing, the overlay nobody wants to pay extra for. These aren’t advanced engineering problems. They’re the difference between a floor that performs for decades and one that develops a soft spot in year three because water got into an OSB face that had no protection.
The conventional advice treats span and R-value as the headline numbers, and they matter, but they’re not where projects go wrong in practice. Prioritize the moisture detailing and the engineer conversation before you fall in love with a specific panel thickness. A well-specified panel installed with a sloppy capillary break will underperform a modest panel installed correctly, every time.
— Kian
Build Your Floor SIP Project With Prefabmodularhome
Sourcing floor panels one spec sheet at a time from a manufacturer catalog is slow, and getting a custom quote engineered from scratch can take weeks you don’t have. DIY structural insulated sandwich panel kits are available for the kind of project this article covers: garage-top additions, backyard offices, sunrooms, and modular builds where you need insulation and structure in one panel, without hiring a specialty subcontractor.

The kits are built for assembly without special tools or trade skills, which matters if you’re a contractor managing a tight crew or a DIY homeowner tackling your first insulated floor. Browse the structural insulated sandwich panel lineup to see thickness and core options, or start with a modular backyard office kit if your floor project is part of a larger build. For pricing details, obtain a quote based on your actual floor plan and load requirements before committing to a design.
Sources
- Structural Insulated Panels (SIPs) — BASC/PNNL resource guide
- What are SIPs | Structural Insulated Panel Association
- Premier SIPS technical bulletin: Floors