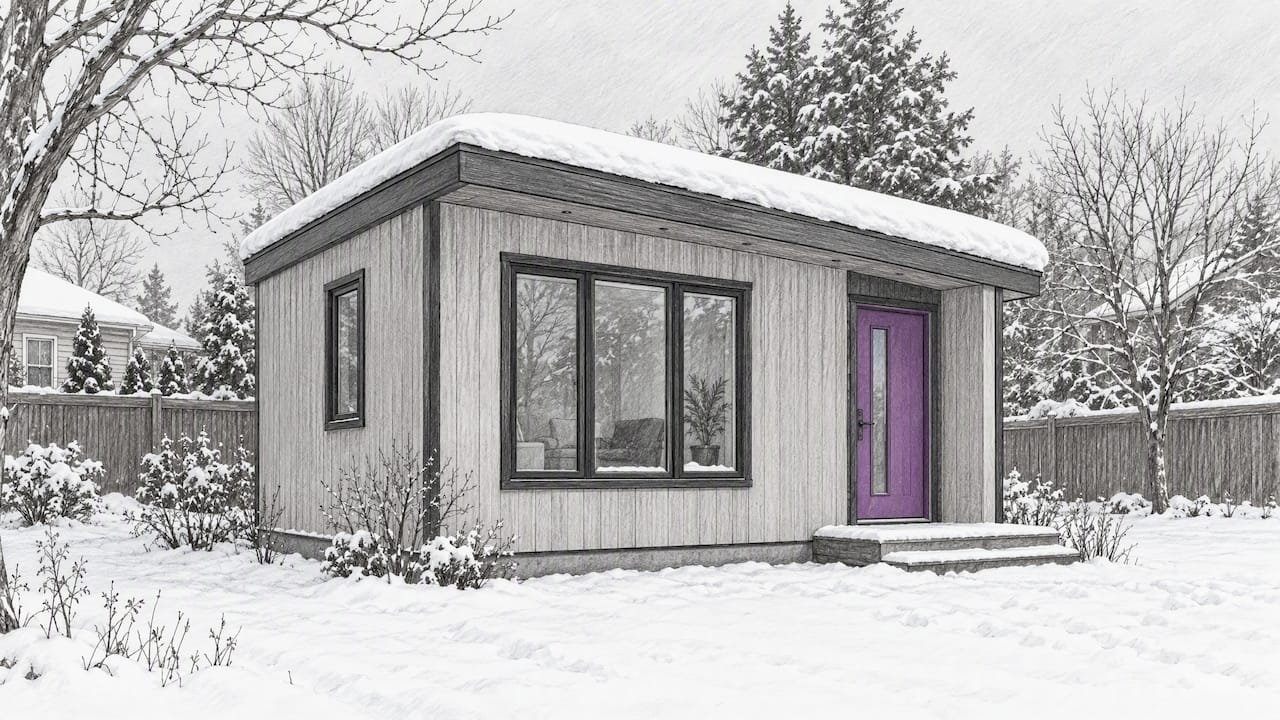
Structural insulated panels can carry real snow loads, including heavy mountain and lake-effect conditions, as long as your site-specific roof snow load falls within the manufacturer’s allowable-load tables for the panel thickness, span, and connection details you plan to use. If your calculated load or an expected drift exceeds those published limits, you need an engineer to specify reinforcement rather than proceeding on the standard tables. Either way, check the connections and splines, not just the panel span, because they usually set the real ceiling.
TL;DR:
- When ground snow load exceeds 15 psf, the IBC requires construction documents to list roof load, exposure, thermal, slope, and drift factors.
- Check the manufacturer’s ESR table for the exact panel thickness, span, spline, and fastener pattern, because its assumptions determine the allowable load.
- Roof steps, parapets, and valleys can create drift loads above the uniform design figure, so reinforce those zones and keep panel joints clear.
- Bring in a registered design professional when calculated roof or drift loads approach or exceed table limits, and check deflection as well as strength.
Table of Contents
- Understanding Snow Load Numbers: PSF, Pa, and What They Mean for Your Roof
- Where to Find SIP Allowable Load Tables and How to Read Them
- Why Connections and Splines Often Matter More Than Panel Span
- A Step-by-Step Checklist for Matching Snow Loads to SIP Spans
- Designing for Drift, High Elevation, and Snow-Prone Roof Shapes
- What to Verify in a SIP Kit Before You Buy for a Snowy Site
- How Snow Load Affects SIP Thermal Performance Over Time
- Maintenance and Inspection for SIP Roofs in Heavy Snow Regions
- Reducing Snow Accumulation on SIP Roofs Through Design Choices
- How SIP Roofs Differ from Traditional Framing Under Snow Load
- Real-World Performance of SIP Roofs Under Heavy Snow
- What I’d Tell Anyone Building a SIP Roof in Snow Country
- How Our SIP Kits Support Builds in Snowy Climates
- FAQ
- Sources
Understanding Snow Load Numbers: PSF, Pa, and What They Mean for Your Roof
Before you can check anything against a SIP manufacturer’s data, you need your design roof snow load in the right units. Ground snow load (pg) is the baseline figure your local jurisdiction or snow map publishes for your area. Roof snow load (pf) is the number that actually applies to your structure, adjusted downward or upward from pg based on exposure, roof shape, and thermal conditions.
Snow load is usually expressed in pounds per square foot (psf) in the United States or pascals (Pa) elsewhere. One psf equals 47.88 Pa, so a reading of 5,400 Pa works out to roughly 112.8 psf, a serious load that only certain SIP configurations and spans can support. A simpler example: a 30 psf snow load means 30 pounds of uniform snow weight pressing on every square foot of roof surface, a moderate figure common in many temperate snow zones.
The International Building Code requires extra design inputs once ground snow load climbs past a threshold:
- Flat-roof snow load (pf), the baseline figure calculated from pg.
- Exposure factor (Ce), which accounts for wind exposure and terrain category.
- Thermal factor (Ct), which adjusts for how much heat escapes through the roof.
- Roof slope factor (Cs), which reduces load on steeper pitches where snow sheds more easily.
- Drift surcharge (pd), added wherever snow piles against parapets, higher roof sections, or equipment.
When ground snow load exceeds 15 psf, the IBC requires these values to appear on your construction documents. Balanced loading assumes snow spreads evenly, but unbalanced loads, sliding snow off adjacent upper roofs, and rain-on-snow surcharges can all push the real design number well above a simple uniform estimate.
Where to Find SIP Allowable Load Tables and How to Read Them
Every legitimate SIP manufacturer backs its panels with an ICC Evaluation Service report, the product of testing under ICC-ES AC04, the acceptance criteria for sandwich panels. These reports, often called ESRs, publish allowable uniform transverse load tables that tell you exactly how much a given panel thickness can carry at a given span.
A typical table row works like this: panel thickness in one column, clear span in another, and allowable uniform load in psf in a third. As span increases, allowable load drops, since a longer unsupported panel deflects more under the same weight. ESR-1295, a commonly cited example, lays out these relationships along with installation limits and fastener spacing exceptions that apply specifically to higher snow regions.
A few things to watch for when reading any ESR table:
- Values typically assume single-span, simply supported conditions, not continuous spans over multiple bearing points.
- Snow counts as an intermediate-duration load in most allowable stress calculations, which affects how the table numbers were derived in the first place.
- Footnotes often specify the exact spline type, bearing length, and fastener pattern the table assumes. A different spline can invalidate the published number.
Skipping the footnotes is the most common way builders misapply an otherwise correct-looking table. The allowable load column means nothing if your installation doesn’t match the assumptions behind it.
Why Connections and Splines Often Matter More Than Panel Span
Panel span gets most of the attention, but the spline and fastener schedule frequently set the real limit on a SIP roof. Three spline types dominate the market: block splines (solid lumber inserted between panels), OSB surface splines (a strip of structural panel fastened across the joint), and dimensional lumber splines (full-depth lumber matching the foam core thickness). Each produces a different stiffness and shear transfer at the joint, which is why ESR tables tie their allowable loads to a specific spline type rather than treating the panel as a standalone unit.
Fastener spacing is the second lever. Prescriptive SIP documents commonly tighten screw spacing from a standard pattern down to tighter spacing in roofs carrying heavy snow loads commonly found in mountainous or northern regions, since closer screws distribute shear more evenly across the joint and reduce localized stress concentrations.
For a snowy roof, follow this sequence when detailing connections:
- Confirm the spline type specified in your ESR matches what the installation crew will actually use.
- Tighten fastener spacing at ridges, valleys, and joints within areas prone to snow drift.
- Provide a continuous load path from ridge through wall to foundation, with blocking or straps wherever the panel assembly changes direction.
- Add posts or engineered beams under any joint expected to see concentrated point loading from drift.
Pro Tip: Treat every panel joint as a potential weak point under drift loading, and locate joints away from valleys, parapets, and roof-step transitions whenever your layout allows it.
Our SIP splines guide walks through installation sequencing for each spline type, and our connections checklist covers fastener patterns and bearing details in more depth.
A Step-by-Step Checklist for Matching Snow Loads to SIP Spans
Working through these steps in order keeps you from locking in a panel choice before you know whether it can actually carry your site’s snow.
- Collect your ground snow load (pg) from your local building department or the applicable snow load map, along with roof geometry, pitch, and site exposure category.
- Calculate roof snow load (pf) by applying exposure factor (Ce), thermal factor (Ct), and slope factor (Cs), then add any drift or sliding surcharge required for your roof shape per ASCE 7 and IBC Chapter 16.
- Select a candidate SIP thickness and span, then check the manufacturer’s ESR table for the allowable uniform transverse load at that exact span and connection configuration.
- Verify combined loading, meaning the sum of your applied loads divided by the allowable load stays below 1.0, and separately check any concentrated drift zone against the posts or beams needed to carry a localized point load.
- Call in a registered design professional whenever your calculated pf, or a localized drift load, comes close to or exceeds the published table values.
Step 3 deserves extra attention because load duration factors treat snow as an intermediate-duration load, typically applying a factor near 1.15 in standard reference tables, which is already baked into most ESR allowable values rather than something you add separately. Some SIP systems also govern by deflection rather than ultimate strength, meaning a panel can technically hold the load but sag enough to crack interior finishes, so check any serviceability limits (often expressed as L/Δ ratios) alongside the raw allowable psf number.
If you’re planning a specific span range, our SIP span capacity guide walks through how to cross-check manufacturer ESRs against real project spans from 8 to 24 feet.
Designing for Drift, High Elevation, and Snow-Prone Roof Shapes
Uniform design loads describe an average, but snow rarely sits evenly across a real roof. Step changes in roof height, parapets, and areas downwind of taller adjacent structures all create drift pockets where accumulated snow can run far above the uniform design figure. FEMA’s snow study summary documents cases where localized drift loads exceeded the design uniform load by a wide margin, identifying these transition zones as a recurring cause of structural failure.
A handful of detailing moves reduce that risk substantially:
- Locate panel joints away from known or likely drift zones rather than centering them under a roof step.
- Add engineered beams or posts under any area where drift modeling predicts a concentrated point load.
- Tighten fastener spacing and specify a stiffer spline (block or dimensional lumber rather than a basic OSB spline) in drift-prone sections.
- Reconsider roof shape where possible: a simple gable sheds drift more predictably than a roof with multiple intersecting levels.
Installation matters as much as design. Panels need protection from accumulated moisture before the roof is weathered in, crane sequencing should avoid setting panels down on partially completed bearing walls, and temporary concentrated loads, like stacking materials on an unsupported panel, should never happen during construction. Our crane sequencing guide covers how precut panels reduce these on-site risks.
What to Verify in a SIP Kit Before You Buy for a Snowy Site
A prefab SIP kit can simplify a snowy build, since factory-cut panels arrive with consistent spline quality and fewer field joints than a site-built assembly, but the documentation behind the kit is what actually protects your roof. Before ordering, confirm the supplier can provide:
- Current ICC-ES/ESR documentation for the exact panel thickness you’re buying.
- The allowable-load and span table that matches your intended roof configuration.
- A recommended spline and fastener schedule specific to your snow zone.
- Installation drawings showing bearing details, ridge support, and joint locations.
Factory precision reduces the chance of a mismatched spline or inconsistent fastener spacing showing up on-site, but it doesn’t substitute for your own site-specific pf calculation. You still need to confirm that your local load, drift conditions, and roof geometry match what the kit’s published tables assume. Our sandwich panel specification page and prefab house kit catalog list the documentation available for each panel line.
How Snow Load Affects SIP Thermal Performance Over Time
A properly specified SIP roof carries its design snow load without any change to its insulating performance, but a panel that’s underspecified for its span can develop problems that affect both structure and thermal integrity at once. Excess deflection under heavy snow can open small gaps at panel joints or around fastener penetrations, letting air infiltrate where the foam core and facer should form a continuous seal.
This matters because a SIP’s thermal performance depends on that seal staying intact. Unlike stick-framed insulation, which can lose R-value in isolated spots without compromising the structure, a SIP’s foam core is also part of the load path. Persistent sag or facer cracking from an under-designed panel can create a thermal bridge exactly where the structure is also weakest, compounding both problems rather than isolating them.
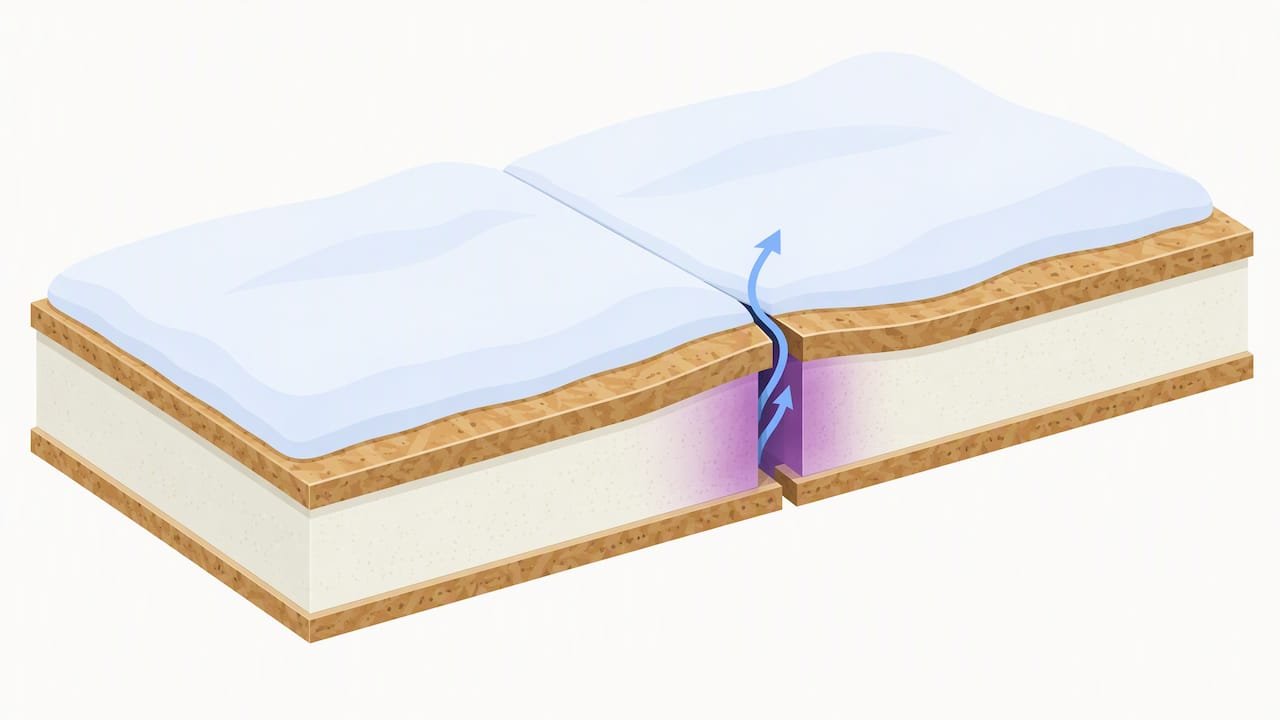
This is part of why serviceability limits, not just ultimate strength, belong in your span check. A panel that technically holds its allowable load but deflects visibly over a winter season is also a panel whose insulation seal is being stressed every time snow accumulates and melts. Keeping your actual roof load comfortably within the manufacturer’s allowable table, rather than at the very edge of it, protects thermal performance as a byproduct of protecting structural performance.
Specifying the correct spline and fastener schedule, covered earlier, does double duty here: a tight, well-fastened joint resists both structural movement and air infiltration under repeated snow loading.
Maintenance and Inspection for SIP Roofs in Heavy Snow Regions
A SIP roof designed to its allowable load doesn’t need special winter maintenance beyond what any roof requires, but a few inspection habits catch problems early. Walk the roofline after the first major snowfall of the season and look for uneven accumulation patterns, since a drift forming somewhere your design didn’t anticipate is worth noting before it becomes a recurring load.
Check the underside of the roof, where visible, for any new cracking in interior finishes near panel joints or ridges. That kind of cracking often shows up before structural deflection becomes visually obvious from outside, and it’s the clearest early sign that a panel or joint is working harder than it should under seasonal loads.
Clear accumulated snow from any area adjacent to a known drift zone, especially around roof steps, parapets, or dormers, rather than waiting for it to compact into ice. Compacted, aged snow weighs considerably more per inch than fresh snow, which is part of why a roof can handle an early-season storm fine and still struggle with a late-winter accumulation that never fully melted between storms.
Have fastener connections and spline joints inspected periodically in regions with sustained heavy snow seasons, particularly after any winter where accumulation sat on the roof for extended stretches. Catching a loosened fastener or a hairline crack at a joint early is far simpler than addressing a developed sag after several seasons of repeated loading.
Reducing Snow Accumulation on SIP Roofs Through Design Choices
The simplest way to protect any SIP roof from snow load problems is to reduce how much snow sits on it in the first place, and roof geometry does most of that work before a single calculation runs. Steeper pitches shed snow more readily than low-slope roofs, which is reflected directly in the slope factor (Cs) that reduces design load as pitch increases. A roof pitched at a steeper angle in a heavy snow region can carry meaningfully less design load than a nearly flat roof in the same location, simply because less snow stays put.
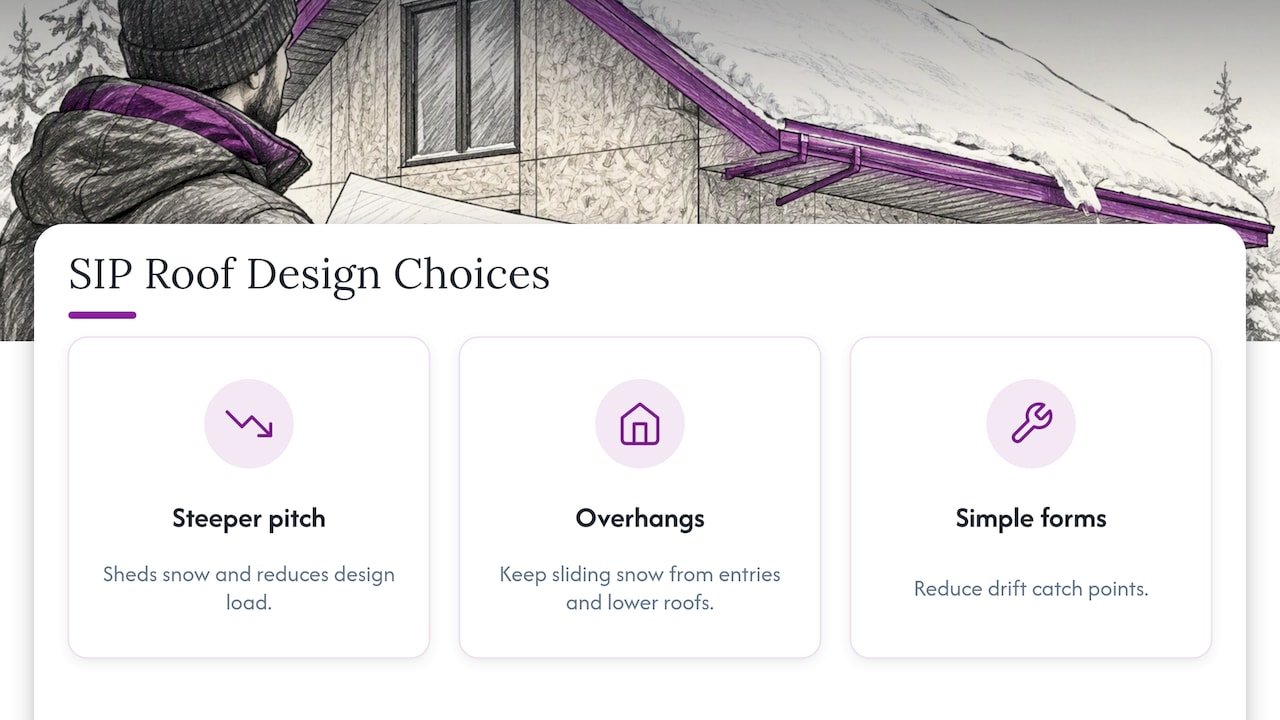
Overhangs matter too, though in a different way: they don’t reduce load on the main roof field, but they keep sliding snow and ice away from entries, walkways, and lower roof sections where a sudden slide could create a hazard or a concentrated impact load. Pairing a steeper main pitch with a well-sized overhang addresses both the uniform load problem and the sliding snow problem at once.
Avoiding complex roof shapes helps as much as pitch does. Every valley, step, and intersecting roof plane is a potential drift catch point, and the simplest gable or single-slope shed roof will almost always perform more predictably under snow than a roof with multiple intersecting volumes. Where a complex shape is unavoidable for design reasons, concentrate the extra structural attention, tighter fasteners, stiffer splines, engineered posts, at the specific transitions where drift is most likely to form rather than spreading that reinforcement evenly across the whole roof.
How SIP Roofs Differ from Traditional Framing Under Snow Load
A stick-framed roof and a SIP roof both have to carry the same code-required snow loads, but the way each system responds to that load is different enough to change how you design for it. Traditional framing relies on individual rafters or trusses spaced at regular intervals, each one an independent structural member, so a localized weak point, a split rafter or an undersized connection, tends to stay localized.
A SIP roof behaves as a composite panel system where the foam core and the facers work together, and the spline joints between panels are what transfer load from one panel to the next. That means the connection details carry more of the structural responsibility in a SIP roof than in a framed roof, where the rafters themselves are usually the limiting factor. Doubling a SIP’s foam core thickness does not double its load capacity, since capacity comes from the composite action between facer and core, not from the foam volume alone.
This also changes where failure risk concentrates. In framed construction, an overloaded rafter sags or fails roughly where the load sits. In a SIP roof, an overloaded joint can transfer stress to adjacent panels through the spline, which is why manufacturer ESR tables focus so heavily on connection type and fastener schedule rather than treating panel strength as an independent variable. Builders moving from framed construction to SIPs for the first time sometimes underestimate how much the spline specification, rather than panel thickness alone, determines whether a roof design is adequate for a given snow zone.
Real-World Performance of SIP Roofs Under Heavy Snow
SIP roofs have a long track record in regions that see substantial seasonal snowfall, including mountain resort construction and rural homes in northern climates, precisely because the panels can be specified to the exact loads those regions require rather than relying on a one-size-fits-all approach. The pattern across documented SIP performance is consistent: roofs specified and installed according to their ESR allowable-load tables and recommended connection details perform as expected through normal seasonal snow accumulation.
Where problems have occurred, the common thread in failure investigations is a mismatch between what was built and what the ESR assumed, not a flaw in the SIP concept itself. FEMA’s summary of snow-related structural issues repeatedly points to drift zones and concentrated loads at roof transitions as the recurring failure pattern across roof types generally, a pattern that applies to SIP roofs exactly as it does to framed ones whenever a drift-prone area wasn’t specifically reinforced.
This is the core lesson from how SIP roofs actually perform in the field: the panel system itself is proven for snow country when it’s specified correctly, and the risk concentrates almost entirely in the areas we’ve already flagged, unverified drift loads, mismatched spline details, and fastener schedules that don’t match the ESR’s assumptions. A roof built to its documented allowable loads, with joints kept clear of drift zones and connections detailed to the manufacturer’s specification, has no inherent disadvantage against snow compared to a conventionally framed equivalent.
What I’d Tell Anyone Building a SIP Roof in Snow Country
SIPs are a legitimate, verifiable choice for snowy climates, not a compromise you accept despite the snow. Treat the panel system the way you’d treat any engineered structural assembly: a documented set of allowable loads tied to specific connection details, not a generic product you can eyeball.
My practical advice is simple. Pull your ground snow load and roof geometry first, check that number against the manufacturer’s ESR table for your exact span and spline configuration, and bring in a registered design professional the moment your numbers get close to the published limits or a drift zone is in play.
— Kian
How Our SIP Kits Support Builds in Snowy Climates
Insulated sandwich panels should come with documented specifications, so you are never guessing at what a panel thickness or spline configuration can actually carry before you order. Factory-cut panels can mean fewer field joints and more consistent spline quality than a site-cut assembly, which matters most exactly where snow load calculations get strict.

If you’re planning a build in a heavy snow region, our insulated wall and roof panels page outlines the specifications available for each panel line, and our DIY flat pack planning guide walks through what to confirm before you order a kit for your site. Reach out through our products page for technical documentation on any panel line you’re considering.
FAQ
What does a 30 psf snow load mean?
A 30 psf snow load means your roof must be designed to support 30 pounds of snow weight evenly distributed across every square foot of surface. It’s a moderate design value common in many temperate snow regions, well within the allowable ranges published in most SIP manufacturer ESR tables for typical residential spans.
What does 5,400 Pa snow load mean?
A 5,400 Pa snow load converts to roughly 112.8 psf, a substantial design load typical of high-elevation or heavy mountain snow zones. At this level, you need to check your specific SIP thickness, span, and spline configuration carefully against the manufacturer’s ESR table, since many standard spans won’t qualify without added reinforcement.
What does 20 psf snow load mean?
A snow load around 15 to 30 psf is common in milder snow climates with regular melt cycles between storms. Most standard SIP roof configurations handle such loads comfortably within their published allowable-load tables, though drift zones near roof steps or parapets still need separate verification.
Is it cheaper to build with SIPs?
Cost depends on your region, labor rates, and project scope, so we can’t state a universal figure. SIP kits can reduce on-site labor time since panels arrive precut with structure and insulation combined, which is one reason builders consider them for snowy-region projects where a faster, controlled assembly process is valuable.
Sources
- ICC‑ES AC04 sandwich panel testing reference (Applied Testing)
- IBC Chapter 16 structural design (sample/section reference)
- ESR-1295 — Insulspan code evaluation report (example manufacturer ESR)
- FEMA snow study summary report