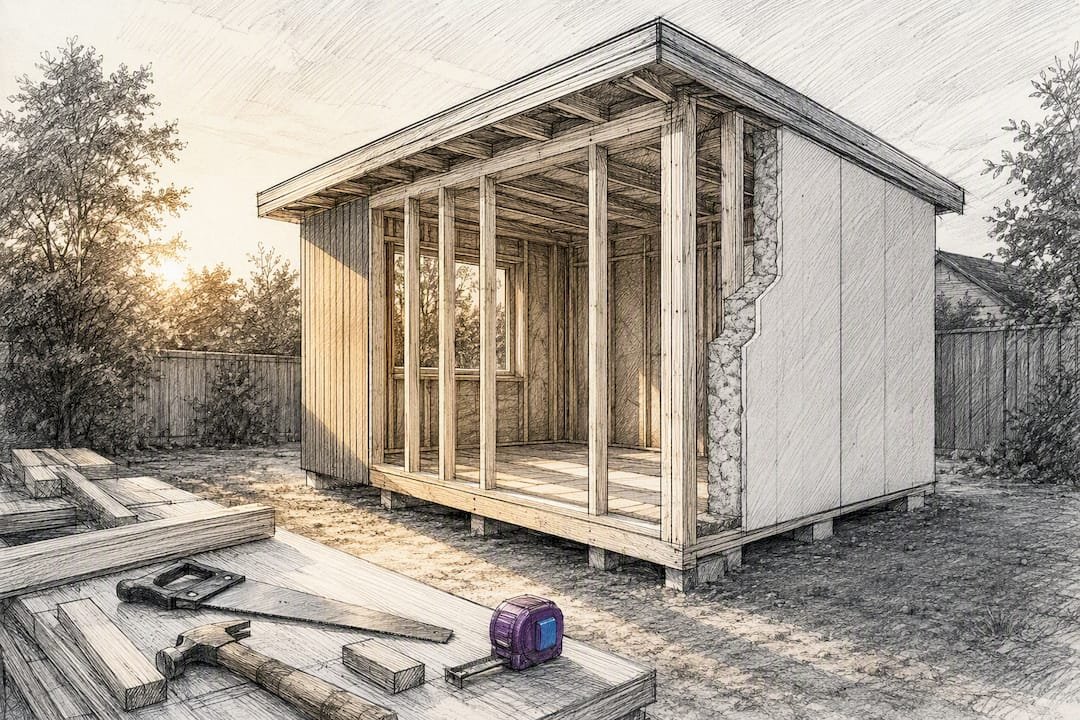
Building your own garden studio is realistic for anyone comfortable with basic carpentry, and two paths get you there: a timber frame self build or a structural insulated panel (SIP) kit. Timber framing costs less and flexes to odd layouts, but takes longer and demands more skill. A SIP or modular kit assembles in days, holds tighter thermal performance out of the box, and suits DIYers who want a predictable result. Either way, expect four to twelve weeks of real work and a budget that starts around a few thousand dollars for a basic shell.
TL;DR:
- A garden studio can be built using a timber frame or SIP kit, with kits offering faster assembly and better thermal performance for DIYers.
- Proper site planning, including checking drainage, boundary setbacks, and site shadows, can prevent costly mistakes and installation delays.
- Foundation options like concrete slabs, ground screws, or timber bases affect long-term durability, cost, and ease of installation, with SIP panels tolerating smaller foundations.
- Insulation, airtight sealing, and planning electrical and heating systems during build are vital for year-round use and are often underestimated.
- SIP kits enable a complete structure to be assembled in days, significantly reducing construction time compared to traditional timber framing.
Table of Contents
- How Do You Plan and Site a Garden Studio Before Building?
- Which Foundation Works Best for a Garden Studio?
- What Is the Build Sequence for a Garden Studio?
- How Do You Insulate and Wire a Garden Studio for Year-Round Use?
- How Should You Finish the Interior of a Garden Studio?
- What Does a Garden Studio Cost and How Long Does It Take?
- Why SIP and Modular Kits Are Worth Considering
- How Do You Keep a Garden Studio Build Safe and Efficient?
- A Quick Take on Choosing Your Build Method
- Get a SIP Kit Built in Days, Not Months
- Where to Go for More Detail
- Sources
- FAQ
How Do You Plan and Site a Garden Studio Before Building?
Start with a three-line brief, not a floor plan. Write down what the space is for, how many people will use it at once, and how many hours a week it will see traffic. A solo writer typically needs a compact space with sufficient power circuits for basic equipment. A two-person podcast setup needs sound isolation and double the outlets. This single exercise, recommended by architects who design garden rooms professionally, stops the common mistake of building bigger than the brief actually requires.
Once the brief is set, walk the site with a specific checklist:
- Orientation: south-facing glazing brings solar gain in winter but glare in summer; north light suits painters and photographers who need even, flat illumination
- Access: measure gate widths and path clearances against your largest delivered panel or kit crate
- Drainage and levels: standing water after rain signals a site that needs grading before any foundation work starts
- Boundary distance: check setback rules, since sheds and studios built close to a property line often trigger different permitted-development limits
- Existing trees and roots: root systems near a planned slab can shift foundations over several seasons
Permitted development rules vary by location, and detached garden buildings over certain height or footprint thresholds often need formal Building Regulations sign-off. Check local rules before ordering materials, and browse garden studio design ideas for layout inspiration once the brief is locked. A kit generally wins over a site build when access is tight, the timeline is short, or you’d rather not source a dozen trades yourself.
Pro Tip: Photograph your site at 9 a.m., noon, and 4 p.m. on a clear day before you design anything. Shadows move more than people expect, and a studio window planned around noon light can feel gloomy by mid-afternoon.
Which Foundation Works Best for a Garden Studio?
The foundation you pick locks in your budget, your timeline, and how forgiving the rest of the build will be. Three options cover almost every backyard:
- Concrete slab. Strongest and most permanent, good for heavier structures or long-term resale value, but it needs curing time and is the hardest to reverse if you move the studio later.
- Ground screws or piles. Fast to install, minimal excavation, and a solid match for sloped or uneven ground, though they cost more per point than a slab in some regions.
- Timber raised base. Cheapest and most DIY-friendly, works well on level ground, but sits lowest on long-term durability if drainage isn’t handled well underneath.
SIP and modular kits often tolerate tighter foundation dimensions since panels arrive factory-cut to precise measurements, which cuts down the on-site leveling and heavy lifting a timber build usually demands. Whichever base you choose, confirm site levels, drainage direction, and delivery access before ordering anything. Foundation choice tradeoffs around cost and drainage prep are well documented, and getting this stage wrong is the single most common cause of long-term damp problems in garden buildings. Add a damp-proof membrane between any timber sill and the foundation, no matter which base you choose.
What Is the Build Sequence for a Garden Studio?
A garden studio goes up in six phases, whether you’re swinging a hammer yourself or unpacking a kit.
- Foundations and floor insulation. Pour or install your slab, screws, or timber base, then lay a damp-proof course and rigid floor insulation before the subfloor goes down.
- Floor frame and subfloor. Build the joist frame, check every corner for square, and fix the subfloor panels. A frame that’s out of square by even half an inch compounds badly by the time you reach the roof.
- Walls and glazing. Erect timber wall frames or set SIP wall panels, then fit doors and windows, sealing the airtight layer as you go rather than after the fact.
- Roof. Frame or panel the roof, add the waterproof membrane, then insulate before the covering goes on.
- Services rough-in. Run electrics, data cabling, and heating pipework before any interior lining goes up. Test every circuit for continuity now, since fixing a fault after the walls are closed means cutting into finished panels.
- Interior finishes and cladding. Fit linings, flooring, and fixtures inside, then finish the exterior cladding and tidy the surrounding landscaping.
A confident DIYer working weekends can expect four to eight weeks for phases one through four with a timber build, compressed to a matter of days for SIP panel assembly once foundations are cured. Phases five and six typically add another two to three weeks either way.
Pro Tip: Order windows and any custom glazing the day you finalize your design. Lead times of six to ten weeks for double-glazed units are common, and a late window delivery can stall your entire roof-closing schedule.
How Do You Insulate and Wire a Garden Studio for Year-Round Use?
Insulation choice decides whether your studio is a three-season shed or a year-round workspace. Rigid foam boards, mineral wool, and SIPs all hit strong thermal performance, but SIPs deliver a given U-value in a thinner wall, which matters when floor space is already tight. Sequence matters just as much as material: install the vapor control layer before running any wiring, then route conduit and cable through dedicated channels so you never puncture that airtight barrier later.
- Heating: a small mini-split heat pump sized to the room’s volume handles most studios efficiently; underfloor heating adds comfort in a tight footprint without eating wall space with radiators.
- Connectivity: run Ethernet cable or empty conduit during the build. Retrofitting through an insulated, airtight wall later means cutting into finished panels, which is invasive and expensive.
- Electrical capacity: size your circuit with roughly 30% spare capacity above your current needs, covering future equipment without a rewire.
- Acoustics: double-glazed windows cut outside noise meaningfully for calls or recording; targeting a Sound Transmission Class in the mid-30s is a reasonable baseline for a home studio.
Nearly every guide to DIY garden offices flags insulation and services planning as the step people underestimate most, and it’s the one that’s hardest to fix after the fact.
How Should You Finish the Interior of a Garden Studio?
Flooring choice depends on moisture exposure at ground level. Engineered wood handles low-moisture rooms well, while luxury vinyl plank tolerates higher humidity and is more forgiving over an uneven subfloor. Ceramic tile is the most moisture-resistant option but adds cost and installation time most DIYers underestimate.
- Built-in shelving and wall-mounted desks reclaim floor area that freestanding furniture wastes in a small footprint.
- Layer lighting in three tiers: ambient overhead, task lighting at the desk or workbench, and accent lighting on dimmers for evening use.
- Check door and window seals at handover; a poorly sealed threshold undoes weeks of careful airtightness work in the walls.
- Add a simple deadbolt and a solid door frame; a garden studio sits farther from the house than most rooms, which makes basic security worth the extra $50.
What Does a Garden Studio Cost and How Long Does It Take?
A basic DIY timber shell runs on the lower end of the budget scale but takes the longest to finish. A mid-range timber build with proper insulation and glazing sits in the middle. A SIP or modular kit costs more upfront per square foot but compresses the schedule dramatically and reduces the specialist labor you need to hire.
- Foundations, glazing, electrics, and heating are the four line items that swing a budget from basic to premium fastest.
- Windows and SIP panels both carry lead times of several weeks, so order them the moment your design is final.
- Build in a 10 to 20% cost contingency for every project; surprises under the surface (roots, drainage, old utility lines) are common enough to plan for.
- Hire a licensed electrician for the final connection and sign-off even on a fully DIY build. Foundation work on sloped or poor-draining sites is also worth a specialist’s eye before you pour anything.
Why SIP and Modular Kits Are Worth Considering
SIP kits fold structure and insulation into a single factory-built panel, which is why Prefabmodularhome’s Structural Insulated Sandwich Panels assemble without specialty tools or trade experience. That factory process controls quality more tightly than on-site cutting ever can, and it’s part of why modular and SIP builds finish faster than stick framing.
- Faster on-site assembly can typically take days rather than several weeks.
- Consistent factory-set insulation values, panel to panel
- Fewer specialist trades needed for structure and envelope
- Finishes still fully customizable inside and out
A kit like a modular backyard office doesn’t replace the groundwork: you still need a proper site survey, a suitable foundation, and licensed electrical hookup. What it removes is the guesswork and labor time of framing a wall from raw lumber, as covered in Prefabmodularhome’s guide to practical prefab studios.
How Do You Keep a Garden Studio Build Safe and Efficient?
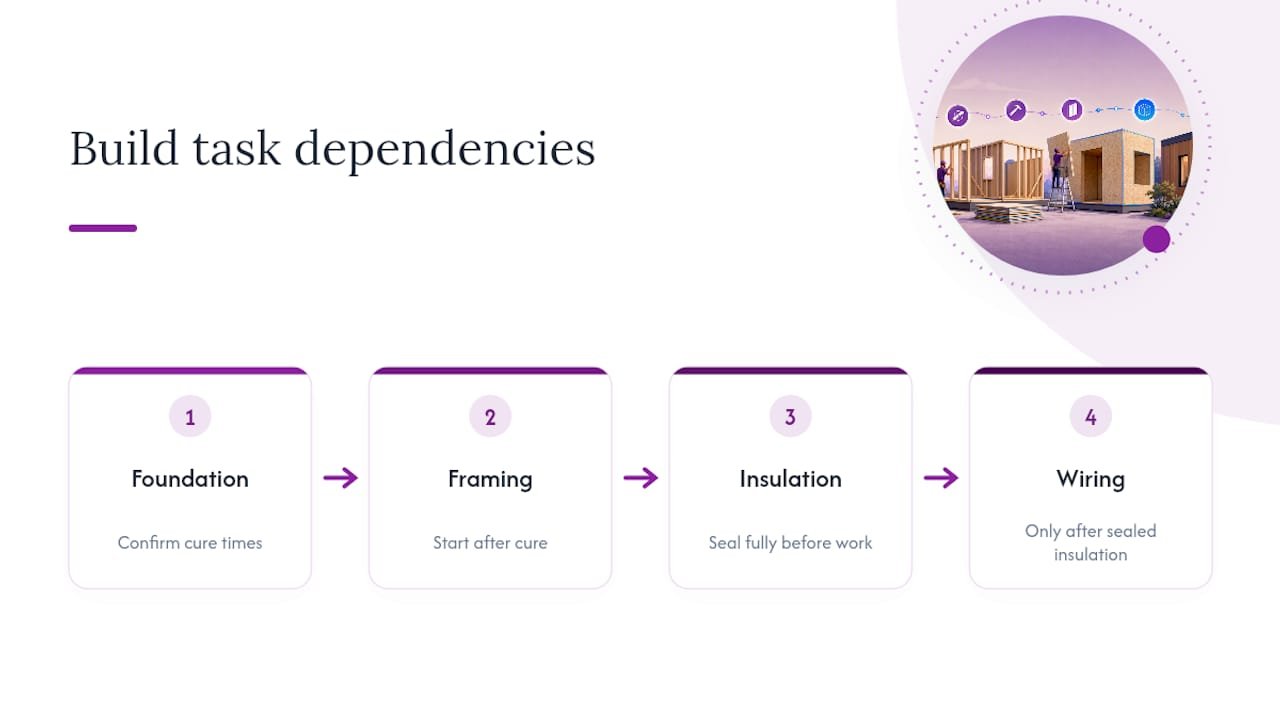
Sequence your work so each trade or task depends on the one before it being fully done, not half-finished. Framing before you’ve confirmed foundation cure times, or wiring before insulation is sealed, creates rework that costs more time than doing it in order the first time.
Keep a running materials list on-site and reorder anything you’re down to a day’s supply of, since a mid-project run to the lumber yard costs more than the drive. Stage heavy panels and lumber under cover near the build site, not stacked against a fence where wind or rain can warp them before you use them.
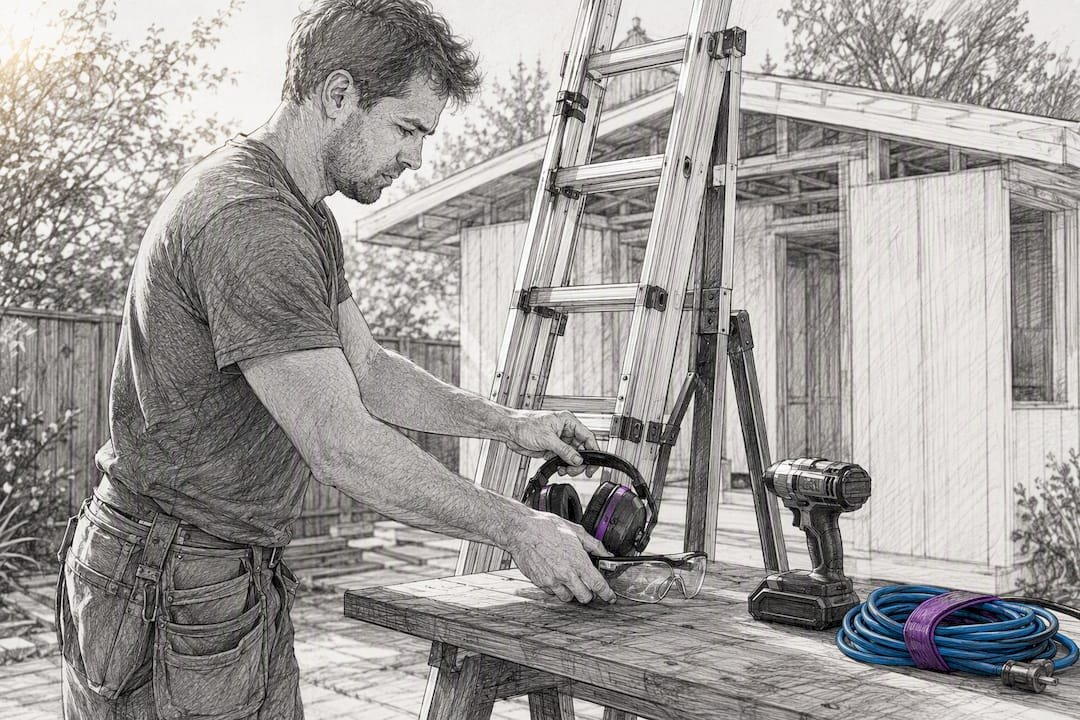
On safety, treat a backyard build with the same discipline as a job site. Wear eye and hearing protection when cutting panels or lumber, and use a proper ladder or scaffold platform for roof work rather than improvising on a stepladder. Keep power tool cords away from wet ground, and shut off any temporary power source before touching wiring, even between short breaks. If you’re lifting SIP panels solo, know their weight limit before you try; a panel that seems manageable at shoulder height can strain a back badly overhead. Clear your work area of scrap and offcuts at the end of each session. A tidy site isn’t just tidier, it’s the difference between a clean weekend build and a trip to urgent care over a tripping hazard nobody bothered to move.
A Quick Take on Choosing Your Build Method
I’d lean toward timber framing if you enjoy the process and have weekends to spare. Choose a SIP kit if your time is limited or thermal performance matters more than the satisfaction of cutting every stud yourself. Either way, a well-insulated envelope holds resale value better than a shed that was never meant for year-round use.
— Kian
Get a SIP Kit Built in Days, Not Months
If a timber build sounds like more weekends than you have, a SIP kit skips most of the framing labor entirely. Panels that arrive factory-insulated and precisely cut can be assembled in days rather than the weeks a stick-framed shell usually takes, without needing a crew of specialty trades to close up walls and roof.
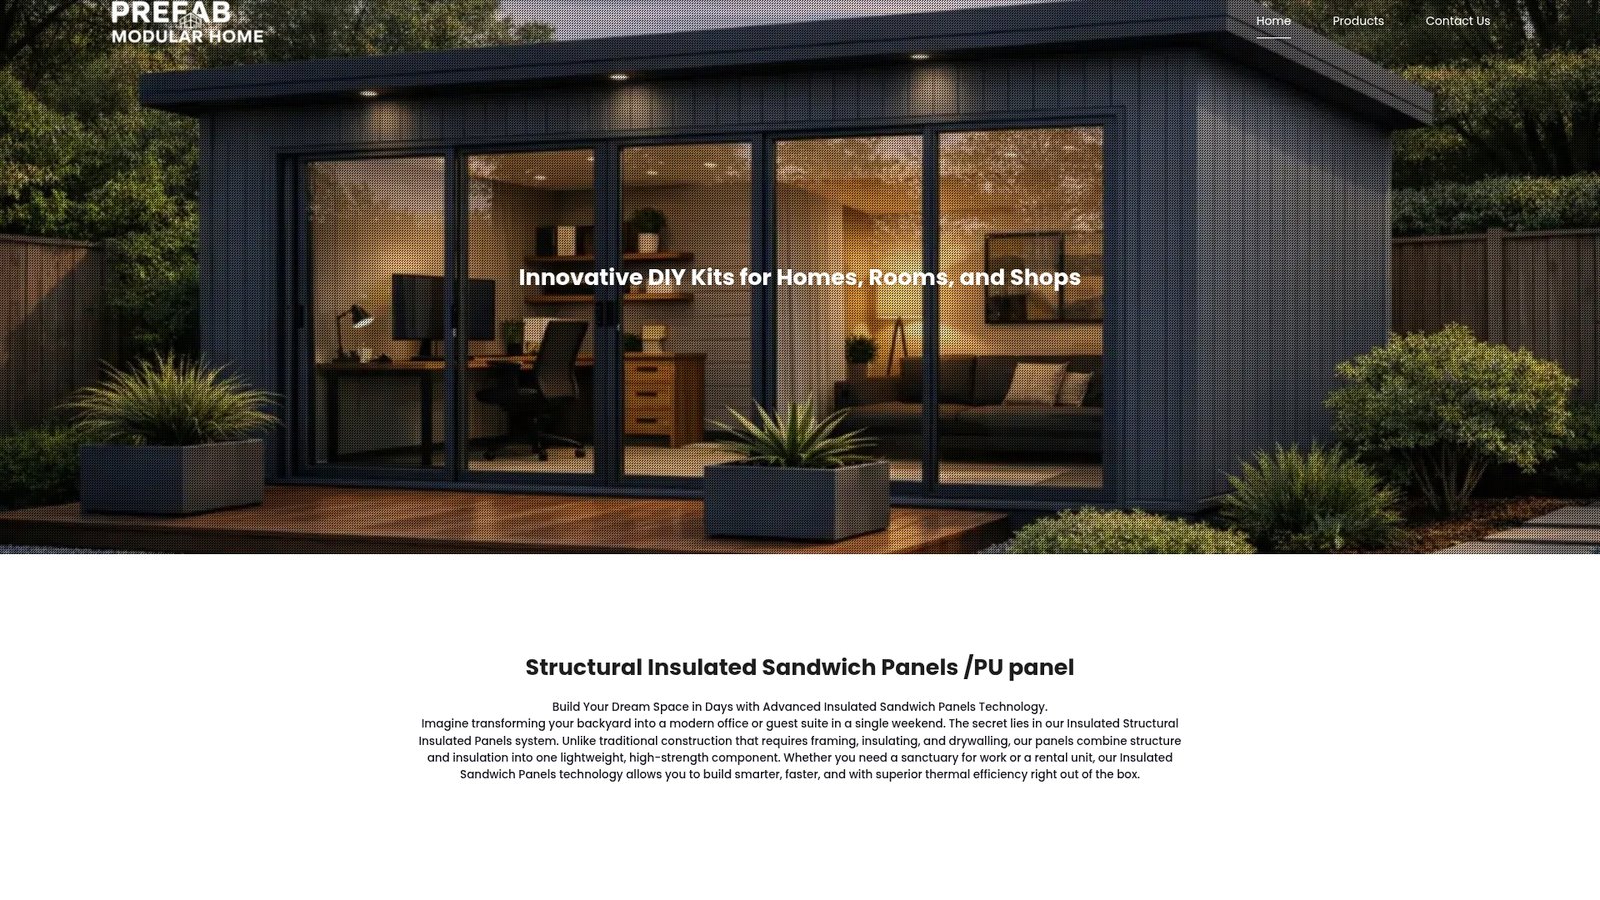
The panels combine structure and insulation into one piece, which means fewer separate materials to source and fewer chances for a DIY build to go sideways on thermal performance. Check the specs and layout options on the modular backyard office page, or read the field guide to assembling a kit home to see exactly what a weekend of panel assembly looks like before you commit to ordering.
Where to Go for More Detail
For deeper technical reference beyond this guide, check the full planning-to-fit-out breakdown, the step-by-step build photos, and Prefabmodularhome’s sandwich panel thermal performance guide for U-value specifics. For planning and permit context, the regulatory overview from ExtensionKings covers similar setback and approval questions that apply to garden studios.
Sources
FAQ
How Do I Build My Own Garden Studio?
Write a short brief covering use and hours of occupancy, choose a foundation suited to your site, then follow the sequence of foundation, floor, walls, roof, services, and finishes. A timber frame or a SIP kit are both viable DIY routes, with kits cutting assembly time significantly.
Is It Cheaper to Buy or Build a Garden Room?
A DIY timber build is usually the lowest upfront cost if your own labor is free, but a SIP or modular kit often costs less overall once you factor in reduced specialist labor, faster completion, and fewer material overruns.
How Much Does It Cost to Build a Studio in My Backyard?
Costs range from a basic DIY timber shell on the low end to a premium SIP or modular kit on the high end, with foundations, glazing, electrics, and heating driving most of the difference. Get specific figures for your footprint and finish level from a modular backyard office quote before finalizing a budget.
Do I Need Planning Permission for a Garden Studio?
Rules vary by location, but many detached garden buildings under a certain height and footprint qualify for permitted development. Studios placed close to a boundary or exceeding local size thresholds often need formal approval, so check before ordering materials.
What’s the Fastest Way to Get a Year-Round Garden Studio?
A SIP or modular kit is the fastest route to a properly insulated, year-round space, since factory-built panels combine structure and insulation into one assembly step rather than requiring separate framing and insulating stages on site.