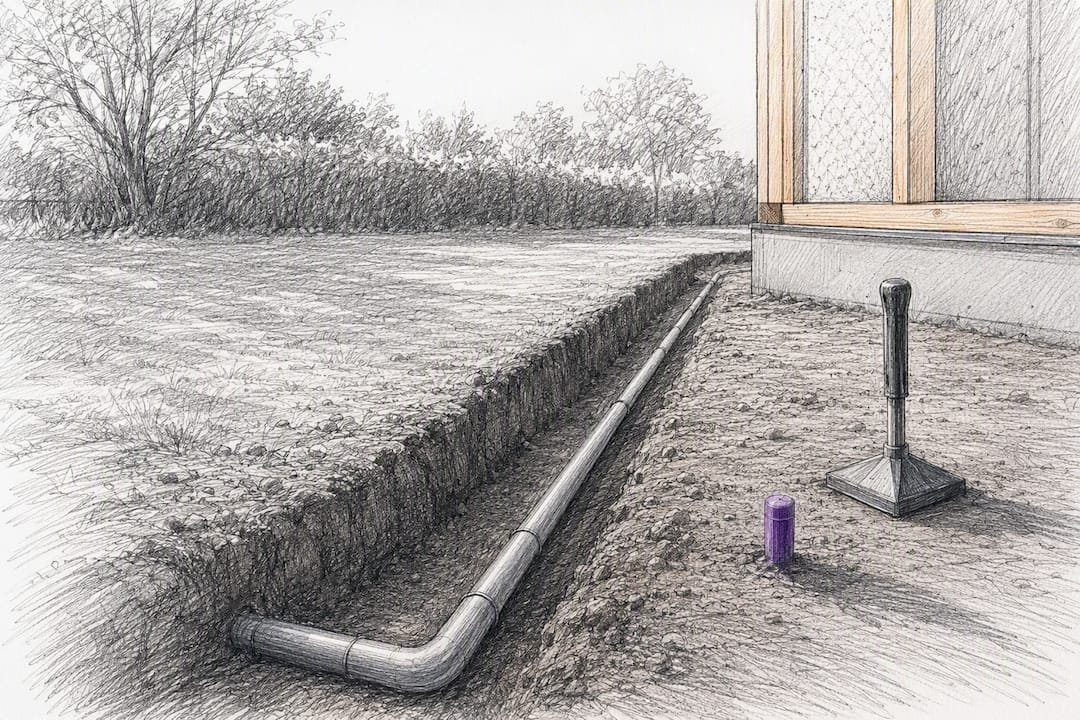
For most gardens, the fastest route to reliable connectivity is a buried Cat6 cable run into a PoE access point, giving your garden office the same gigabit speed as your living room. If trenching isn’t possible, a point-to-point wireless bridge is the next best fix. Mesh extenders only work well over short, unobstructed distances. Test signal and speed first, before spending money on any of it.
TL;DR:
- Buried Cat6 with PoE access points provides the most reliable and future-proof connection, capable of delivering gigabit speeds up to 100 meters with minimal ongoing maintenance.
- A point-to-point wireless bridge offers nearly wired reliability over clear line-of-sight, with real-world speeds often reaching 500 to 900 Mbps, but requires precise mounting and unobstructed views.
- Mesh extenders and Wi-Fi repeaters are only dependable within about 8 meters of the main router, with obstacles like walls and trees significantly weakening signal strength.
- Testing signal strength, speed, and distance before installing is critical to choosing the optimal method, especially since dropping below 70 dBm RSSI or halving speeds rules out mesh solutions.
- Planning conduits or cable runs during initial construction avoids costly future excavation, making hardwiring a highly durable, long-term investment for garden offices.
Table of Contents
- How Do I Test Garden Office Wifi Before Buying Anything?
- Which Wifi Method Actually Works Best for a Garden Office?
- Buried Cat6 and an Access Point: What the Installation Actually Involves
- When Does a Point-to-Point Wireless Bridge Make Sense?
- Is an Outdoor Access Point With an Aerial Cable Run Worth It?
- Can Mesh Wifi or Extenders Actually Cover a Garden Office?
- Do Powerline Adapters or Mobile Routers Work for a Garden Office?
- What Will a Garden Office Wifi Setup Actually Cost?
- What Safety Checks Should I Do Before Installing Garden Wifi?
- Should You Plan Wifi Before Building Your Garden Office?
- Is Hardwiring Really Worth the Extra Upfront Work?
- Building Connectivity Into Your Garden Office From the Start
- Where to Read More on Garden Office Connectivity
- Sources
- FAQ
How Do I Test Garden Office Wifi Before Buying Anything?
Before you buy a single piece of hardware, spend twenty minutes measuring what you’re actually dealing with. Distance and obstacles matter more than most people assume, and skipping this step is how homeowners end up with the wrong fix.
- Measure the distance. Use a tape measure or a mapping app to get the real distance between your router and the garden office, then note anything in between: brick walls, fences, mature trees.
- Run speed tests. Take 3 to 5 Ookla speed tests from inside the garden office at different times of day, since ISP congestion can skew a single reading.
- Check signal strength. Download a free Wi-Fi analyzer app and look at the RSSI reading. Anything weaker than negative 70 dBm means the signal is struggling, not just slow.
If your speeds drop by more than half compared to the house, or RSSI reads below negative 70, skip mesh entirely and go straight to a wired or bridged solution.
Which Wifi Method Actually Works Best for a Garden Office?
Here’s the ranking, from most reliable to most limited, based on how these methods actually perform once weather, distance, and walls get involved.
- Buried Cat6 + access point. The gold standard. Delivers full gigabit speeds reliably up to 100 meters and needs almost no ongoing attention once it’s in the ground.
- Point-to-point wireless bridge. Nearly as good as wired when you have clear line-of-sight, no digging required.
- Outdoor AP with aerial PoE run. A solid compromise if you want wired reliability without trenching the whole garden.
- Mesh system or Wi-Fi extender. Cheap and quick, but only dependable under roughly 8 meters with a clear path.
- Powerline adapters or mobile 4G/5G router. Genuine fallback options, not primary solutions, when nothing else is workable.
A quick note on reliability: installer guidance from London Garden Rooms puts a 30 meter buried Cat6 run at half a day to a full day of install time, which is often less disruptive than homeowners expect.
Buried Cat6 and an Access Point: What the Installation Actually Involves
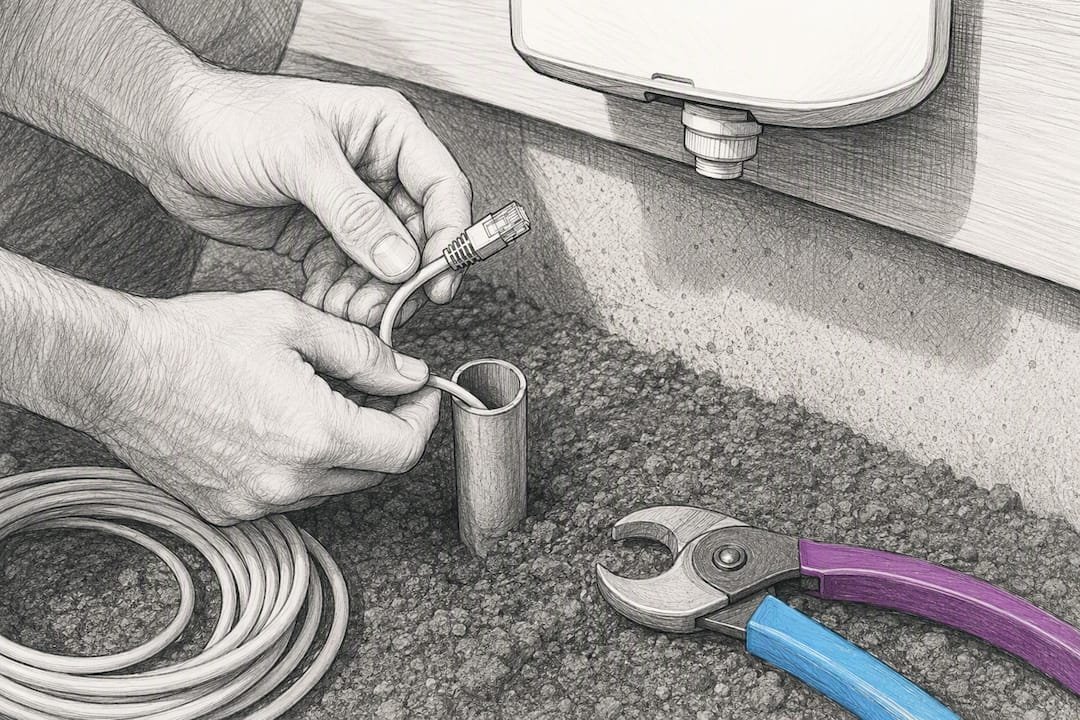
Cat6 cable is future-proof in a way wireless simply isn’t. It handles gigabit speeds today and has enough headroom for whatever bandwidth-hungry gear shows up in your home office over the next decade.
Materials to buy: outdoor-rated Cat6 or Cat6a cable, 25mm electrical conduit, a PoE switch or injector, an outdoor-rated wall plate, and weatherproof connectors at both ends.
- Dig or reuse a trench. Standard depth is around 45 to 60 centimeters if you’re running new conduit; if a trench already exists for power, you can often share it with proper separation.
- Pull the cable through conduit. Never bury unprotected cable directly. Conduit protects against rodents, tree roots, and future spade damage.
- Terminate and mount the access point. Fit the PoE-powered AP inside the garden office, ideally on the wall facing the desk area rather than tucked in a corner, using outdoor awnings and coverings to provide mounting points and protection for your equipment.
- Test with iPerf3 and Ookla. Run throughput tests before you consider the job done. You want numbers close to what your router delivers indoors.
Pro Tip: Run the conduit slightly oversized. A spare 20mm of space lets you pull a second cable later without digging up the garden again.
Expect a half day to full day of labor for a typical 30 meter run, plus materials. It’s the one job on this list worth paying a professional for if you’ve never worked with conduit before.
When Does a Point-to-Point Wireless Bridge Make Sense?
A PtP bridge uses two dedicated outdoor units, one mounted on the house, one on the garden office, talking to each other over a focused 5GHz signal instead of broadcasting in every direction like a normal router. That focus is why these bridges outperform consumer mesh extenders at distance, often hitting 500 to 900 Mbps in real-world conditions.
- Line-of-sight is non-negotiable. Even a single tree branch swaying into the path can cause dropouts.
- Mount high. Eaves or a pole above fence height keeps the signal clear of hedges and garden furniture.
- Power and weatherproofing matter. Most units run on PoE, so budget for a weatherproof enclosure and proper grounding if you’re near a metal roof or fence.
- Check channel congestion. Neighboring Wi-Fi networks can interfere; most bridge apps let you pick a cleaner channel manually.
Pro Tip: Log into the bridge’s dashboard monthly and check the signal quality graph. A steady decline over a few tree-growing seasons is your cue to trim branches or reposition the units, not to assume the hardware is failing.
Properly mounted, these units tend to run for years with minimal fuss, according to installer data on PtP longevity.
Is an Outdoor Access Point With an Aerial Cable Run Worth It?
If digging a full trench feels like overkill but you still want wired reliability, an aerial PoE run splits the difference. You run outdoor-rated Ethernet along a fence line or under eaves instead of underground, then power an outdoor-rated AP at the garden office end.
- Use aerial runs when the garden is short and has a fence or wall to clip cable along.
- Size your PoE switch or injector to the AP’s power draw, and always buy IP65 or higher rated gear for anything mounted outside.
- Mount the AP under an eave or in a weatherproof box, never in direct rain exposure.
- Inspect clips and cable jacketing yearly. UV exposure degrades cheap cable faster than most people expect.
It’s a reasonable middle path, though outdoor kit generally needs replacing sooner than buried cable, which can last decades untouched.
Can Mesh Wifi or Extenders Actually Cover a Garden Office?
Mesh systems are the easiest fix to try, and sometimes that’s exactly the problem. Retailers market them as universal solutions, but they really only perform well under about 8 meters with minimal obstruction. Brick walls, double glazing, and leafy trees in summer all cut signal noticeably.
- Place the main router as close to an exterior-facing window as practical.
- Switch to the 2.4GHz band for range, since it penetrates walls better than 5GHz, even though it’s slower.
- Keep firmware updated. Manufacturers regularly patch range and stability issues.
- Test before committing. If a garden-facing mesh node still shows weak signal at the office desk, that’s your answer: move to a wired or bridged method instead.
Do Powerline Adapters or Mobile Routers Work for a Garden Office?
Powerline adapters send data over your home’s electrical wiring, which sounds convenient until you learn they only work reliably when both ends share the same circuit. Garden offices are frequently wired on a separate circuit or consumer unit, which kills performance outright.
- Test powerline first with a cheap starter kit before committing to a full setup.
- Mobile 4G/5G routers work well as a fallback, provided you check cellular signal strength at the office and budget for an ongoing SIM data plan.
- Neither is a great primary solution for full-time remote work, where dropped video calls have real consequences.
What Will a Garden Office Wifi Setup Actually Cost?
Budgets vary by method, and the biggest cost driver isn’t the hardware. It’s the labor, especially if trenching is involved.
- Buried Cat6 route: outdoor cable, conduit, PoE switch, and AP. Materials are modest; digging labor is the bulk of the cost if you hire it out.
- PtP bridge kit: a matched pair of outdoor units plus mounting brackets, generally a mid-range one-time cost with no ongoing fees.
- Outdoor AP with aerial run: cheaper than full trenching, similar AP cost to the wired route, plus weatherproof mounting hardware.
- Mesh kit: the lowest upfront cost of any method here, sold as a simple plug-and-play box.
- Powerline or mobile router: low upfront cost, though mobile routers carry recurring SIM data charges.
Whichever route you choose, prioritize IP65 or higher rated enclosures for anything outdoors, and check the manufacturer’s warranty length before buying. A number of respected installer guides put the labor time for a 30 meter Cat6 run at half a day to a full day, which is a useful benchmark for pricing quotes.
What Safety Checks Should I Do Before Installing Garden Wifi?
A few basic precautions prevent an afternoon project from turning into an expensive mistake.
- Call before you dig. Check for buried pipes or existing cables using a cable locator or your utility provider’s mapping service.
- Keep data and mains cable separated by the distance your local electrical code recommends, and never run them in the same unshielded conduit.
- Bring in a certified electrician for any mains work, and a network professional if you’re unsure about terminating cable correctly.
- After install, retest with Ookla and a signal analyzer to confirm you actually got the improvement you paid for.
Should You Plan Wifi Before Building Your Garden Office?
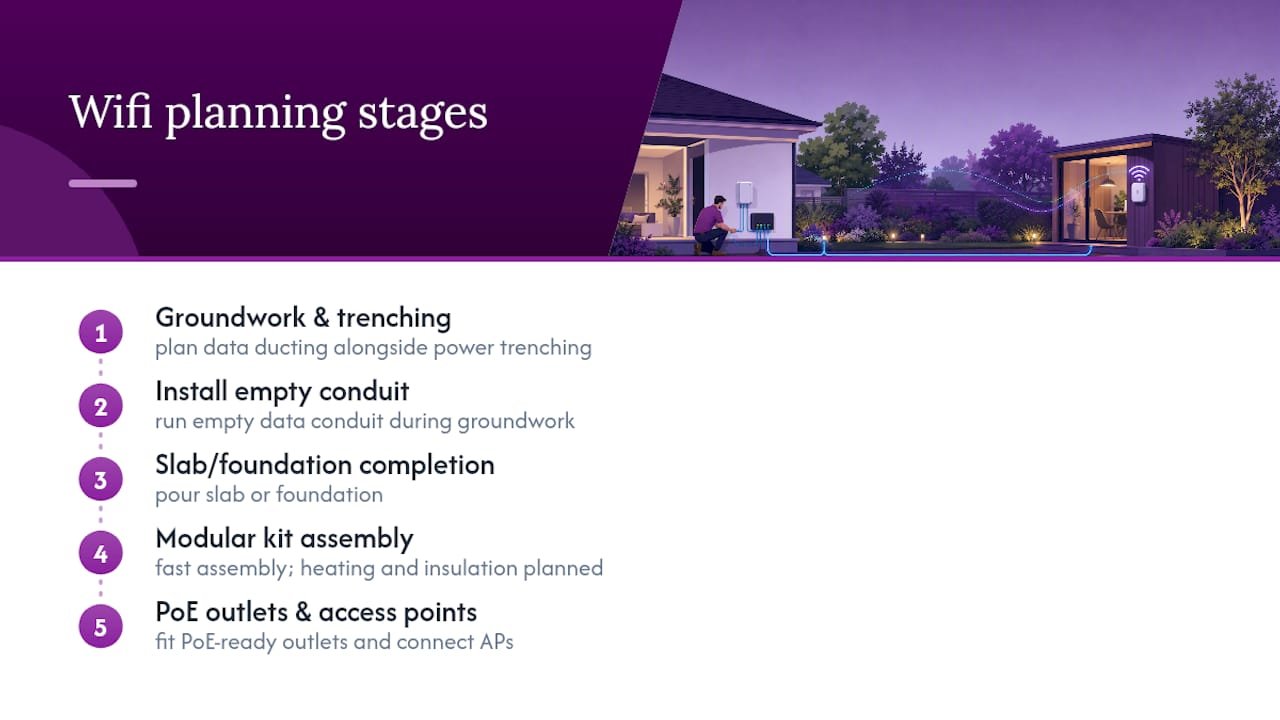
The cheapest time to install conduit is during groundwork, before the slab or foundation goes down. Planning data ducting alongside power trenching at that stage avoids the far costlier job of digging up finished landscaping later.
If you’re building with a modular kit designed for fast assembly, this is the moment to add PoE-ready outlets and empty conduit runs, since the year round heating and insulation planning for the same build already happens at this stage anyway.
Is Hardwiring Really Worth the Extra Upfront Work?
My honest read: hardwiring wins on paper and in practice, but I understand why people avoid it. Digging a trench is more effort than clicking “buy” on a mesh kit. The trade-off is real: a weekend of work now buys you a decade of not thinking about your connection again. Test your signal first, then decide.
— Kian
Building Connectivity Into Your Garden Office From the Start
If you’re planning a garden office from scratch rather than retrofitting an existing shed, modular kit designs can provide a real advantage over bolting wifi fixes onto a finished structure later: conduit, power routing, and PoE-ready points can be built into the panel assembly, avoiding cutting into finished walls or replanting torn-up turf months after move-in.
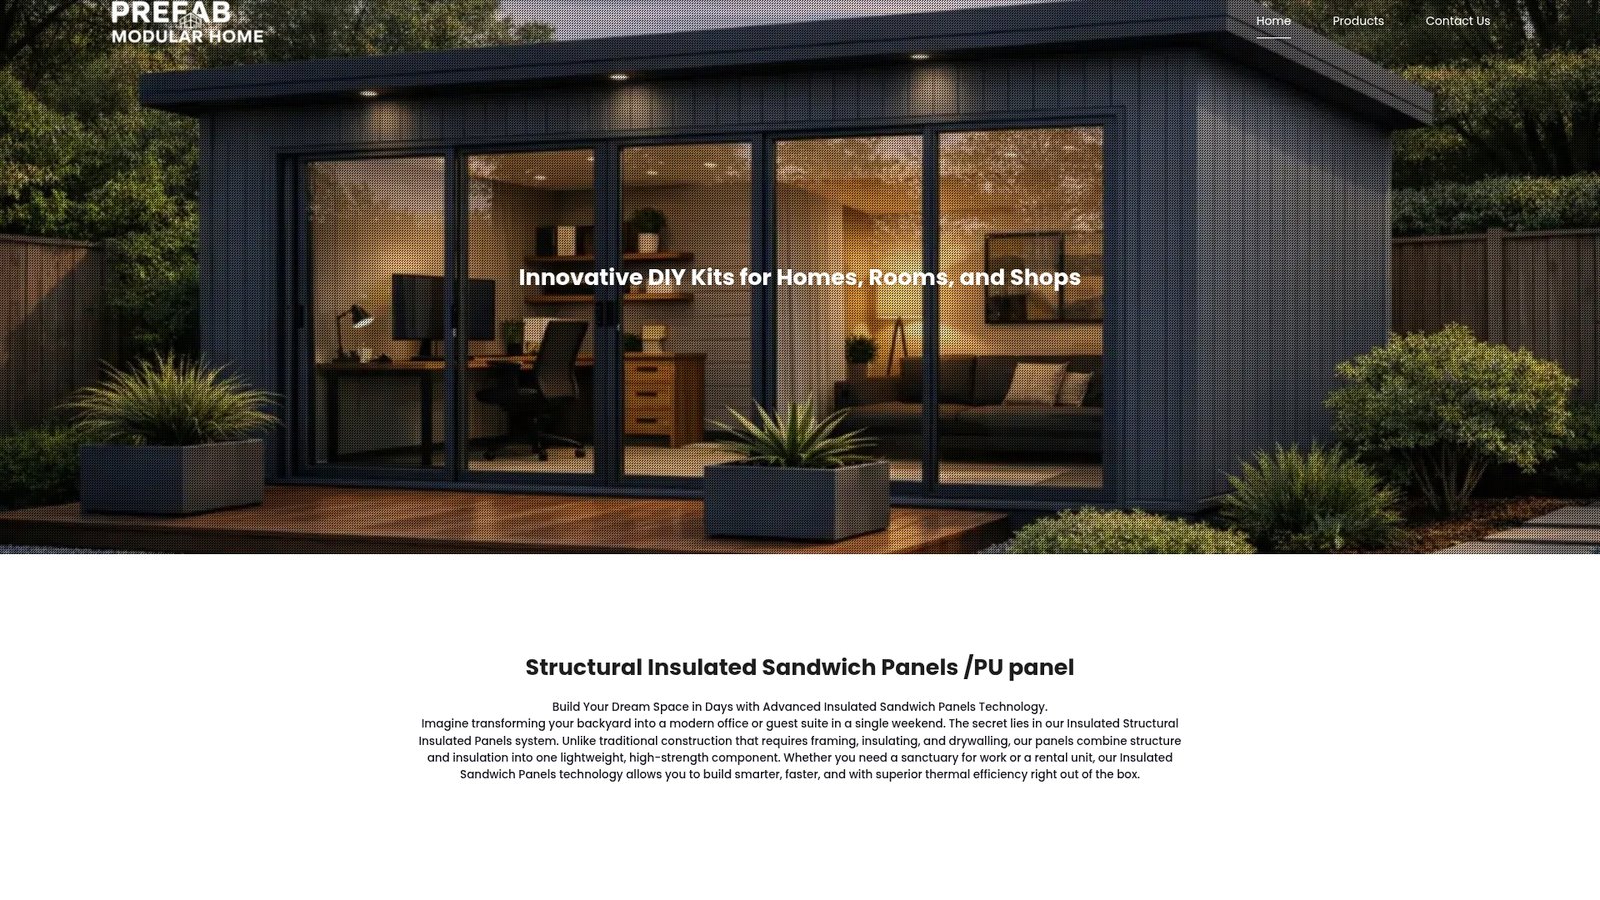
Structural Insulated Sandwich Panels can assemble quickly, which means the groundwork phase, when trenching for cable is cheapest and easiest, may align naturally with the build timeline instead of becoming a separate, disruptive project. One planning pass can cover insulation, power, and connectivity together, instead of three separate tasks spread across a year. If you’re weighing a new garden office build, check the modular home extensions page to see how conduit and data planning fit into the kit before you ever pour a foundation.
Where to Read More on Garden Office Connectivity
- Virgin Media’s extension guide for router-side quick fixes.
Sources
- WiFi to a Garden Office: The Three Best Methods Ranked
- How to Extend Wi‑Fi to your Garden Office – NetLinx Cabling
- Which
FAQ
How Can I Get Wifi in My Garden Office?
Run a buried Cat6 cable to a PoE access point for the most reliable connection, or use a point-to-point wireless bridge if trenching isn’t an option. Test signal strength first with a Wi-Fi analyzer app to confirm which route you actually need.
What Is the Best Wifi Router or Setup for a Garden Office?
There’s no single “best router” since the office is separate from the house. The better setup is a dedicated access point fed by buried Cat6 or a wireless bridge, rather than relying on your main router’s range alone.
How Can I Get Wifi in My Garden Without Digging?
A point-to-point wireless bridge is your best option, delivering near-gigabit speeds over clear line-of-sight without any trenching. Mesh extenders can work too, but only over short distances of roughly 8 meters or less with no major obstructions.
How Do I Get Internet to the Bottom of My Garden Office?
For a distant garden office, buried Cat6 in conduit or a properly mounted wireless bridge both outperform mesh systems at longer range. If you’re building the office from scratch, planning conduit during construction, as covered in Prefabmodularhome’s modular room addition guide, avoids digging up finished landscaping later.