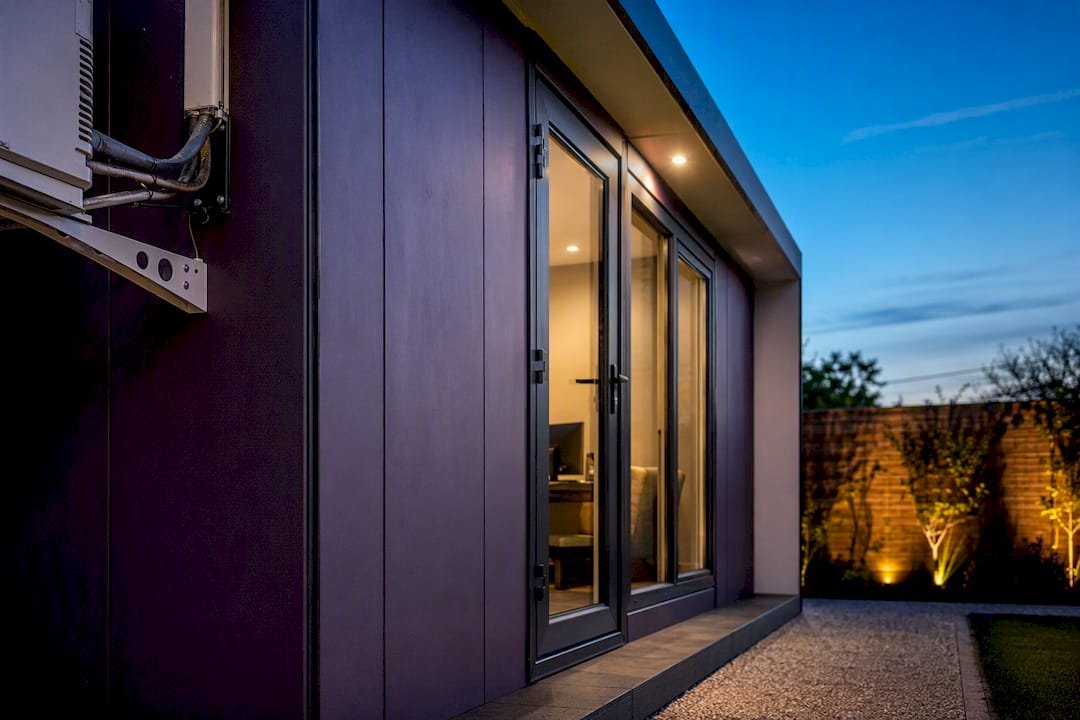
If you’re in your garden office five days a week, a reverse-cycle heat pump (mini-split) is the best heater for the money, delivering 3 to 4 units of heat for every unit of electricity it uses, according to Ariston’s explanation of heat pump COP. If you only pop out there a few hours here and there, an infrared panel heats you, not the room, and gets warm almost instantly. But none of that matters much if your garden office leaks heat like a sieve.
Before you spend a cent on a heater, check your insulation. A poorly insulated garden room can need two or three times the heating capacity of a well-built one, and no heater, however efficient, fixes a cold floor or a draughty door.
- Daily use (9 to 5, year round): Reverse-cycle heat pump or mini-split
- Occasional use (a few hours, few days a week): Infrared panel or electric convector
- No mains power access: Oil-filled radiator (short-term) or a properly vented wood burner
- Tight budget, still want comfort: Insulate first, then add a panel heater
Pro Tip: A heat pump rated with a COP around 3 to 4 effectively turns one unit of electricity into multiple units of heat. That gap is the single biggest lever on your annual running cost.
Key Takeaways
The single biggest factor in garden office heating cost isn’t the heater you buy, it’s how well the building traps the heat you pay for.
| Point | Details |
|---|---|
| Insulate before you heat | Address roof, floor, and wall insulation and seal draughts before sizing any heater. |
| Match heater to usage | Choose a heat pump for daily year-round use and infrared or panel heaters for occasional use. |
| Use COP to compare costs | A heat pump’s COP of 3 to 4 delivers far more heat per dollar than direct electric heaters. |
| Add smart controls | Programmable thermostats with adaptive start can cut heating energy use by 20 to 30 percent. |
| Get a real heat-loss calculation | Ask installers to size equipment based on insulation and glazing, not square footage alone. |
Table of Contents
- What’s the Best Garden Office Heating for Your Situation?
- Why Insulation and Draught-Proofing Matter More Than the Heater
- Which Heater Type Actually Fits Your Garden Office?
- How Much Will It Actually Cost to Run?
- What Should You Check Before Installing a Heater?
- How Do You Choose the Right System?
- Why Building-Stage Insulation Beats Retrofitting Later
- Where to Learn More About Garden Office Heating
- What Actually Matters Most in This Decision
- Sources
What’s the Best Garden Office Heating for Your Situation?
Your usage pattern decides more than your budget does. Someone working from a garden office 40 hours a week needs a completely different setup than someone who uses theirs for weekend hobby projects.
- Remote worker, daily 9 to 5: A mini-split heat pump pays for itself over a few winters through lower running costs, and it doubles as air conditioning for garden office space in summer.
- Weekend or evening use only: An infrared panel or a decent electric panel heater warms the space fast without waiting for a system to cycle up, and you’re not paying to heat an empty room all day.
- Garden workshop or hobby space with irregular hours: Look at garden workshop heating options like a wall-mounted infrared panel plus a portable oil-filled radiator for cold snaps.
- Off-grid or no easy electrical run: Bottled gas heaters work but need real ventilation, so they suit occasional use, not daily occupation.
- Luxury/high-spec build: Electric underfloor heating paired with a heat pump gives even warmth and no visible units, at a higher upfront cost.
For sizing, BeyondTheUrban’s insulation guide suggests a rough guide is about 150 to 200 watts per square meter for a well-insulated space, which suggests a typical small office needs heating capacity in the low kilowatt range. That number shifts fast with glazing and orientation, so treat it as a starting point, not a final answer. Whatever you pick, insulation still comes first. A 2kW heater in a leaky shed underperforms a 1kW heater in a tight, well-sealed one.
Why Insulation and Draught-Proofing Matter More Than the Heater
Garden office heating only works as well as the building around it. According to the Garden Office Guide, heating performs best when it’s planned at the design stage, not bolted on after the fact with a plug-in heater and a hopeful attitude.
Walls, roof, and floor each need attention, and floor insulation is the one budget builds skip most often. That’s a mistake. Cold rises from an under-insulated floor faster than most people expect, and it’s one of the hardest things to fix after the slab is poured, per BeyondTheUrban’s guidance on insulation priorities.
Your draught-proofing checklist should cover:
- Door seals and thresholds, where cold air sneaks in around gaps you can’t always see
- Window seals, especially on older single-glazed units
- Cable and pipe entry points, which are frequently overlooked and left unsealed
- Roof-to-wall junctions, a common weak spot in prefabricated builds
Glazing choices matter beyond just keeping heat in. South-facing windows (or north-facing in the Southern Hemisphere) bring in free solar warmth during winter, but the same glass can turn your office into a greenhouse by July. Double glazing with a low-E coating cuts both problems at once.
Pro Tip: If your budget only stretches to one upgrade, put it into roof and floor insulation before walls. Heat rises and escapes through an uninsulated roof fast, and a cold floor undermines comfort no matter how warm the air feels.
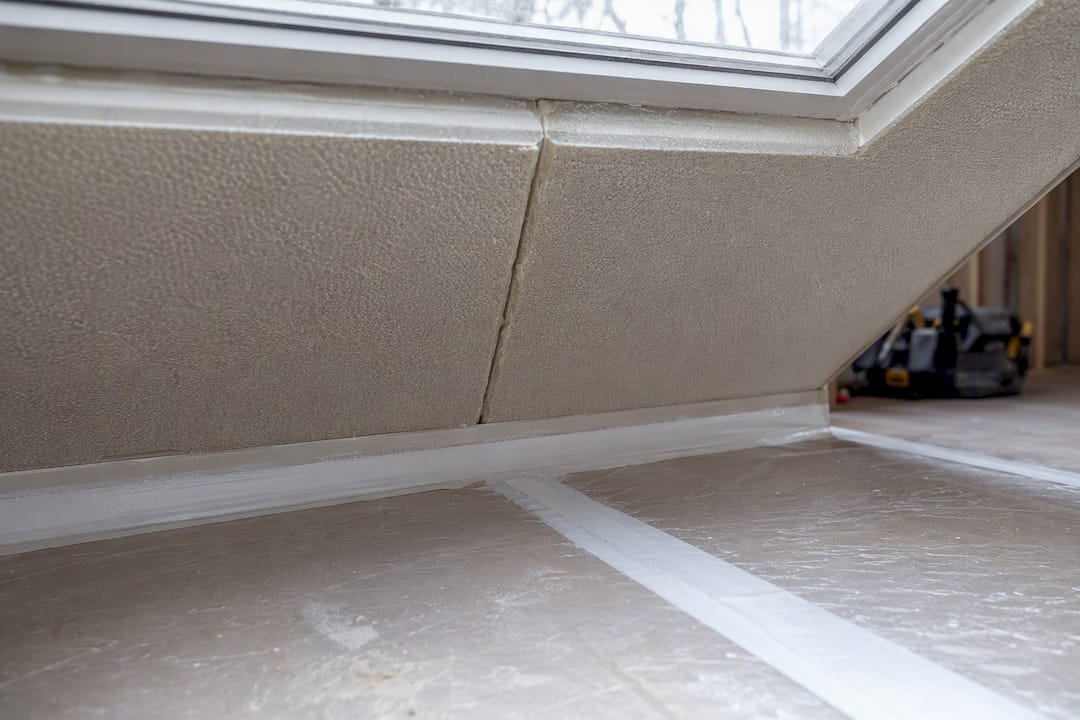
A properly sealed, well-insulated office might need a heater half the size of one built without these steps, which changes your equipment cost and your monthly bill at the same time.
Which Heater Type Actually Fits Your Garden Office?
Every heating technology trades off speed, running cost, and installation complexity differently. Here’s how the main options stack up.
Air-source mini-split heat pumps move heat rather than generate it, which is why their COP runs 3 to 4 instead of the 1-to-1 ratio you get from direct electric resistance heat. They also cool in summer, addressing garden office cooling and heating with one unit. Installation requires a certified refrigerant technician, and running one daily is where the efficiency gap pays off most. BestGardenRoom’s guide to garden room air conditioning calls this combination one of the strongest all-round choices for garden rooms specifically because it solves both winter and summer discomfort with a single install.
Electric panel and convector heaters warm up within minutes and cost little to buy, making them a sensible pick if you’re only in the office a few hours at a stretch. Running cost per hour is higher than a heat pump’s, but for occasional use, the lower purchase price often wins out.
Infrared panels heat objects and people directly rather than warming the air first, so they feel effective the moment you switch them on. They mount flush to walls or ceilings, take up no floor space, and suit anyone who wants warmth on demand without preheating a room.
Oil-filled radiators and portable heaters offer flexibility. Move them wherever you need heat, no installation required. The trade-off is slow response and a tendency to keep radiating heat after you’ve turned them off, which isn’t always useful when you’re trying to leave.
Electric underfloor heating delivers the most even warmth of any option here and hides the equipment entirely. It’s best specified during the build stage since retrofitting it under an existing floor is disruptive and costly.
Wood burners and bottled gas heaters appeal for aesthetic reasons or off-grid situations, but both come with real caveats. Wood burners need a certified flue installation and regular chimney maintenance. Bottled gas heaters demand proper ventilation to avoid carbon monoxide buildup, and neither is well suited to a small, tightly sealed office where fresh air exchange is limited.
For a quick reference, sizing generally scales like this:
- Occasional use, small space (under 8m²): 1 to 1.5kW panel or infrared heater
- Daily use, well-insulated (9 to 12m²): 1.5 to 2.5kW heat pump
- Daily use, poorly insulated or larger space (15m²+): 2.5kW+ heat pump, ideally after an insulation upgrade first
How Much Will It Actually Cost to Run?
The number that matters most here is COP, coefficient of performance. A COP of 3 means your heater delivers 3kW of heat for every 1kW of electricity it draws. Direct electric heaters (panel heaters, oil-filled radiators, infrared) run at roughly 1-to-1, so a heat pump with COP 3 to 4 can cut your heating bill by a wide margin over a season, according to Homebuilding’s comparison of garden room heating costs.
Picture it this way: a 2kW direct electric heater running for 8 hours draws 16kWh. A heat pump producing the same 2kW of heat output at COP 3.5 draws roughly 4.5kWh for that same output. Over a winter of daily use, that difference adds up to real money, even before accounting for the heat pump’s higher purchase price.
Smart thermostats and adaptive-start controls close another gap. Scheduling your heating to start warming up right before you arrive, rather than running all day, can cut energy consumption by an estimated 20 to 30 percent, according to research from Oregon State University. That’s a meaningful saving for zero extra equipment cost.
- Pairing a heat pump with a programmable thermostat can reduce running costs by ensuring the heating only operates when needed, and adaptive start functions warm the space just in time for use. Additionally, running heating during daylight hours when solar power is available makes good use of self-generated energy.
What Should You Check Before Installing a Heater?
A few oversights cause most of the headaches homeowners run into after installation. Sort these out before equipment goes in, not after.
- Confirm your electrical supply can handle the load. A mini-split or electric underfloor system often needs a dedicated circuit, not a shared extension lead run from the house.
- Ask for F-Gas certification on any refrigerant system. Split heat pumps use refrigerant, and installing or servicing them legally requires a qualified, certified technician. Ask to see proof before work starts.
- Treat wood burners and bottled gas as ventilation projects, not just heating projects. Flue work needs a professional, and gas heaters need adequate fresh air exchange to avoid carbon monoxide risk.
- Give your installer real information. Floor plans, insulation specifications, and your actual usage hours let them run a proper heat-loss calculation instead of guessing off square footage alone. Skipping this step is how you end up with an oversized system that short-cycles and wastes energy.
How Do You Choose the Right System?
Work through this in order, and don’t skip steps because a heater looks tempting online.
- Assess your current insulation. Check wall, roof, and floor coverage against typical targets before you size anything.
- Identify your actual usage pattern. Daily, occasional, or seasonal use points you toward completely different technology.
- Pick a heater category based on that pattern, not on whatever’s cheapest at the hardware store.
- Request a real heat-loss calculation from your installer. Room area alone isn’t enough. Glazing, orientation, and insulation all shift the number.
- Verify installer credentials, particularly F-Gas certification for anything involving refrigerant.
Ask installers directly: What kW output do you recommend, and why? What COP or SCOP should I expect from this unit? Is commissioning included, and what’s the warranty? Will this require new electrical work?
Pro Tip: Walk away from any installer who recommends a heater size based purely on square footage without asking about your insulation or glazing. That’s a shortcut, not a calculation.
Red flags worth remembering: an installer who won’t provide a heat-loss calculation, a unit that seems oversized “just to be safe,” or anyone who can’t produce certification on request.
Why Building-Stage Insulation Beats Retrofitting Later
Every heater on this list works harder than it should in a poorly insulated shell. That’s the real lesson buried in all the sizing guidance and COP numbers above. The building envelope sets the ceiling on how efficient any heating system can be.
Prefabmodularhome’s Structural Insulated Sandwich Panels build the insulation into the wall, roof, and floor structure itself, rather than treating it as an add-on. That matters because retrofit insulation, especially under an existing floor, is disruptive and often incomplete.
A panel that integrates structure and insulation in one piece removes the weak points, gaps at joints, thin retrofit layers, uneven coverage, that plague garden offices built the traditional way and insulated afterward.
- Fast assembly means less exposure time during the build, and fewer chances for gaps to go unsealed
- Integrated insulation performs consistently across walls, roof, and floor instead of varying by trade or budget
- A tighter envelope from day one means a smaller heater does more work for less money, every winter after
If you’re planning a new build rather than retrofitting an existing structure, browse Prefabmodularhome’s modular backyard office options or read more about how PU sandwich panels perform thermally before you commit to a heating plan for an existing space.
Where to Learn More About Garden Office Heating
For deeper reading on the numbers behind this guide, see Ariston’s explanation of heat pump COP, BeyondTheUrban’s insulation and U-value guidance, and practical door and threshold fixes from One Day Doors & Closets that pair well with draught-proofing work.
What Actually Matters Most in This Decision
Most garden office heating advice treats the heater as the whole problem. It isn’t. The heater is the last five percent of the decision, and it gets ninety percent of the attention because it’s the fun part to shop for.
The uncomfortable truth is that a lot of people buy a heat pump, install it in a shed with single glazing and no floor insulation, and wonder why their electric bill barely moved. The COP numbers only pay off when the building holds onto the heat you’re generating. Skip the insulation step, and you’re just buying an expensive way to warm the outdoors.
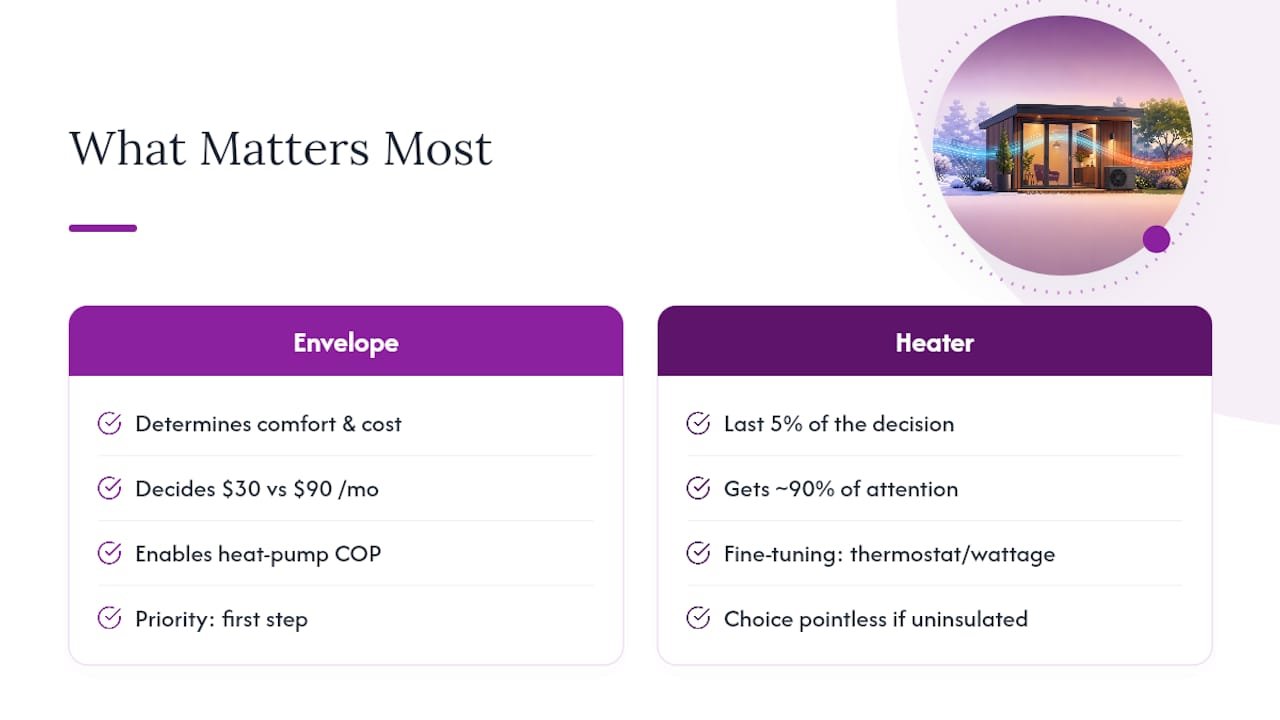
If there’s one thing worth prioritizing above all else, it’s this: get the building envelope right before you get attached to a specific heater brand or type. That’s not the exciting part of the process, but it’s the part that determines whether you’re comfortable in February for $30 a month or $90 a month. Everything else, the thermostat schedule, the exact wattage, the heater style, is fine-tuning around that one decision.
Sources
- Garden Office Insulation UK: Heat, Cool & Insulate Guide | BeyondTheUrban
- Garden office heating | Garden Office Guide
- Air conditioning for garden rooms: Cooling and heating in one | BestGardenRoom
- Heating a garden room | Homebuilding
Recommended
- Backyard Office With Insulation That Works Year-Round – Modular Homes with Structural Insulated Sandwich Panels
- Articles – Modular Homes with Structural Insulated Sandwich Panels
- Choosing an Insulated Backyard Room Kit – Modular Homes with Structural Insulated Sandwich Panels
- Modular Backyard Office with PU Panel/Sandwich Panel