You have three practical ways to build a backyard gym shed: convert an existing shed, buy a prefab modular kit, or commission a custom build. For most homeowners, a prefab kit or a properly upgraded 10×12 conversion wins on cost, speed, and year-round comfort. Budget $500 to $2,000 for a basic conversion, expect permits mainly when you add wiring or a permanent foundation, and plan for insulation before you buy a single dumbbell.
TL;DR:
- Prefab modular kits with SIP panels offer better insulation, quicker assembly, and handle heavier equipment without additional reinforcement than converted sheds.
- For most home gyms, a 10×12 foot shed comfortably fits a half-rack, bench, and dumbbells, while larger sheds, such as 12×20 feet, can accommodate full power racks and cardio equipment.
- A concrete slab or reinforced plywood and rubber mats are essential for stable flooring capable of supporting heavy gym equipment safely.
- Electrical work requires a dedicated 20A circuit, several outlets in strategic locations, and permits before permanent wiring or foundation work, with GFCI protection being mandatory.
- Insulation type affects both comfort and space, with SIP panels providing superior thermal performance and easier installation compared to traditional wall insulation methods.
Table of Contents
- Backyard Gym Shed Options: Convert, Buy a Kit, or Build Custom
- What Shed Size Do You Need for a Home Gym?
- How Do You Insulate and Heat a Backyard Gym Shed?
- What Foundation and Flooring Handle Heavy Gym Equipment?
- Electrical and Permits: What Does a Gym Shed Actually Need?
- How to Choose Equipment and Lay Out a Small Gym Shed
- What Does It Cost to Build or Convert a Gym Shed?
- How Long Does It Take to Build a Backyard Gym Shed?
- Keeping Your Backyard Gym Secure and Valuable Long-Term
- Why SIP-Based Prefab Kits Outperform a Standard Shed Conversion
- A Foundation Mistake That Costs More Than It Saves
- Getting Started With a Modular Gym Kit From Prefabmodularhome
- Sources
Backyard Gym Shed Options: Convert, Buy a Kit, or Build Custom
Each path gets you to the same finish line: a workout space steps from your back door. They differ wildly in cost, speed, and how long the structure actually lasts.
Converting an existing shed means taking a structure you already own and retrofitting it with insulation, flooring, and power. “Done” looks like a weatherproofed box with a rubber floor, a heater, and enough outlets to run a fan and a phone charger. It’s the cheapest option upfront, but you’re limited by the shed’s original wall thickness and floor rating. Thin 11mm storage-shed panels rarely hold up to rack-mounted equipment without reinforcement.
A prefab modular kit arrives with structure and insulation already built in, usually through structural insulated panels (SIPs). Done means bolted panels, a sealed envelope, and wiring rough-ins ready for an electrician. It costs more than a bare-bones conversion but far less than custom construction, and it skips months of framing and inspection delays.
A custom build gives you total control over layout, ceiling height, and finishes, built to your exact specs by a contractor. It’s also the slowest and most expensive route, and it almost always triggers a full permit review.
- Convert: best for tight budgets and simple bodyweight/dumbbell setups. Next step: measure your shed and check wall thickness.
- Prefab kit: best for speed and year-round comfort without contractor overhead. Next step: request a quote based on your footprint.
- Custom build: best for larger properties and long-term resale value. Next step: call your local permit office before drawing plans.
What Shed Size Do You Need for a Home Gym?
Size determines what equipment fits and whether you can actually move through a full workout without clipping a rack or a wall. The rule of thumb: an 8×10 ft shed handles bodyweight and dumbbell training, a 10×12 ft shed is the sweet spot for a half-rack and bench, and 12×20 ft or larger opens up cardio equipment alongside a full power rack.
- 8×10 ft (80 sq ft): dumbbells, a yoga mat, resistance bands, a folding bench. No room for a squat rack.
- 10×12 ft (120 sq ft): half-rack, adjustable bench, dumbbell rack, and enough floor for lunges and stretching.
- 12×20 ft (240 sq ft) or larger: full power rack, a treadmill, and a cardio corner, with real circulation space between stations.
Headroom matters more than most people expect. Measure at the eaves, not the roof peak. Overhead presses and pull-ups need real clearance, so aim for an 8 ft minimum ceiling height anywhere you’ll lift overhead. A shed with an 8 ft peak but 6.5 ft eaves will feel cramped the moment you rack a bar.
Two layouts to copy directly:
- 10×12 rack and bench setup: rack against the back wall, bench perpendicular with 3 ft of clearance on each side, dumbbell rack along the side wall, mirror on the door-facing wall.
- 12×20 hybrid gym: treadmill (about 6×8 ft with clearance) in one corner, power rack (roughly 8×8 ft including circulation) opposite, open floor space in between for mats and stretching.
How Do You Insulate and Heat a Backyard Gym Shed?
Insulation is what turns a summer-only shed into a space you’ll actually use in January. wall insulation with a moderate R-value is the baseline most conversion guides recommend, and the material you pick affects both comfort and how much wall thickness you lose.
- Fiberglass batts: cheap and easy to install between studs, but they lose R-value if they get compressed or damp.
- Rigid foam board: thinner profile for the same R-value, better moisture resistance, slightly pricier per square foot.
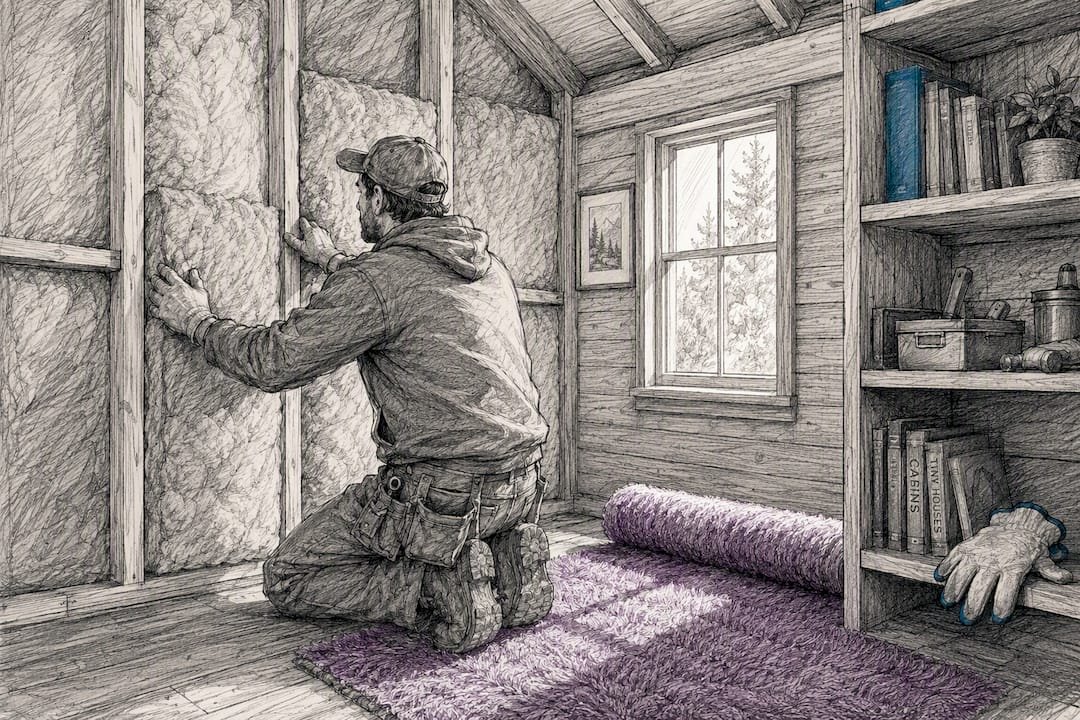
- SIPs (structural insulated panels): insulation and structure in a single panel, delivering better thermal performance than a typical thin-wall garden shed without stacking separate framing and insulation steps.
Ventilation keeps the space from turning into a sweatbox or trapping moisture behind the walls. Gable or ridge vents handle passive airflow, an exhaust fan clears humidity fast after a hard session, and an operable window adds light along with airflow, though it also adds a thermal weak point if it’s cheaply made.
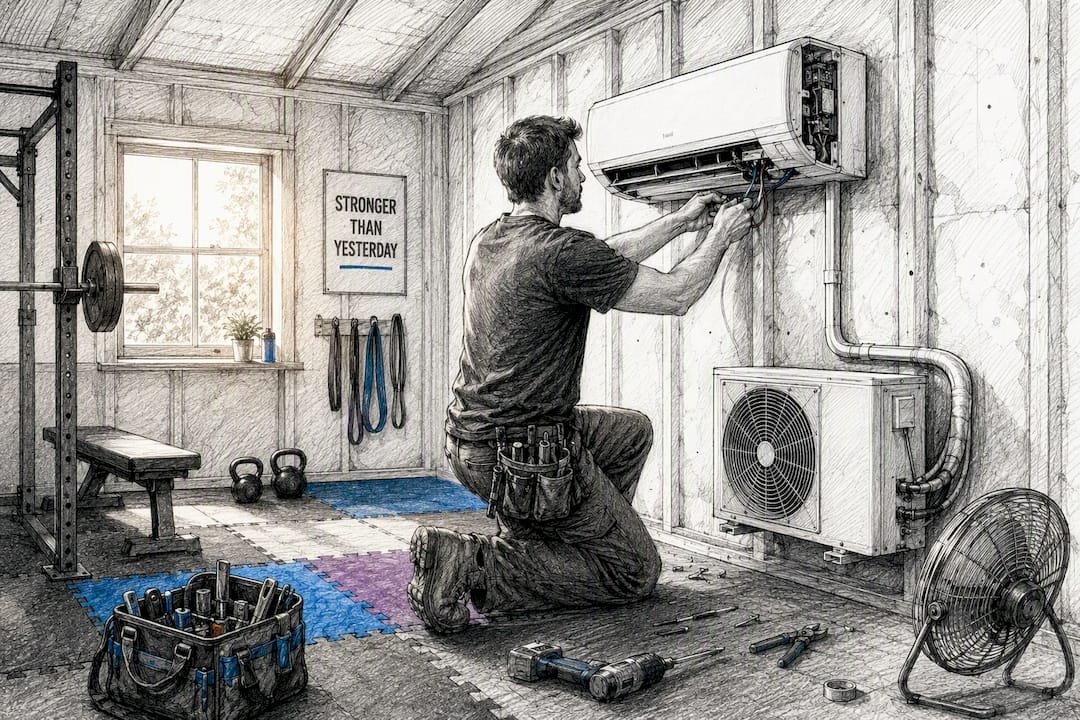
For climate control, a suitably sized space heater covers most cold-weather needs in a well-insulated medium-sized shed. A mini-split handles both heating and cooling if you’re training year-round in a variable climate, and a PTAC unit is a solid middle option when you want cooling without a full mini-split installation.
Pro Tip: Seal your door gaps before you spend a dollar on heating. A poorly weatherstripped door can undo half the R-value you just paid for in wall insulation.
What Foundation and Flooring Handle Heavy Gym Equipment?
Foundation choice determines whether your rack stays level in three years or starts rocking on an uneven slab. A concrete slab is the most stable option and the right call for permanent racks and heavier free weight setups. A gravel pad works for lighter, movable equipment and costs a fraction of poured concrete. Skids are acceptable for smaller sheds but shift seasonally, so keep heavy gear near supported edges rather than dead center to avoid sagging.
Most stock shed floors, especially thin 11mm panels, aren’t rated for a loaded barbell rack. Reinforce before you load anything heavy:
- Add a 3/4" plywood layer, screwed directly into the joists, to spread weight evenly across the floor.
- Top the plywood with interlocking rubber stall mats for impact protection and easier cleanup.
- Avoid placing a fully loaded rack at the center of a skid-mounted floor, where deflection is most likely.
Before you commit, do a quick deflection test: stand in the center of the floor and bounce lightly. Noticeable flex means you need reinforcement before equipment goes in, not after. A contractor makes sense if you’re pouring a new slab or dealing with an uneven site grade; the plywood-and-mat upgrade is a straightforward weekend DIY job for most homeowners.
Electrical and Permits: What Does a Gym Shed Actually Need?
Power and permits are where most backyard gym projects either move fast or stall for weeks. Treadmills, mini-splits, and space heaters all pull real amperage, and undersizing the circuit is the most common electrical mistake homeowners make.
- Run a dedicated 20A circuit for high-draw equipment like a treadmill or mini-split, separate from lighting and phone chargers.
- Plan for at least two to three outlets, placed away from equipment paths and never in reach of a sweat-drenched hand near bare metal.
- Check with your local building authority before adding permanent wiring or a foundation. Permit triggers vary by city, but new circuits and slab foundations are the two most common flags.
- For short-term testing, a properly rated heavy-duty extension cord can power basic equipment, but permanent circuits belong to a licensed electrician who can run the load calculation correctly, accounting for treadmill startup amps and mini-split inrush.
- Install GFCI protection on every outlet, and if you’re using any fuel-burning heater, add a CO detector and confirm adequate ventilation.
Trade-specific guides on electrical and HVAC standards are worth a skim if you want to understand what your electrician is actually pricing before you get a quote.
How to Choose Equipment and Lay Out a Small Gym Shed
Equipment choice should follow your goal, not the other way around. Strength-focused training needs a rack, a bench, and a barbell with plates, all of which fit inside a 10×12 footprint. Cardio-heavy routines need a treadmill or bike, which eats floor space fast. Mixed training benefits from adjustable dumbbells and resistance bands that store on a wall instead of a rack.
Space-saving gear matters more in a shed than in a garage, because you don’t have the extra square footage to spare:
- Foldable squat racks fold flat against the wall when not in use.
- Adjustable dumbbells replace an entire rack of fixed-weight pairs.
- Wall-mounted peg systems keep bands, jump ropes, and small gear off the floor.
- A slim shelf unit handles foam rollers and accessories without eating walking space.
Keep at least 3 ft of clearance around any station where you’re moving a barbell or stepping back from a lift. A typical power rack needs roughly 8×8 ft including that circulation space, which is nearly the entire width of an 8×10 shed. Mount a mirror on the wall opposite the rack, not beside it, so you can actually check your form mid-lift. And if your shed sees any humidity, keep metal equipment away from exterior walls where condensation tends to collect.
What Does It Cost to Build or Convert a Gym Shed?
Costs scale fast depending on how far you push insulation, flooring, and equipment. Here’s a rough breakdown by category:
- Shed or kit structure: $500 to $2,000 for a basic conversion of an existing shed; a quality new 10×14 shed purchase starts near $5,000 before options.
- Foundation: $0 for an existing gravel pad, several hundred dollars for a poured slab depending on size and site prep.
- Insulation: $200 to $600 for fiberglass or rigid foam in a 120 sq ft space.
- Flooring: $150 to $500 for plywood reinforcement plus rubber stall mats.
- Electrical: $500 to $1,500 for a dedicated 20A circuit, depending on distance from your panel and local code.
- HVAC: $150 for a space heater up to $2,000+ for a mini-split installation.
- Equipment: $300 for a basic dumbbell and bench setup, $1,500+ for a rack, bar, and plate set.
A modest DIY conversion of an existing shed typically lands between $1,500 and $4,000 all in. A prefab kit with insulation and basic electrical often runs higher upfront but saves on labor and timeline. A fully finished custom shed with a mini-split, reinforced floor, and full rack setup can push past $8,000. Prioritize spending in this order: foundation and floor safety first, insulation and flooring second, equipment last. A $2,000 rack sitting on an unreinforced floor is a safety problem waiting to happen, not a smart investment.
How Long Does It Take to Build a Backyard Gym Shed?
A realistic timeline runs from a single weekend to about six weeks, depending on your path. Site prep, including grading and any gravel pad work, takes one to three days. A poured concrete slab needs roughly a week to cure before you can build on it. Prefab kit assembly typically takes two to five days once panels arrive on-site, while a full custom build stretches three to six weeks with framing, inspections, and finish work.
- Plan and permit check: one to two weeks, longer if your city requires zoning review.
- Site prep and foundation: three days to two weeks, depending on slab curing time.
- Structure assembly: a weekend for a prefab kit, several weeks for custom framing.
- Insulation, flooring, and electrical finish: one to two weeks.
- Equipment delivery and setup: often the longest lead item if you’re ordering a rack or treadmill, sometimes four to six weeks out.
Hire an electrician for any permanent circuit work and a contractor for slab pours on uneven ground. DIY the insulation, flooring upgrade, and equipment assembly yourself. Before your first workout, confirm: floor doesn’t flex under load, GFCI outlets are live, heater or mini-split is running, and the door clears your widest piece of equipment.
Keeping Your Backyard Gym Secure and Valuable Long-Term
A seasonal maintenance pass keeps small issues from becoming expensive ones: check roof sealant every spring, clear gutters before fall rain, inspect ventilation screens for blockage, and watch for condensation on interior walls after humid stretches.
- Add a solid deadbolt and consider a motion-sensor light if the shed sits away from the main house.
- Check whether your homeowner’s insurance covers detached structures and expensive equipment separately, since many policies cap coverage on outbuildings.
- Keep records of any permits pulled for wiring or foundation work. Permitted, code-compliant electrical work tends to support resale value, while unpermitted additions can complicate a home sale later.
- A visible, easy-to-reach shed near the main house also holds up better over time simply because it gets used, not abandoned to storage.
Why SIP-Based Prefab Kits Outperform a Standard Shed Conversion
A standard garden shed wasn’t engineered to hold a barbell rack or survive a New England winter. Structural insulated sandwich panels build insulation directly into the wall system, which means you skip the separate framing-then-insulating sequence that eats up weeks in a traditional build.
- Panels arrive pre-insulated, cutting assembly time from weeks to days.
- Integrated insulation delivers better thermal performance than a stud wall with batts stapled in after the fact.
- Reinforced panel floors handle rack and treadmill loads without the plywood retrofit a converted shed usually needs.
- Energy efficiency lowers what you’ll spend heating or cooling the space through the off-season.
A prefab kit makes the most sense when you want a space that’s usable in every season without a second round of retrofitting six months later. It’s also the better call when you’d rather avoid the guesswork of matching insulation, flooring, and wiring across three different contractors.
A Foundation Mistake That Costs More Than It Saves
The mistake I see repeated most often: someone buys a nice rack, sets it on an unreinforced shed floor, and wonders six months later why the boards are sagging. Foundation work isn’t glamorous, so it’s the first thing people skip.
Pro Tip: Place your shed where you’ll actually walk past it every day, not tucked behind the garage. A gym shed with a muddy, out-of-sight path gets used twice and then forgotten.
If you’re weighing whether a prefab kit fits your yard, see how a modular gym kit fits your specific property before you commit to a layout.
— Kian
Getting Started With a Modular Gym Kit From Prefabmodularhome
If you’ve read this far, you already know the tradeoffs: converting an old shed means retrofitting insulation and flooring piece by piece, and a custom build means weeks of contractor scheduling and permit review. Prefabmodularhome skips both headaches. Its SIP-based kits arrive with structure and insulation built into one panel system, so you get a fully insulated, code-ready shell assembled in days instead of a multi-week framing job.
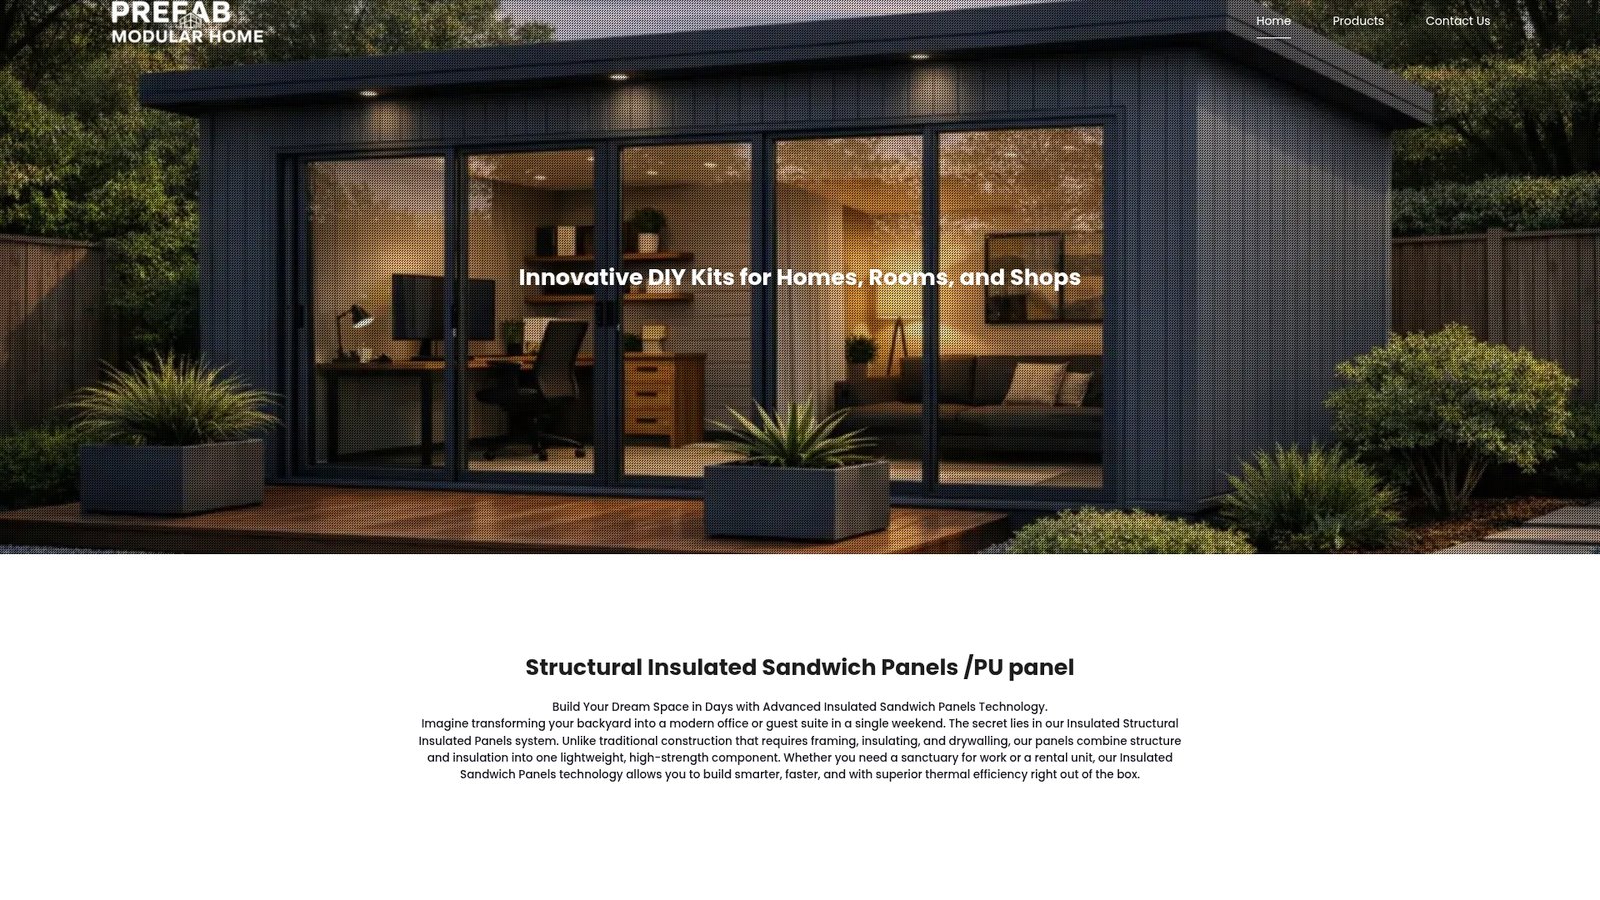
The process starts with measuring your yard footprint and access path, since door width and delivery clearance determine which kit size fits your property. From there, you can review the available prefab gym and office kit options or request a quote on a modular extension sized to your space. Measure your site this week, compare it against a kit’s footprint, and get a real number back before you spend another dollar on equipment.
Sources
- Home Gym in a Shed: Conversion Guide | Home Gym Foundry
- Building a Home Gym in a Backyard Shed | Build-Construct
- How to Turn a Shed Into a Gym | Tiger Sheds