
The strongest modular floor plan ideas for 2026 fall into four directions: an open or hybrid great room for social living, a compact studio module for offices and rentals, expandable add-on modules for growing families, and duplex or ADU layouts for rental income or multigenerational households. Each direction pairs with DIY-friendly kit customization, letting you match layout to lifestyle without a full custom build.
TL;DR:
- Modular layouts like ranch, compact studios, and stacked modules address specific lot size and accessibility needs, influencing cost and build time.
- Open and hybrid floor plans are trending for 2026, with tools like rugs, lighting, and sliding doors used to zone spaces without permanent walls.
- Choosing standard-sized panels and finishes, along with proper site prep, helps reduce overall costs and accelerates construction timelines.
- Permitting and site preparation are common challenges that can delay projects if not addressed early through local authorities and thorough planning.
- Successful projects often start small, live with mockups before expanding, and align layout decisions with actual daily routines to ensure long-term suitability.
Table of Contents
- Modular Floor Plan Ideas by Style and Use Case
- Open, Hybrid, and Broken-Plan Layouts: Zoning Without Walls
- Space-Saving Modular Ideas for Small Footprints
- Materials and Finishes That Keep a Modular Plan Flexible
- Customizing Modular Floor Plans With DIY Prefab Kits
- What Floor Plan Choices Do to Cost and Timeline
- Common Challenges in Building a Modular Floor Plan
- Modular Floor Plans in Practice: A Few Real-World Patterns
- Choosing Ideas That Match How You Live
- Turn These Modular Floor Plan Ideas Into a Real Build
- Sources
Modular Floor Plan Ideas by Style and Use Case
Matching a modular floor plan to how your household actually functions matters more than picking the trendiest layout. Ranch-style, single-story modules remain the most popular starting point because they solve real problems: no stairs, easy wheelchair or stroller access, and a layout that flows naturally from kitchen to living space. They work best for retirees, young families, or anyone prioritizing accessibility over square footage.
Compact studio modules take the opposite approach, packing function into 200 to 400 square feet. These fit backyard offices, rental units, or standalone guest suites, and they’re often the first purchase for homeowners testing modular construction before committing to something larger.
Two-story or stacked modules solve a different problem: tight lots. Stacking modules vertically lets you double your living area without expanding your footprint, which matters in urban infill lots or narrow suburban parcels where lot coverage rules apply.
- Ranch/one-story: best for accessibility and simple flow
- Compact studio: best for ADUs, rentals, or standalone offices
- Two-story/stacked: best for constrained lots needing more square footage
- Duplex/multi-family: best for rental income or multigenerational living
- Expandable modules: best for households planning future growth
Duplex and multi-family modular layouts have picked up momentum as housing costs climb, since one build can generate rental income or house aging parents in a semi-private wing. And expandable module designs future-proof the whole plan. You buy what you need now and bolt on a module later instead of guessing your final square footage upfront.
Open, Hybrid, and Broken-Plan Layouts: Zoning Without Walls
An open floor plan removes walls entirely between kitchen, dining, and living areas. A hybrid plan keeps that openness but adds one or two closable rooms, usually a pocket office or a flexible dining nook. A broken plan goes further, using partial walls, level changes, or furniture placement to create distinct zones while keeping sightlines intact. For 2026, plan collections increasingly favor the hybrid model, pairing open social space with at least one room you can shut the door on.
Zoning an open module without permanent walls comes down to a handful of tools:
- Area rugs to visually anchor a seating or dining zone
- Ceiling treatments (a dropped section, exposed beams, or a color break) to signal a change in function
- Partial walls or glass partitions that block noise without blocking light
- Sliding doors on a track system for rooms that need to close occasionally
- Layered lighting, since zoning through fixtures and light temperature is one of the most underused tools in small modular spaces
Circulation is where a lot of open plans fail. Placing a dining table directly in the walking path between kitchen and living room disrupts every meal, and a kitchen island is the most common fix for redirecting foot traffic around the workspace instead of through it. Just give the island room to function: design guidance recommends at least 42 inches of clearance on all sides so people can open cabinets, pull out stools, and pass each other without a jam.
Pro Tip: Before finalizing any open module layout, tape the island footprint and 42 inch clearance zone directly on your slab or subfloor. It’s the fastest way to catch a cramped kitchen before the panels go up.

Space-Saving Modular Ideas for Small Footprints
Small modules force better decisions, and that’s usually a good thing. A pocket office of modest size, tucked off a hallway or behind a sliding door near the main living area, gives remote workers a closable space without sacrificing an entire room. Recent floor plan trends lean hard into this idea, treating small closable rooms as a standard feature rather than a luxury add-on.
Furniture does a lot of the heavy lifting in compact modules:
- Murphy beds that free up 40 to 60 square feet during the day
- Fold-down or drop-leaf tables for dining nooks that double as workspace
- Multiuse kitchen islands with built-in seating and storage underneath
- Stair storage in stacked modules, turning dead space into pantry or linen shelving
- Closable dining alcoves that hide meal clutter from the main living zone
Two adaptable templates worth sketching first: a single 400-square-foot studio with a pocket office wall and Murphy bed combo, or a 600-square-foot one-bedroom with a stair-integrated storage wall feeding a compact loft. Both scale up cleanly once you add modules.
Materials and Finishes That Keep a Modular Plan Flexible
The flooring you install determines how easily you can reconfigure a room five years from now. Adhesive-free flooring systems, including modular carpet tiles and click-lock LVT, install faster and lift up cleanly when it’s time to swap a home office back into a bedroom or change a rental unit’s layout.
A few finish choices simplify future changes across the board:
- Removable interior panels instead of finished drywall wherever possible
- Standardized window and door openings sized to match common module dimensions
- Adhesive-free flooring throughout shared and flex spaces
- Neutral base finishes that don’t lock you into one color scheme long-term
Panelized construction offers advantages for energy performance by integrating insulation with the wall assembly.
Customizing Modular Floor Plans With DIY Prefab Kits
Structural Insulated Sandwich Panels change the math on customization because structure and insulation arrive as one integrated piece. Instead of framing a wall, adding a vapor barrier, then insulating it in three separate steps, you set one panel and move on. Panelized kits like these let you transform a space in days instead of months, which is exactly why so many of the layout ideas above are realistic for a weekend crew rather than a licensed contractor.
That speed doesn’t mean every change is a DIY job. Here’s what typically stays kit-friendly:
- Swapping window and door units within standardized openings
- Adding a partial wall to create a pocket office or closable nook
- Bolting on an additional module for an expandable layout
- Adjusting fenestration on prefab-friendly wall panels
Structural changes to load-bearing connections or roofline modifications usually call for a professional, and permit checks belong at the top of your list regardless of scope.
Pro Tip: Lock in your window and door sizes before ordering panels. Planning standardized openings up front means any module you add later lines up without cutting into finished walls.
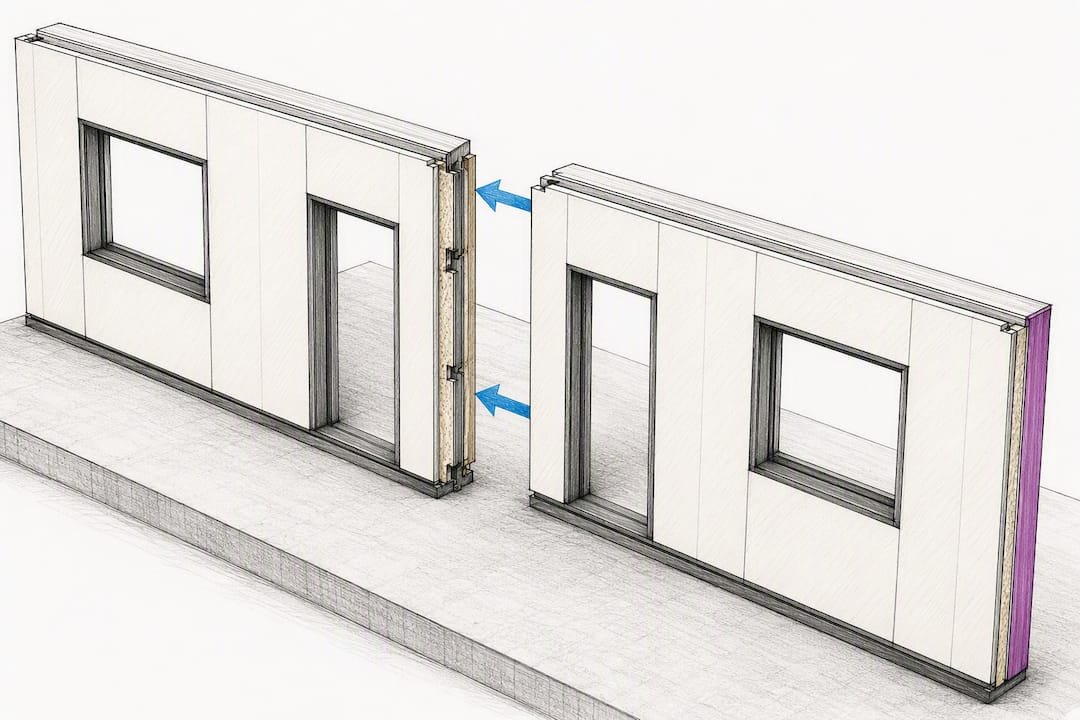
Site prep and a careful read of your supplier’s assembly guide come before anything else. Skipping that step is the single most common reason a DIY timeline slips.
What Floor Plan Choices Do to Cost and Timeline
Simpler plans move faster and cost less, almost without exception. A single-story, single-module layout with standard window placements is the cheapest and quickest option on this list. Every layer of customization adds time and money on top of that baseline.
The main cost drivers worth budgeting around:
- Plan complexity (more zones, more partial walls, more corners)
- Finish level (flooring, cabinetry, and fixture grade)
- Foundation and site work, which varies enormously by lot condition
- Custom window or door openings outside standard panel sizing
On timeline, a kit delivered for on-site DIY assembly moves faster than most people expect once panels are on site, though weather, crew availability, and permit delays are the usual culprits when a project runs long. Turn-key modular delivery trades a chunk of that speed for less physical labor on your end. If your budget is tight, a compact single-module plan with standard openings is the fastest path from order to move-in.
Common Challenges in Building a Modular Floor Plan
Most modular projects hit one of three walls. The first is underestimating site prep. A module can’t go anywhere until the pad or foundation is level, drained, and accessible for delivery, and skipping a proper site survey is the most common reason installation day gets pushed back.
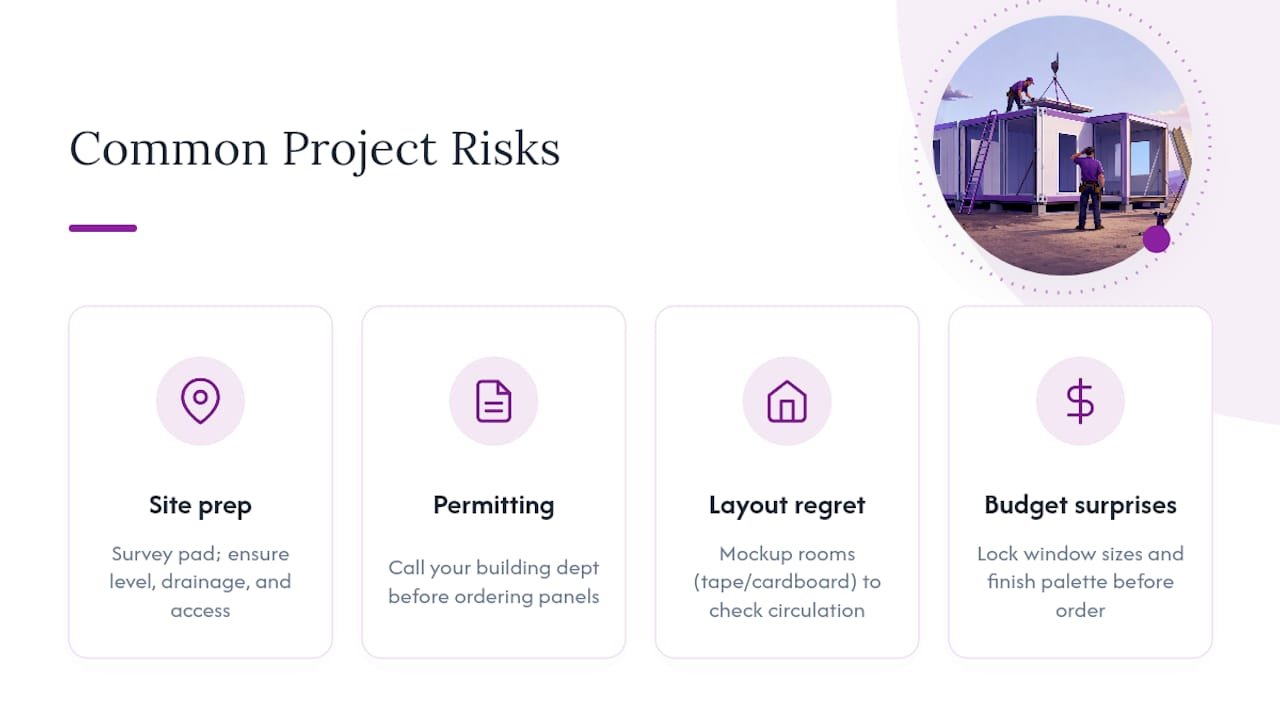
The second is permitting confusion. Zoning rules for ADUs, setbacks, and utility hookups vary by jurisdiction, and modular builds sometimes fall into gray areas between “manufactured housing” and “site-built” codes. Calling your local building department before you order anything saves weeks of back-and-forth later.
The third challenge is layout regret, choosing a floor plan based on photos rather than how you actually move through a space. This is where mockups earn their keep. Taping out room dimensions on your existing floor, or building a quick cardboard furniture layout, exposes circulation problems that a floor plan drawing hides. Combine that with the island clearance and zoning rules covered earlier, and most layout mistakes are avoidable before a single panel ships.
Budget surprises round out the list, usually from custom window sizes or finish upgrades added mid-project. Locking your openings and finish palette before ordering panels keeps the number you budgeted close to the number you pay.
Modular Floor Plans in Practice: A Few Real-World Patterns
The households getting the most out of modular construction tend to follow a similar pattern: start small, prove the layout works, then expand. A homeowner converting a backyard corner into a compact office module, for instance, typically tests the space for six months to a year before deciding whether to add a second module for a full guest suite.
Duplex conversions follow a different but equally common pattern. A family builds one module for a rental unit, generates income for a year or two, then uses that cash flow to fund a second module for aging parents or adult children. The layout choice up front, keeping utility hookups and module dimensions standardized, is what makes that second phase simple instead of a full re-engineering job.
Backyard studio owners lean hardest on zoning tricks rather than square footage, since a 300-square-foot module has no walls to spare. Area rugs and lighting do most of the zoning work in these small builds, separating a sleeping nook from a work corner without sacrificing a single square foot to framing.
The common thread across all three patterns: nobody who succeeded skipped the planning stage. They sketched the layout, checked clearances, and confirmed permits before a single panel arrived.
Choosing Ideas That Match How You Live
The floor plans that age well aren’t the ones copied from a magazine. They’re the ones tested against a real Tuesday morning: where the coffee gets made, where the laundry pile lands, where a video call actually needs a closed door. Sketch it, mock it up in tape on your existing floor, then live with that mockup for a week before you commit to panels.
— Kian
Turn These Modular Floor Plan Ideas Into a Real Build
Every layout covered here, from the pocket office to the expandable module, works because Structural Insulated Sandwich Panels let you build the exact zone you sketched without hiring a framing crew or waiting months for a permitted addition. A backyard office idea becomes a modular home extension you assemble yourself in days. A duplex concept becomes a phased modular room addition you build one module at a time as budget allows.
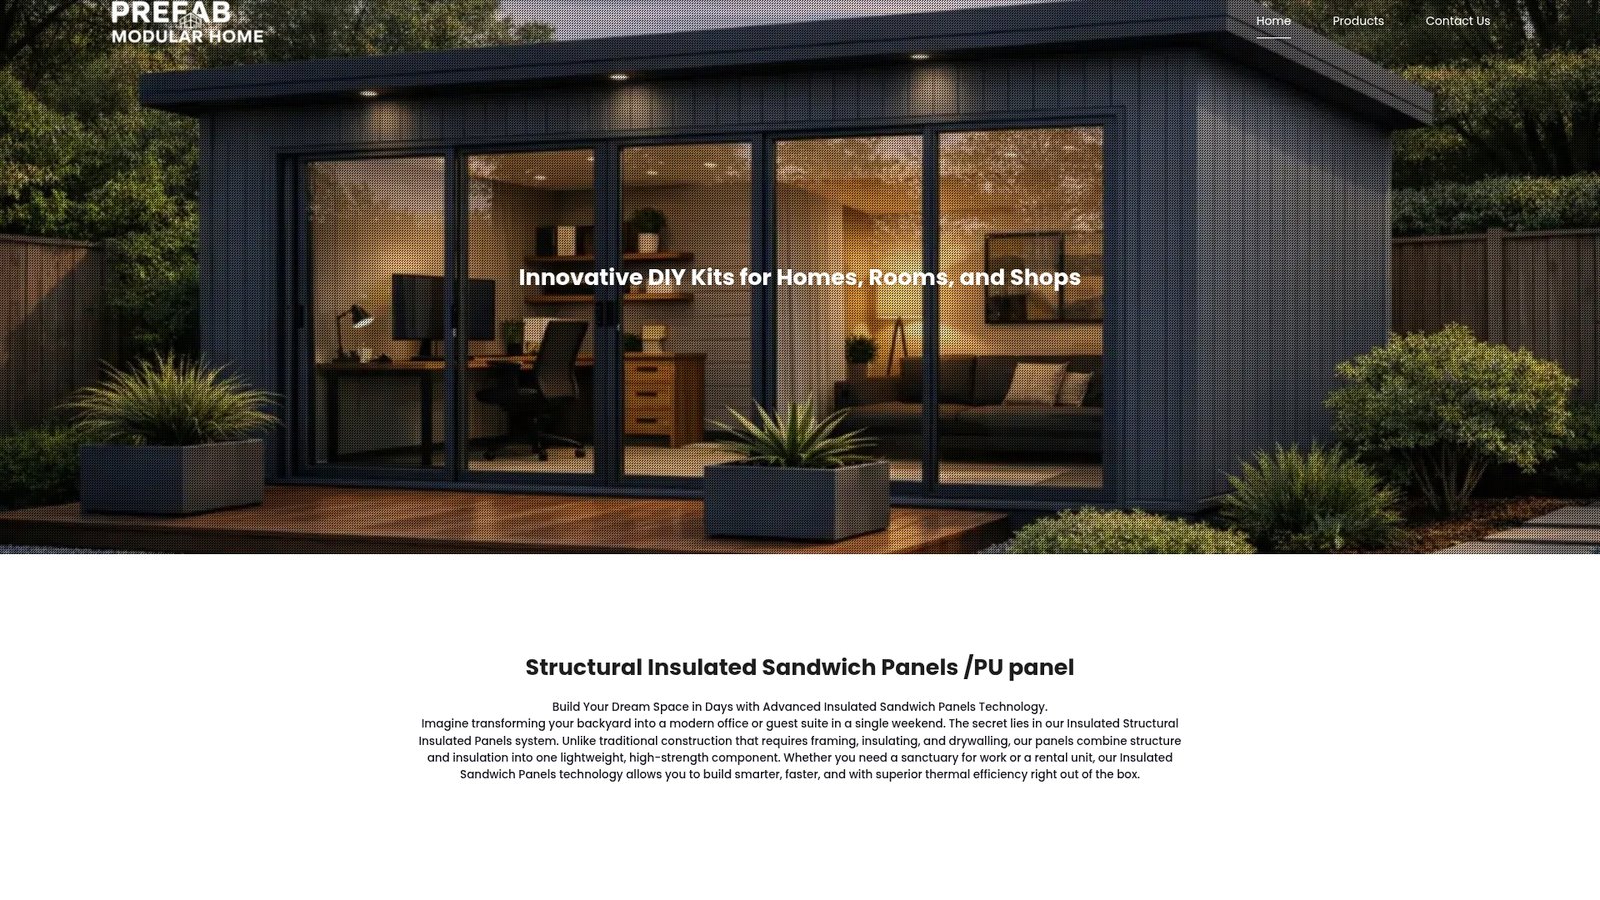
If you’re still sketching layouts, pair your floor plan mockup with a partition strategy from a resource like One Day Doors & Closets for creating a closable office without losing your open feel. When you’re ready to move from sketch to structure, browse prefab kit options and request a quote on the module size that fits your lot and your budget.