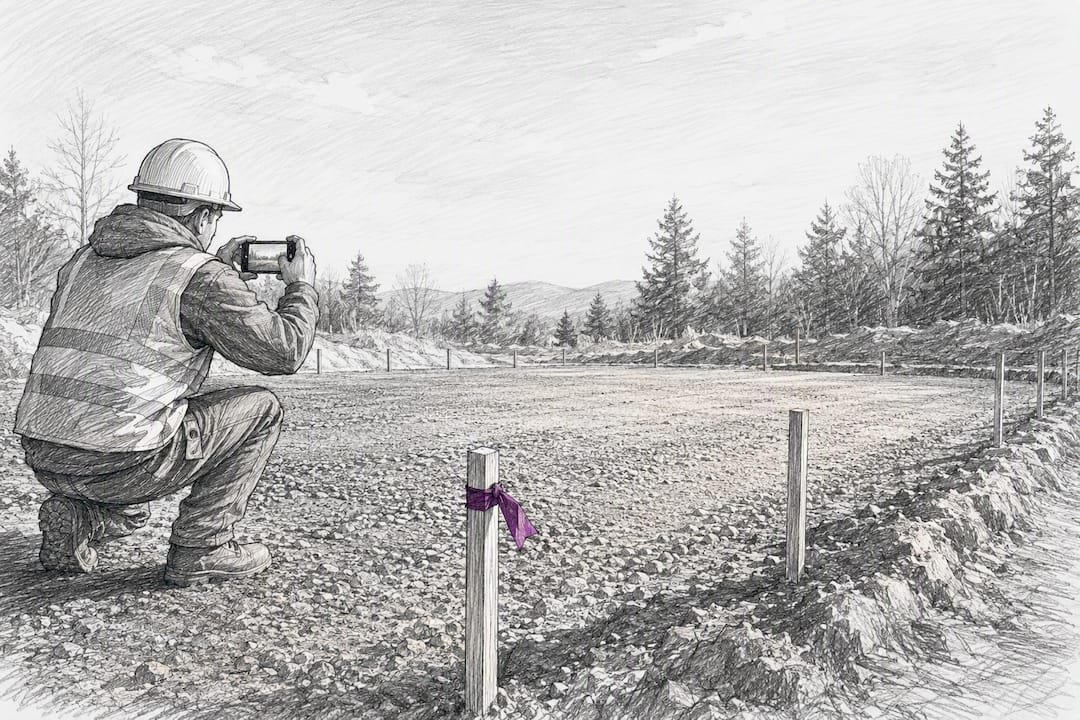
A prefab installation succeeds or fails on the site work nobody photographs for the brochure. Before a single module leaves the factory, the site needs a level, well-drained foundation with anchors positioned to spec, utilities stubbed and capped, and a delivery route confirmed for crane and truck access. Expect several weeks of prep work, and expect to sign off on a survey, a geotechnical report, dimensional foundation tolerances, and a documented access plan before the manufacturer will schedule dispatch.
TL;DR:
- Proper site surveys must include property corners, utilities, setbacks, easements, and spot elevations to avoid costly delays and rework.
- Soil testing reveals bearing capacity, settlement risks, and whether wick drains or ground improvements are necessary before foundation design.
- Effective grading with proper drainage and compaction prevents long-term foundation failure caused by water pooling or uneven settlement.
- Foundation and utility preparations require verified measurements, correct anchor placements, and stubbed service lines to ensure smooth module installation.
- A detailed, signed pre-installation checklist including measurements, photos, and engineer approvals minimizes installation delays and prevents common site prep errors.
Table of Contents
- What Does a Prefab Site Preparation Survey Need to Show?
- What Soil Tests Determine Prefab Foundation Requirements?
- How Do You Grade a Site for Positive Drainage?
- Which Foundation Type Fits Your Prefab Project?
- What Utilities Need to Be in Place Before Delivery?
- How Do You Prepare Site Access for Crane Delivery?
- What Should Be Ready on Site Before Modules Arrive?
- What Goes on the Final Pre-Installation Checklist?
- Field Perspective: Where Site Prep Actually Goes Wrong
- Prefab Modular Home Kits Built for Sites You’ve Already Prepared
- Sources
- FAQ
What Does a Prefab Site Preparation Survey Need to Show?
A measured site plan is the document everyone works from, and it needs to do more than mark a rectangle where the building goes. It has to show property corners, existing structures, mature trees, spot elevations across the pad area, and every known utility line, both overhead and buried. Miss a buried gas line or an easement boundary here, and you find out about it the expensive way, mid excavation.
Setbacks and easements deserve their own pass, separate from the general survey. Local zoning often dictates minimum distances from property lines, and utility easements can quietly eliminate the exact spot you planned to put the crane. Check both before you finalize placement, not after.
A good site survey package includes:
- Property corner markers verified by a licensed surveyor, not estimated from an old plat
- Spot elevations on a grid across the building footprint, typically every 10 to 20 feet
- Location and depth of existing utilities, confirmed with the local utility locate service
- Setback lines and any recorded easements affecting placement or access
- Dated photos of the site from multiple angles, matched to the grid references on the plan
Once the survey is complete, package it as a PDF with CAD reference points and send it to both the manufacturer and the installation crew. Everyone building or installing your project should be working from the same measurements, not a hand sketch someone updated last month. If your project needs formal permits and approvals, this survey package is usually the first document your local building department asks to see.
What Soil Tests Determine Prefab Foundation Requirements?
Soil investigation tells you what the ground can actually hold, and skipping it is the single most common way builders end up redesigning a foundation mid-project. A geotechnical report typically starts with borehole drilling at multiple points across the pad, paired with Standard Penetration Testing (SPT) to measure soil density at depth. Lab work on the extracted samples classifies the soil type and estimates its compressibility.
That report answers three questions that shape everything downstream:
- What is the allowable bearing capacity of the soil at various depths?
- How deep do footings need to go to reach competent, stable strata?
- How much settlement should the foundation expect over time, and how fast?
Reality check: Compressible soils don’t just settle slowly over years. In some cases, predicted settlement or construction delays exceed acceptable thresholds, and a standard footing plan simply won’t hold. That’s when a geotechnical engineer typically recommends prefabricated vertical drains, also called wick drains, which accelerate soil consolidation before construction begins. These drains can be installed to depths around 60 feet, and design depends on spacing patterns tied to your specific settlement predictions. Field testing, including SPT results, determines whether pre-drilling is needed first, especially if dense layers or buried obstructions are present.
If your report flags anything beyond ordinary soil, loop in a geotechnical engineer before you finalize the foundation design, not after the concrete truck shows up.
How Do You Grade a Site for Positive Drainage?
Water is the enemy here, and grading is your first line of defense against it. Field experts consistently point to poor drainage as the most common cause of long-term failure in modular buildings, not structural defects or manufacturing flaws.
Start by stripping topsoil and organic material from the entire building footprint, usually removing the upper soil layer depending on local conditions, since decomposing organic matter under a foundation creates uneven settlement over time.
- Strip topsoil and root material to expose stable subgrade across the full pad area
- Rough grade the site to establish a slight slope away from the foundation on all sides
- Cut swales or shallow channels to direct surface water toward an approved outlet, away from neighboring properties
- Compact the subgrade in appropriate lifts using a plate compactor or vibratory roller
- Verify compaction meets the required relative density, typically confirmed by a qualified geotechnical technician
Pro Tip: Walk the graded site after a heavy rain, before you pour anything. Standing water anywhere near the foundation footprint means your grading isn’t done yet, no matter what the plan says.
A licensed inspector or geotechnical engineer should certify compaction results in writing. That signed record becomes part of your permit file and your release documentation later.

Which Foundation Type Fits Your Prefab Project?
The right foundation depends on soil conditions, local code, and how the module attaches to it. Slab-on-grade works well on stable, well-drained soil and gives you a flat, continuous surface. Strip footings suit sloped or variable sites where a full slab isn’t practical. Pier-and-pad or screw-pile systems handle poor soils or elevated designs without the excavation volume a slab requires, and pit-set foundations work for sites needing a partially recessed module.
Whichever type you choose, the manufacturer needs specific, verified numbers before releasing your modules to ship. This is the release criteria, and it’s non-negotiable:
- Elevation tolerances across the foundation should be within tight tolerances specified by the manufacturer
- Anchor bolt locations and embed positions matched exactly to the manufacturer’s drawings, not approximated
- Concrete curing time and strength verification should meet structural requirements as confirmed by standard tests
- Overall foundation dimensions checked against the module’s exact footprint, including any cantilever or overhang allowances
- A level check at all four corners and the midpoints of each side
Before you call the foundation done, build an as-built photo checklist: wide shots of the full pad, close-ups of every anchor bolt with a tape measure in frame, and a level reading at each corner. Have your structural engineer review the measurements and sign off in writing. That signed letter, paired with the photo set, is what you send to the manufacturer to confirm the foundation is ready to receive modules. If you’re weighing whether a heavier engineered foundation applies to your project, the considerations are similar to what applies to container home foundations, where bearing capacity and anchor spacing drive the decision.
What Utilities Need to Be in Place Before Delivery?
Utilities don’t need to be fully connected before modules arrive, but they need to be stubbed, capped, and positioned exactly where the module’s connection points expect them. Electrical service, water supply, sewer or septic connection, and any gas or communications lines should all terminate at marked, accessible points near the foundation edge.
Sleeve placement matters more than most first-time builders expect. A sleeve that’s undersized or a few inches off from the module’s connection point turns a simple hookup into a demolition job.
- Electrical sleeves sized to code for the service amperage, typically 2 to 4 inches depending on load
- Water supply lines capped above grade or clearly marked if below, with sleeve diameter matched to the fixture connection
- Sewer or septic stub positioned at the correct depth and slope for gravity flow, verified before backfill
- Communications and gas sleeves placed per manufacturer spec, usually shown on the same drawing set as the anchor layout
Where hydrostatic pressure is a real concern, standard gravel drains sometimes aren’t enough. Engineered geocomposite sheet drains are documented to reduce hydrostatic pressure by 50 to 80% compared to traditional aggregate drainage systems in applicable geotechnical conditions. That’s a meaningful difference on a site with a high water table or heavy clay soil, and it’s worth discussing with your geotechnical engineer if your soil report flagged drainage concerns.
How Do You Prepare Site Access for Crane Delivery?
The best foundation in the world doesn’t help if the delivery truck can’t get the module to it. Route surveying should happen weeks before delivery day, not the morning of.
- Drive and document the full transport route, measuring road widths, turning radii at every intersection, and overhead clearances under wires, trees, or bridges
- Confirm weight limits on any bridges or culverts along the route with the local transportation department
- Select a crane rated for your module’s weight and the required lift radius, then verify the crane pad location can bear that ground load without settling mid-lift
- Prepare the pad itself with compacted fill, steel mats, or a reinforced surface if soil conditions require it
- Plan the staging area: where modules get set down temporarily, the lift sequence order, and a clear exclusion zone around the crane’s swing radius
- Build in contingency time for weather delays, since a crane operation in high wind or rain typically gets postponed rather than risked
A route survey with photos and measured clearances should go to both the trucking company and the crane operator ahead of the scheduled delivery date, giving them time to flag problems while you can still fix them.
What Should Be Ready on Site Before Modules Arrive?
Delivered components need protection the moment they hit the ground, especially panels and finish materials sensitive to moisture. Covered, elevated storage keeps materials off wet ground and out of standing water, and a simple inventory log prevents pieces from going missing between delivery and installation.
Temporary facilities matter more than most schedules account for:
- Temporary power for tools and lighting, sized for the installation crew’s equipment
- Portable sanitary facilities for the crew during multi-day installs
- Site security, especially overnight, once materials and modules are staged on site
- Fencing or barriers around the active work zone to keep unauthorized foot traffic out
Pro Tip: Assign one person as the crane watcher during every lift, with the sole job of monitoring the load and swing radius. It sounds redundant until the day it prevents a genuine accident.
Daily safety briefings before work starts, clear exclusion zones during lifts, and basic traffic control around the site cut down on the kind of accidents that stall a project for weeks.
What Goes on the Final Pre-Installation Checklist?
Before the factory releases your modules, you need a documented package confirming the site matches spec, exactly.
- Verify foundation dimensions and tolerances against the manufacturer’s drawings, in writing
- Confirm anchor bolt and embed positions with measured, photographed proof
- Photograph utility stubs, showing sleeve placement and capped connections
- Capture wide-angle access photos showing the confirmed delivery route and crane pad condition
- Compile the full photo set alongside a signed checklist and, where required, an engineer’s sign-off letter
Send that complete package to the manufacturer roughly two to four weeks before the planned dispatch date. That window gives the factory time to flag any discrepancy before modules are loaded onto a truck, which is exactly when the industry’s standard readiness checklists recommend the final verification happen, not after.
Field Perspective: Where Site Prep Actually Goes Wrong
Installation day looks dramatic, a crane swinging a whole module into place, but it’s really just the visible tail end of weeks of quieter work. The projects that run smoothly are the ones where someone insisted on photo logs and signed tolerances well before delivery day.
The mistakes that cost real money are almost always the same three: grading that lets water pool against the foundation, anchor bolts positioned a few inches off from the drawings, and an access route nobody actually drove with a tape measure. None of these show up as dramatic failures. They show up as change orders and delay fees, three weeks into installation, when it’s expensive to fix.
Document everything as you go, not retroactively. A geotechnical report, a signed compaction certificate, dated foundation photos. Paper trails settle disputes before they start.
— Kian
Prefab Modular Home Kits Built for Sites You’ve Already Prepared
Once your site meets the standards above, level, drained, and dimensionally verified, a DIY kit becomes a realistic option instead of a gamble. There are structural insulated sandwich panel kits and flat-pack modules designed to go together without specialty tools or trade skills, which matters because the panels arrive expecting exactly the foundation tolerances covered here.

Precise site prep is what makes the “assemble in days” promise real rather than aspirational. If you’re planning your own build, start with the DIY buyer’s checklist for flat-pack modular homes and the step-by-step kit assembly field guide to align your foundation work with the panel specs before you order. For permit pathways and approval sequencing specific to your jurisdiction, Navilot helps map that process before you break ground. And where your soil report or local code calls for a licensed structural sign-off, get it. A kit built on a foundation you can trust is a project that goes together in days, not one that stalls out waiting on a fix. Browse the current kit lineup to see what fits your prepared site.
Sources
For permit questions and local inspection contacts, start with your local government portal. For federal guidance on manufactured home installation and drainage standards, HUD’s site documentation remains the reference builders cite most often. For soil conditions requiring accelerated settlement, review the Iowa DOT’s PVD design guidance before assuming a standard footing will work.
- Iowa DOT — Prefabricated vertical (wick) drains (PVDs) guidance
- Site Preparation Checklist Before Installing a Prefab Home (Loomcraft prefab guide)
- How to prep your site for a modular building — Universal Modular (expert perspective)
FAQ
How Much Does Site Prep Usually Cost?
Costs vary widely by soil condition, grading needs, and utility distance, but most homeowners should budget for survey work, geotechnical testing, excavation, and compaction as separate line items rather than a single flat fee.
What Is Included in Site Preparation?
A complete site prep package covers the survey and boundary verification, soil testing, clearing and grading, foundation construction with anchor placement, utility stubbing, drainage management, and confirmed delivery access, all documented before modules ship.
What Are the Disadvantages of Prefabricated Homes?
Prefab construction depends heavily on precise, timely site prep. If the foundation or access isn’t ready on schedule, delivery delays and change orders follow, unlike site-built construction where sequencing is more flexible.
What Is the Construction Process for Prefab Homes?
The process runs from site survey and soil testing through grading, foundation construction, and utility stubbing, followed by factory fabrication in parallel, then delivery, crane placement, and final connections once the site passes release inspection.
How Long Does Prefab Site Preparation Typically Take?
Most projects need four to eight weeks for full site readiness, depending on soil conditions and grading complexity, and that window should close with a signed checklist before the factory schedules dispatch.