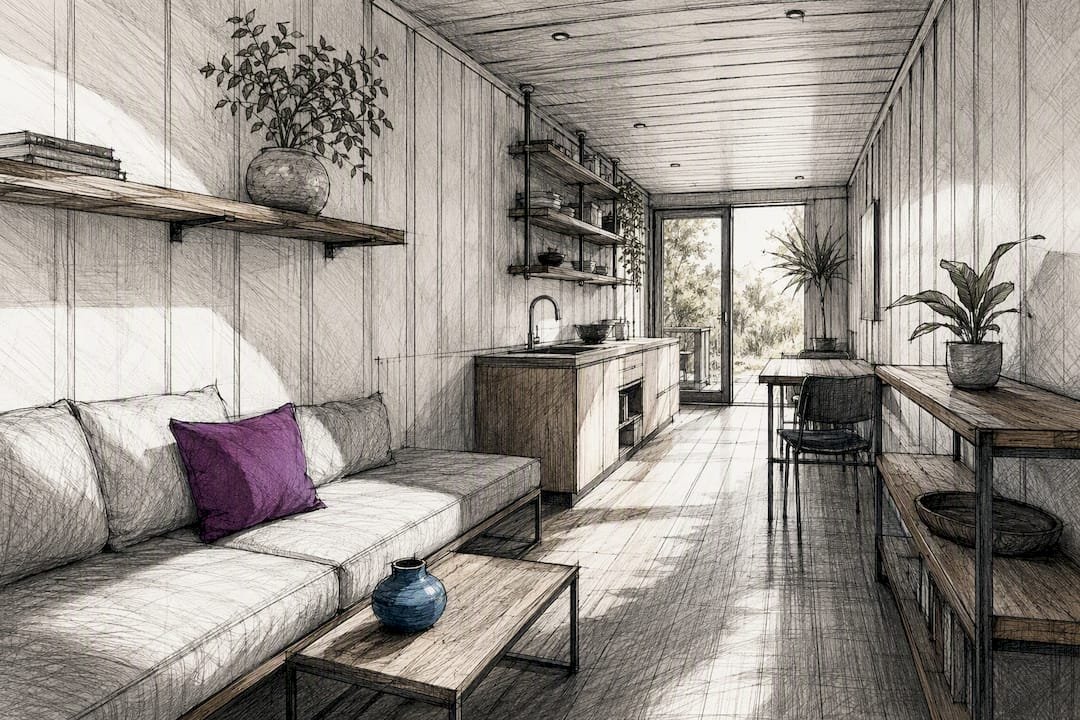
Five moves make container interiors feel bigger than their steel walls suggest: one consolidated storage wall, light neutrals with a single accent color, vertical emphasis, hidden mechanicals, and one well-chosen gathering surface. Match the design plan to container size, starting with a 20ft or 40ft unit rather than overbuilding. Insulated panel kits can shortcut the finishing work entirely.
TL;DR:
- Use a single consolidated storage wall to maximize circulation space and ensure all storage components read as a unified design element.
- Prioritize light neutral paint and flooring tones, with one bold accent, to make the narrow container space feel more open and inviting.
- Install windows on opposite sides and use layered artificial lighting to significantly improve perceived space and daylight within the steel shell.
- Design the kitchen with a galley, L-shape, or peninsula layout based on the container size, and route plumbing efficiently to minimize costs and complexity.
- Choose insulation, vapor barriers, and finishes carefully to prevent condensation issues and reduce overall interior finishing timeline and costs.
Table of Contents
- What container home interior design actually requires
- The five interior design moves that actually work in container homes
- How container size changes your floor plan
- Storage and furniture that fit an 8-foot-wide box
- Finishes, insulation, and moisture control for steel shells
- How do you make a narrow container feel bigger with lighting?
- What kitchen and bathroom layouts fit a container’s width?
- Finishing checklist and budget sequence to follow
- How prefab panel kits solve the container-finishing problem
- Sustainable materials worth building into a container interior
- Heating, ventilation, and air conditioning for a steel box
- Acoustic design for a steel shell that echoes
- Smart home features that make sense in container living
- What I always prioritize first in a container project
- A faster route to an insulated, interior-ready container
- Sources
What container home interior design actually requires
Container home interior design is really a discipline of interior architecture applied to a fixed, narrow steel box, and that constraint changes almost every decorating rule you’ve read elsewhere. A standard 8-foot container finishes out to roughly 7 feet 6 inches of usable width once insulation and wall finishes go in. Every furniture choice, every hallway, every doorway has to respect that number.
That’s why generic small-space advice falls short here. A studio apartment can borrow width from an oddly shaped room. A container can’t. The five-move framework below isn’t decoration advice, it’s the structural logic of how converted shipping container decor actually earns its square footage.
The five interior design moves that actually work in container homes
These five moves come from practitioner experience finishing narrow steel boxes, and they work together rather than in isolation.
- One storage wall. Consolidate closets, pantry, and shelving into a single run, usually 16 to 24 inches deep, placed along one long wall so the opposite side stays clear for circulation.
- Light neutrals, one accent. Off-white or pale gray walls and floors keep the box from feeling like a hallway; a single saturated accent, a door, a backsplash, one piece of furniture, keeps it from feeling sterile.
- Vertical emphasis. Tall art, floor-to-ceiling drapery, and pendant lighting pull the eye upward and disguise the narrow floor plate.
- Hide the mechanicals. Electrical panels, HVAC returns, and plumbing stacks disappear behind flush millwork instead of interrupting sightlines.
- One real gathering surface. Pick a single dining table, banquette, or island and give it the best light and the best material in the house.
Pro Tip: Spend your finish budget disproportionately on the one gathering surface. A narrow home reads as cheap or considered based on that single object, since it’s the thing every guest touches and remembers.
How container size changes your floor plan
Layout rules shift hard between a 20ft unit, a 40ft unit, and multi-container builds, so size should drive your plan before style does.
- 20ft container (a small footprint typical of compact units). This size fits a sleeping loft or Murphy bed, a compact kitchenette, and one gathering surface, usually a fold-down table. A separate bedroom rarely fits without sacrificing the kitchen or bathroom.
- 40ft container (a moderate footprint typical of larger single-container units). This size supports a real separated bedroom, a fuller kitchen run, and a proper bathroom. Opting for a high-cube version, which adds about a foot of ceiling height, changes the perceived volume of the space more than adding several feet of length would.
- Multi-container builds. Two or more units joined side by side or stacked let you break the single-corridor layout entirely, adding cross-ventilation, a genuine hallway, and room separation. That upgrade is worth the added structural and permitting complexity once you need more than one bedroom or a home office separate from living space.
Storage and furniture that fit an 8-foot-wide box
Every storage decision in a container has to answer for the width it steals from circulation.
- Vertical storage wall components. Build the pantry, coat storage, and mechanical access panel into one continuous run so the box reads as a single design element instead of three competing ones.
- Built-in vs. freestanding. Built-ins cost more upfront but reclaim 4 to 6 inches of usable width compared to freestanding furniture with clearance gaps on both sides, a meaningful percentage of a 90-inch interior.
- Under-bed and stair storage. A platform bed with drawer storage underneath, or open stair-step shelving on a loft ladder, adds volume without adding footprint.
- Multifunctional furniture. Banquette seating and Murphy beds routinely outperform standalone sofas and bed frames in a container layout.
Keep at least 30 inches of clear walking width past any built-in run. Anything narrower makes the home feel like a corridor, not a room.
Finishes, insulation, and moisture control for steel shells
Steel doesn’t breathe, insulate, or forgive condensation the way wood-framed walls do, so finish choice matters more here than in conventional construction.
- Wall systems. PVC panel systems add the least interior depth but limit design flexibility. Drywall over furring strips gives you a normal paintable wall but eats 1.5 to 2 inches per side. Timber cladding looks warmest but costs the most width.
- Insulation and condensation. Steel walls sweat when warm interior air meets a cold shell, so a continuous vapor barrier matters more here than in stick-built homes. Address insulation and moisture control before any cosmetic finish goes in, not after.
- Flooring. Vinyl plank flooring handles the slight flex of a steel subfloor better than ceramic tile, which needs additional cement board and reinforcement to avoid cracking.
Adding a single window opening typically costs several hundred dollars installed once you factor cutting and framing (https://biohousetech.com/2026/03/20/container-house-interior-design/), a cost worth weighing against the daylight gain.
How do you make a narrow container feel bigger with lighting?
Daylight and layered artificial light do more for a container’s perceived size than paint color alone.
- Place windows on opposite long walls where possible, and hang a mirror across from the largest window to double the daylight bounce.
- Layer three light types: recessed ceiling cans for general light, undercabinet task lighting in the kitchen, and one accent fixture aimed at art or texture.
- Run drapery from ceiling track to floor, even over a short window, to stretch the vertical line of the wall.
Architectural examples that pair high-cube ceilings with well-placed glazing consistently read as larger than their square footage, proof that light management outperforms floor area in how a space actually feels.
What kitchen and bathroom layouts fit a container’s width?
Plumbing runs and appliance clearances are the two hard constraints in a container kitchen or bath, so plan those before you plan style.
- Galley kitchen. Runs along one wall, pairs well with 20ft units, and works with 24-inch appliances rather than full-size ones.
- L-shaped kitchen. Wraps one corner, fits comfortably in a 40ft layout, and frees up a stretch of wall for the gathering surface.
- Peninsula kitchen. Adds a short perpendicular counter that doubles as the one gathering surface, useful when floor area won’t support a separate table.
For bathrooms, a wet room, where the shower has no curb and the whole floor slopes to a drain, waterproofs more reliably in a steel shell than a standard tub-and-surround setup. Route plumbing to one end wall or stack wet rooms directly above or below each other in multi-container builds to keep supply and drain lines short.
Finishing checklist and budget sequence to follow
Rework is the single biggest cost overrun in container projects, and it almost always traces back to skipping this order.
- Confirm container type (standard vs. high-cube) and complete site prep and permitting before ordering finishes.
- Order factory-built panels, windows, and cabinetry ahead of delivery. Factory-ordering built-ins before the container arrives avoids retrofit costs that erode the savings container builds are supposed to offer.
- Sequence work as insulation and vapor barrier, then wall and floor finishes, then furniture and styling, never out of order.
- Budget roughly 10 to 15% of total finish cost as contingency for structural surprises like rust remediation or unexpected framing changes.
Pro Tip: Never finalize a floor plan before your window and door openings are cut. Structural bracing requirements around cut openings can shift wall thickness by an inch or more, and that inch matters in an 8-foot box.
How prefab panel kits solve the container-finishing problem
Structural insulated sandwich panels fold insulation and structure into one factory-built layer, which skips the furring-strip, vapor-barrier, and drywall sequence entirely. That matters because sequencing finishes correctly is exactly where most container-finish timelines and budgets go sideways.
- Panels arrive with insulation integrated, cutting condensation risk compared to field-applied insulation in a steel shell.
- Assembly requires no special skills, which suits DIYers finishing a home office, studio, or rental unit.
- A kit-built structure can go from delivery to finished interior in days rather than the months a full container conversion often takes.
Some builders offer kits based on this logic, for readers weighing a steel conversion against a panel-built alternative.
Sustainable materials worth building into a container interior
Container home interior design starts from an inherently eco-friendly home design premise: you’re reusing a steel structure instead of manufacturing new framing lumber. What you build inside it can either extend that logic or quietly undercut it.
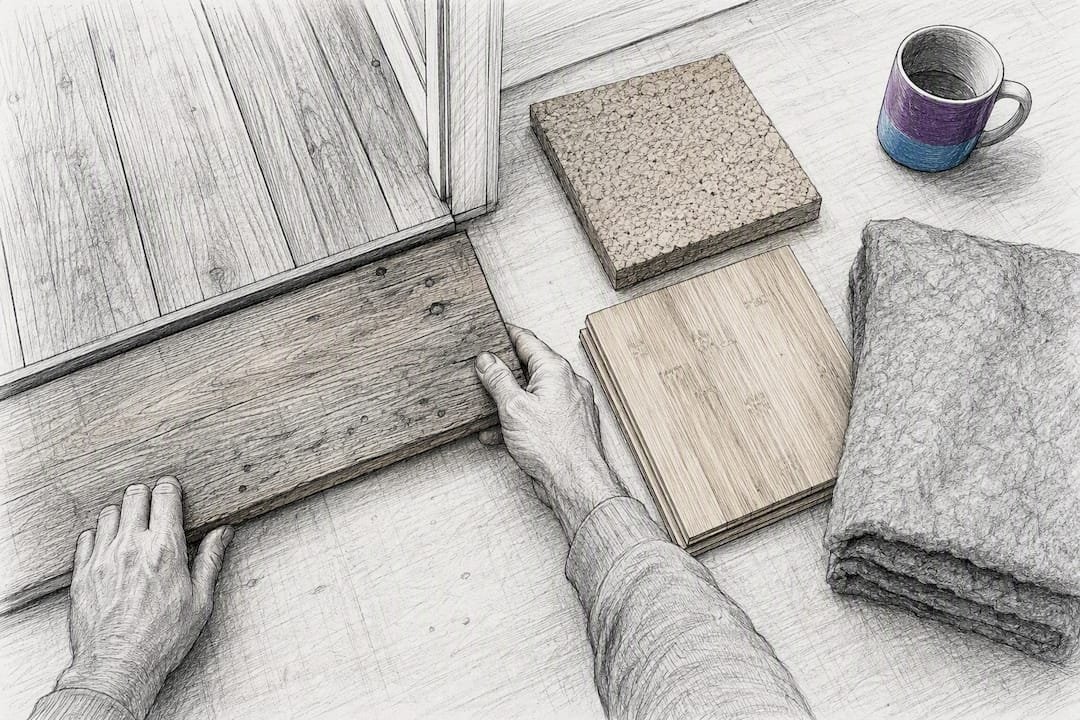
Reclaimed and salvaged timber is the most visible sustainable choice, showing up repeatedly in architectural container projects as flooring, accent walls, and shelving. It carries a story a new board never will, and it tends to be the one gathering-surface material worth spending on.
Low-VOC paints and finishes matter more in a container than in a conventional home because steel shells ventilate less passively than wood-framed walls. A tightly sealed box holds onto off-gassing longer, so the finish choices you make directly affect indoor air quality for months after installation.
Cork and bamboo flooring are worth considering as alternatives to vinyl plank where budget allows, both renewable within a short growth cycle and light enough not to add unnecessary structural load. Wool insulation, though pricier than foam board, avoids some of the chemical concerns tied to spray foam while still managing the condensation risk steel shells create.
Insulated sandwich panels themselves fit into this sustainability picture too. Combining structure and insulation into a single manufactured layer reduces material waste on-site compared to stick-built insulation installation, where offcuts and packaging pile up fast. Fewer trips, fewer separate material deliveries, and a shorter build timeline all reduce the embodied energy of the finishing process, not just the materials themselves.
Heating, ventilation, and air conditioning for a steel box
HVAC in a container home behaves differently than in a wood-framed house because steel conducts heat and cold far faster than typical wall assemblies, and that changes what equipment actually makes sense.
Ductless mini-split systems are the standard recommendation for container interiors, and for good reason. They need no ductwork, which matters enormously in a box where every inch of ceiling or wall cavity is already accounted for by insulation and wiring. A single-zone mini-split handles a 20ft container comfortably. A 40ft unit or multi-container build typically needs a multi-zone system, one head in the sleeping area, one in the main living space, so you’re not cooling a bedroom to reach a kitchen five degrees warmer.
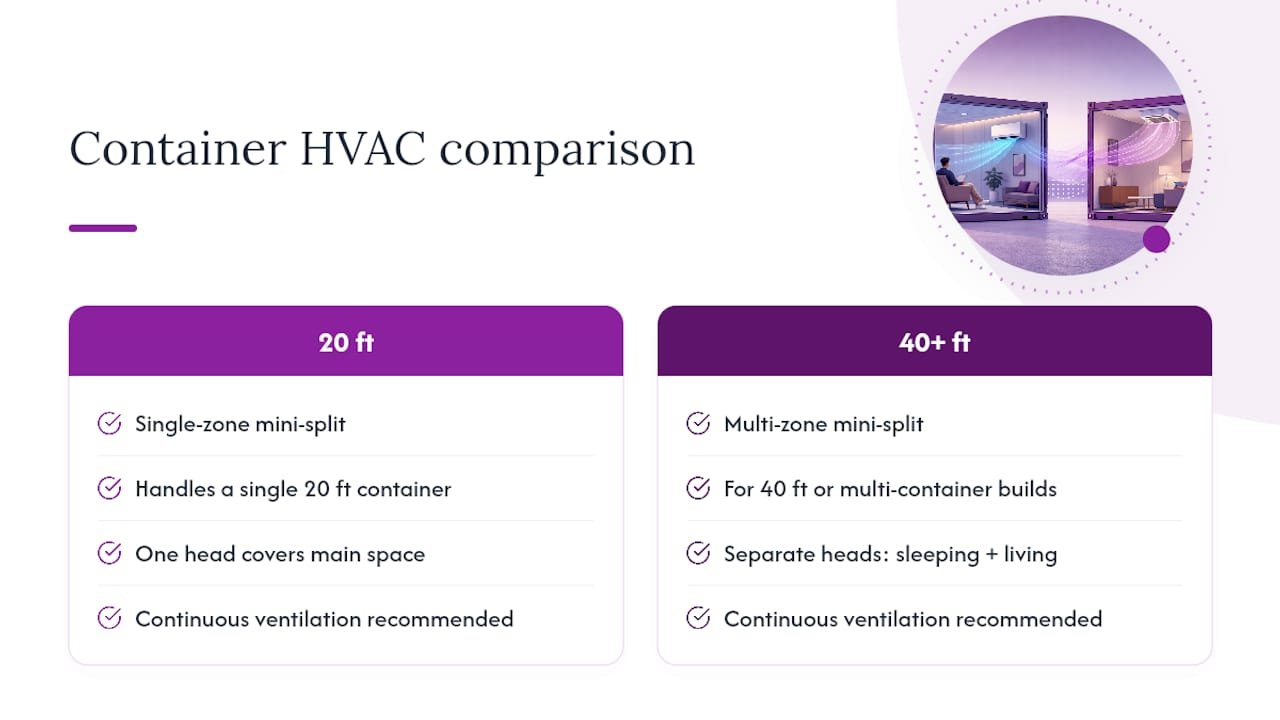
Ventilation deserves equal attention, arguably more than in conventional construction. A sealed steel shell traps humidity, and humidity trapped against cold steel is exactly what produces the condensation problems container builders run into most often. A continuous mechanical ventilation system, even something as simple as a bathroom exhaust fan running on a humidity sensor, keeps moisture moving out instead of settling into insulation and framing.
Placement of the HVAC unit itself should follow the “hide the mechanicals” principle from the five-move framework. Mount the mini-split head high on a wall near the storage wall run, where its lines can drop straight down inside a finished chase rather than crossing open ceiling. Route refrigerant lines and condensate drains through the same wall cavity you’re already using for electrical, since opening a second cavity in a steel shell is expensive and structurally unnecessary when one will do the job.
Acoustic design for a steel shell that echoes
Steel is a terrible sound absorber, which means an unfinished or poorly finished container interior echoes noticeably more than a comparable wood-framed room. Sound bounces off hard flat surfaces and travels along the structure itself, so acoustic design in a container home interior design project isn’t optional detailing, it’s a functional requirement.
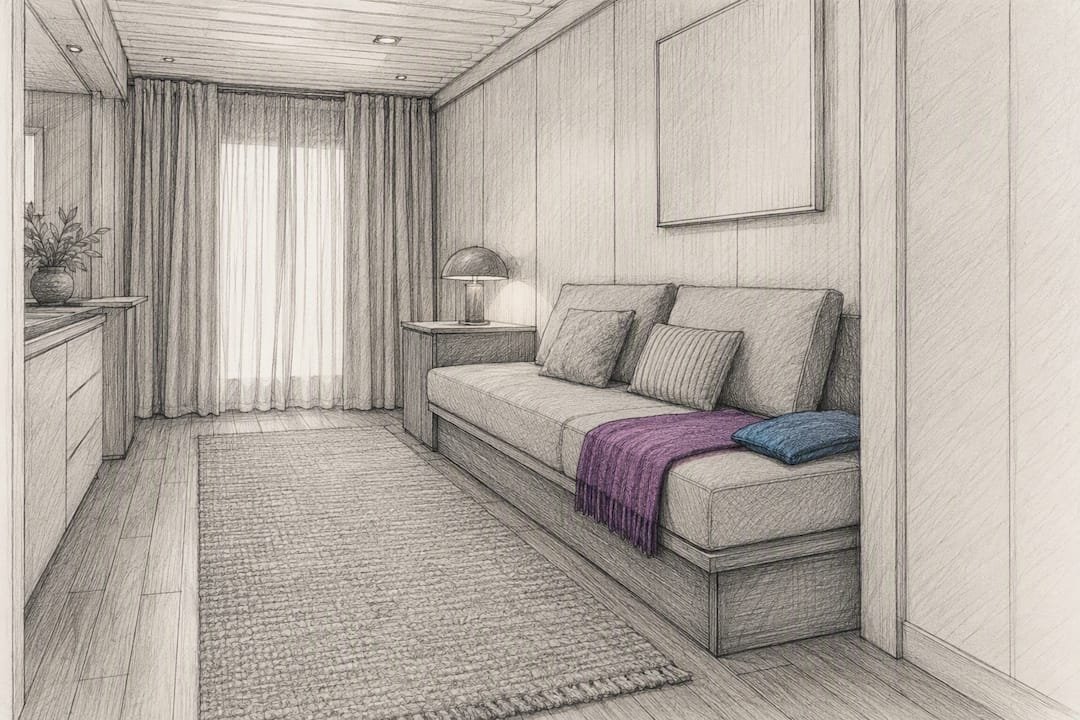
Soft materials do most of the acoustic work. Rugs over vinyl plank flooring, upholstered seating instead of hard chairs at the one gathering surface, and drapery over windows all absorb sound that would otherwise bounce off steel and glass. The same insulation that manages condensation and temperature also dampens sound transmission through the walls, another reason to prioritize a continuous insulation layer over a patchwork approach.
Door choice matters more in a container than most owners expect. A solid-core interior door blocks sound between a bedroom and a shared living space far better than a hollow-core door, an upgrade worth the modest cost difference given how thin container partition walls tend to be. Well-chosen interior door styles can also help preserve sightlines in a narrow plan while still doing that acoustic job, since a door that swings into a hallway eats space a container home can’t spare.
Mechanical equipment noise deserves its own plan. Mount a mini-split’s outdoor condenser on rubber isolation pads rather than a rigid steel bracket, since steel transmits vibration through the structure efficiently enough that a poorly mounted unit can hum through the entire home. Inside, a acoustic panel behind the hidden mechanical chase absorbs equipment noise before it reaches the main living area.
Smart home features that make sense in container living
Smart home technology earns its place in a container interior specifically because container homes are small enough that automation solves real space and comfort problems, not just novelty ones.
Smart thermostats paired with mini-split systems let you manage the temperature swing between zones without manually adjusting two separate units, useful given how fast steel walls respond to outdoor temperature changes. A humidity-sensing smart vent or fan, tied into the same ventilation system that manages condensation risk, can automatically increase air exchange when moisture levels climb rather than relying on a resident to notice a musty smell first.
Lighting control is where smart technology does the most visible work in a narrow interior. A dimmable, zoned lighting system, controlled from a single panel or app, lets you shift between the layered lighting types recommended earlier, recessed general light, task lighting, accent lighting, without a wall covered in switches eating into your one consolidated storage wall. That matters more in a container than in a larger home, where switch plates and panels compete for limited wall real estate near the storage run.
Compact smart hubs and voice-control speakers work well in container homes precisely because their small footprint suits small rooms, and centralized control reduces the number of physical switches and panels needed throughout the space. Security cameras and smart locks matter too, particularly for container homes used as rental units or secondary structures away from a main residence, since remote monitoring compensates for not being on-site daily.
The common thread across all of these choices: pick smart systems that reduce the number of physical devices and panels visible in the home, not systems that add another gadget to a wall that’s already working hard to hide mechanicals and maximize storage.
What I always prioritize first in a container project
Order your high-cube decision and your built-ins before you finalize anything else. That single choice, standard height or high-cube, changes ceiling lines, lighting placement, and even which storage-wall depth makes sense. Get it locked early, and the rest of the plan follows without expensive backtracking.
— Kian
A faster route to an insulated, interior-ready container
Finishing a steel shell the traditional way means managing insulation, vapor barriers, furring strips, and condensation risk across months of sequential work. Some providers skip that sequence with structural insulated sandwich panels that arrive with insulation and structure built into one factory panel, cutting the finishing timeline from months to days and reducing the condensation risk that plagues field-insulated steel shells.
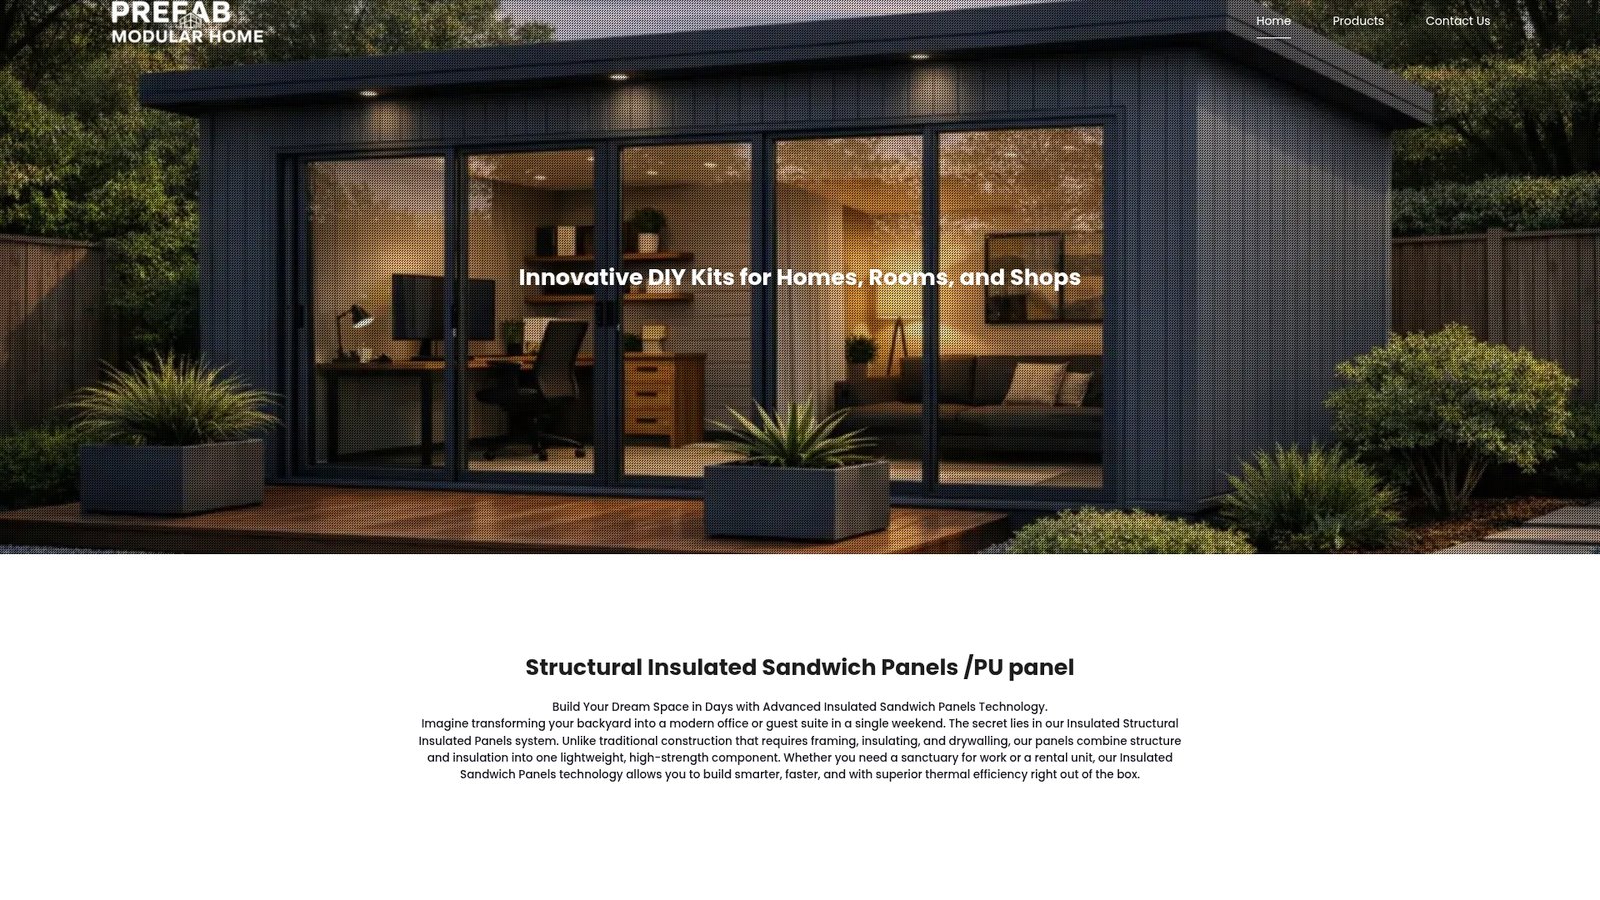
If you’re planning a home office, rental unit, or garden studio and want interior-ready walls without the furring-strip-and-drywall sequence, start with the modular room addition planning guide to see how panel systems compare to a full container conversion for your footprint. For readers already sold on the container route but want factory-built panel walls instead of on-site framing, the structural insulated sandwich panels product page lays out what a kit includes and how sizing works for your build.
Sources
- 55 Container House Interiors ideas | inside a shipping …
- Container Home Interior Design — 2026 Reference Guide
- 9 Shipping Container Homes That Marry Smart Architecture and Serious Beauty