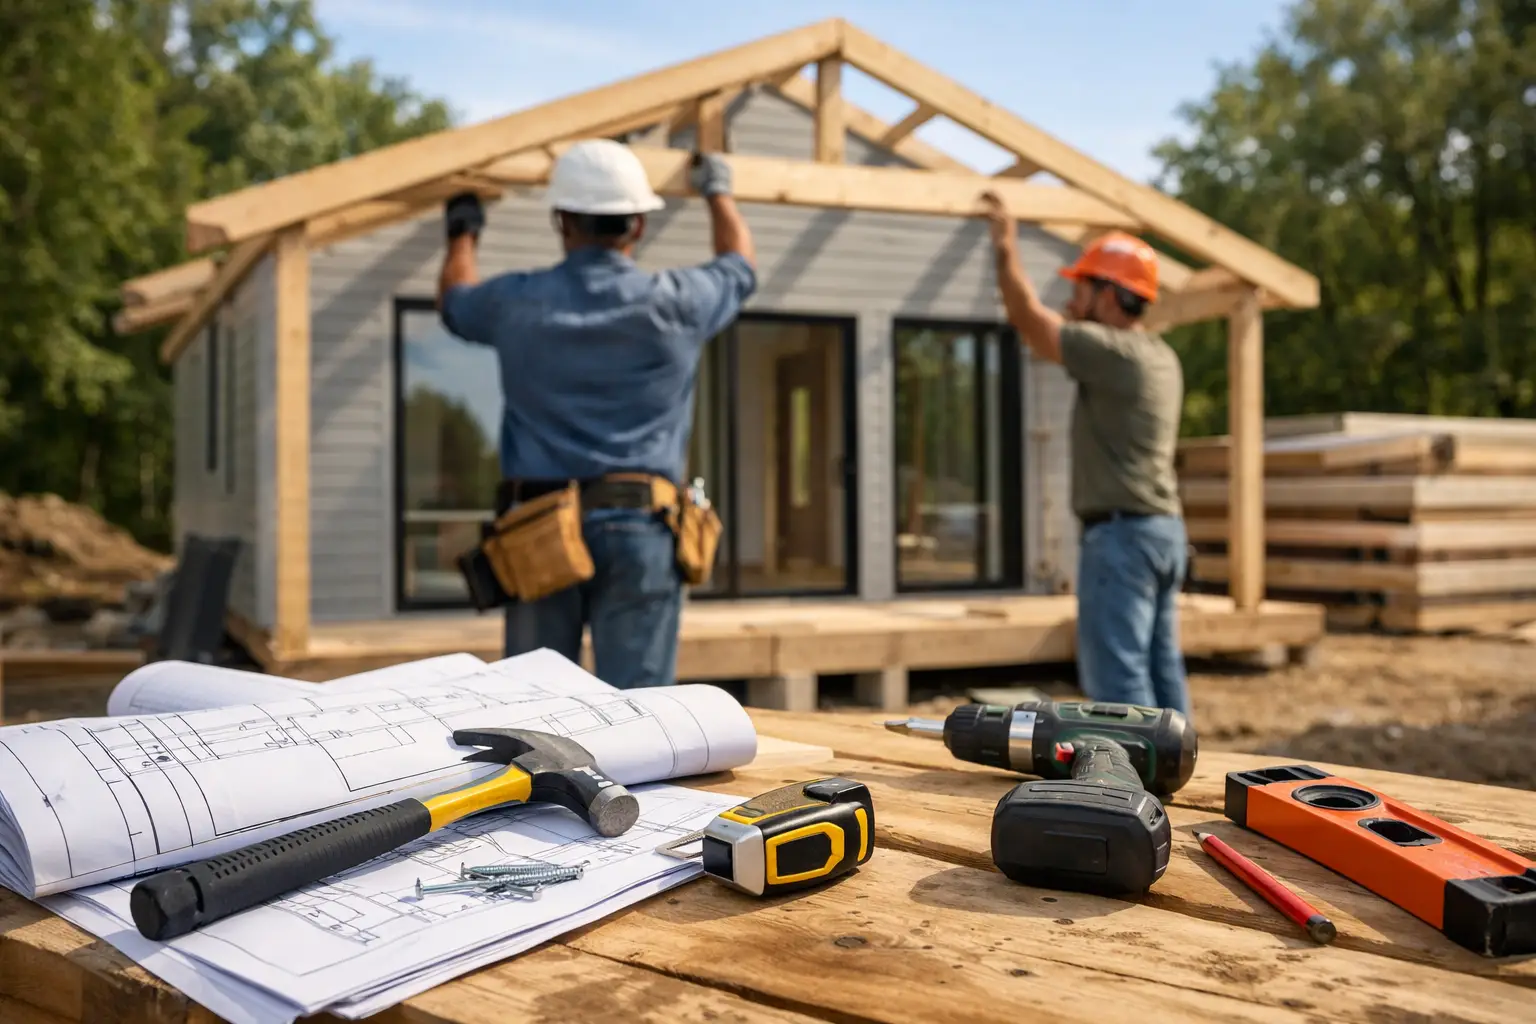
A kit home can go from delivered components to weather-tight structure in days, but only if the site, foundation, and assembly sequence are ready before the truck arrives. Knowing how to assemble a kit home means treating it as a coordinated building system, not a weekend furniture project. The panels may be designed for fast installation, but the finished building still depends on accurate layout, sound anchoring, proper sealing, and local code compliance.
For a backyard office, garden suite, home gym, small retail space, or remote-site room, a flat-pack insulated panel kit offers a controlled alternative to conventional framing. You receive a defined structure with predictable dimensions and thermal performance. Your job is to turn those components into a square, dry, secure building.
Start With the Site, Not the Panels
The most expensive assembly mistakes usually start below the wall line. Before delivery, confirm that the site has legal access for the delivery vehicle and enough clear working room to stage panels, hardware, tools, and lifting equipment. A narrow side yard may be workable for a small kit, but it changes the labor plan and may require hand-carrying components rather than using machinery.
Your foundation must match both the building loads and local conditions. Depending on the kit size, jurisdiction, soil, frost depth, and intended use, that may mean a reinforced slab, screw piles, piers, grade beams, or another engineered foundation system. A small seasonal storage building and an occupied accessory dwelling unit do not carry the same permitting, insulation, plumbing, or foundation requirements.
Check the foundation in two directions before installation: level and square. Measure diagonals between corner anchor points. If those measurements do not match, correct the layout before walls go up. Self-supporting insulated sandwich panels install quickly, but they will faithfully follow a crooked base.
Handle permits and services early
Building permits, setbacks, zoning rules, and utility approvals can affect the size, location, window placement, and occupancy of the structure. In many US jurisdictions, electrical, plumbing, and HVAC work require licensed trades and inspections even when the shell is owner-assembled.
Plan utility penetrations before the slab is poured or the floor system is closed. Mark where power, water, drain lines, data cable, mini-split lines, and condensate drains will enter. Drilling a planned service opening is simple. Relocating a drain after the building is assembled is not.
Inventory Every Component Before Assembly
Unload the kit onto dunnage or pallets so components stay dry, flat, and above standing water. Keep wall panels organized by label and installation order. Separate fasteners, flashing, trims, sealants, doors, windows, and roof components into clearly marked work zones.
Do not assume that all panels are interchangeable. Corner panels, door headers, window sections, roof panels, and base channels often have specific orientations. Compare the packing list with the assembly drawings before the crew starts. Photograph labels and record any visible shipping damage immediately.
A practical crew for a compact kit home is usually two to four capable people, depending on panel size and roof design. Larger panels may need a telehandler, forklift, material lift, or lifting straps rated for the load. Use the manufacturer’s handling instructions. Do not drag finished panels across concrete or lift them from unsupported edges.
Your core tool setup generally includes a rotary laser or long level, tape measures, framing squares, chalk line, impact drivers, drill bits, socket set, sealant gun, clamps, ladders, PPE, and a torque wrench where specified. Have extra approved fasteners and compatible sealant on site, but do not substitute structural hardware without confirmation. Fastener type, spacing, and penetration depth affect wind resistance and panel performance.
How to Assemble a Kit Home Panel by Panel
The usual assembly sequence is base connection, walls, roof structure or roof panels, weather sealing, openings, and interior completion. Always follow the drawings supplied with your specific system if they differ from this general order.
Set the base channels and first corner
Install the base track, sill plate, or connection channel at the marked foundation line. Use the specified anchors and verify spacing, edge distance, and embedment. Apply the required gasket or sealant beneath the channel where the system calls for it. This joint is a primary defense against air leakage, moisture intrusion, and pests.
Install the first corner panel carefully. Plumb it in both directions and brace it immediately. This is the reference point for the entire structure. If the first panel is out of plumb, every following joint becomes harder to align.
Continue with adjoining wall panels, connecting each joint with the required fasteners, spline, cam lock, tongue-and-groove profile, or panel connector. Check level and plumb frequently, not only after a full wall is complete. Install temporary bracing as needed until the walls are tied together by the roof system.
Build openings without improvising
Door and window panels should be installed only in their designated locations. Use the specified headers, jamb reinforcements, flashing pieces, and connection hardware. Openings interrupt the wall’s load path, so their framing details matter more than a simple cutout in a nonstructural partition.
Avoid trimming structural insulated panels on site unless the manufacturer has specifically approved the modification. Cutting can expose insulation, damage protective skins, compromise a thermal-break design, and create a water-management problem at the edge. If the layout needs to change, resolve it before assembly whenever possible.
Install the roof and make it weather-tight
Once walls are straight, square, and adequately braced, install the roof framing, roof panels, or top connection channels according to the drawings. Roof work introduces the highest fall risk, so use appropriate access equipment and do not work in high winds, rain, ice, or unsafe conditions.
Panel joints and roof-to-wall connections need continuous, compatible sealant. Follow the specified bead size and location. A common error is applying sealant only where it is visible after installation. The critical seal is often compressed inside the joint, where it stops air and water before either reaches the interior.
Complete exterior flashing, ridge details, eave trims, closures, and roof drainage before moving to finish work. A building is not ready for insulation, flooring, or drywall simply because the roof panels are in place. Verify that every exterior transition is sealed and that water is directed away from the foundation.
Build for Thermal Performance, Not Just Speed
Insulated sandwich-panel kits provide wall and roof performance in a single assembly. Their insulated core, protective skins, and tightly detailed joints can reduce the separate framing and insulation steps required by conventional construction. That advantage depends on correct installation.
Pay close attention to base connections, corners, roof transitions, window and door perimeters, and service penetrations. These are the locations most likely to create thermal bridging or air leakage. Use approved closures, flashing, gaskets, and low-expansion sealants as required. More sealant is not always better – the right material in the right joint is what performs.
If you are conditioning the space year-round, size heating and cooling after you understand the final floor area, panel R-value, glazing, occupancy, and climate zone. A high-performance shell may allow a smaller HVAC system than a conventionally built room, but the equipment still needs to be selected for the actual load.
Finish the Interior in the Right Order
After the shell passes its weather-tight check, complete electrical, plumbing, ventilation, and low-voltage rough-ins. Coordinate any penetrations through panels with the system requirements and inspection schedule. Where possible, use interior service cavities or planned chase walls rather than cutting through exterior panels repeatedly.
Then install interior finishes suited to the building’s purpose. A backyard office may need acoustic treatment, data wiring, and a compact mini-split. A workshop may need durable flooring, extra circuits, ventilation, and wall protection. A habitable suite will need a more complete approach to egress, fire separation, plumbing, and code-required finishes.
At PMH, insulated kit systems are designed to create practical, adaptable space without the long sequencing of a conventional site-built shell. That does not remove the need for careful installation. It concentrates the critical work into foundation accuracy, panel connections, air and water sealing, and properly planned services.
Inspect Before You Call the Job Complete
Walk the exterior after the first rain or perform a controlled hose test where appropriate. Look for water at corners, flashing transitions, door thresholds, windows, and roof penetrations. Inside, inspect panel joints for daylight, gaps, or incomplete sealant. Confirm that doors operate freely and that window units are square.
Before occupancy, verify required inspections, confirm anchors and structural fasteners are installed to the drawings, clear construction debris from drainage paths, and make sure all utility work is safe and permitted. Keep the assembly drawings, product specifications, photographs of concealed work, and inspection records with the property documents.
A kit home rewards preparation. Get the base right, keep the panel sequence disciplined, and protect every joint from air and water. The result is not just a structure assembled quickly, but a dependable insulated space ready to work the moment you need it.